Table of Contents
If you’re using our WooCommerce Wishlist Pro plugin, we’ve got a handy feature that allows you to hide the wishlist button on specific product pages. This can be achieved effortlessly by utilizing product tags.
Here’s a step-by-step guide on how to do it #
Step 1: Navigate to WooCommerce Wishlist Settings #
- Go to your WordPress dashboard.
- Find and click on “WooCommerce” in the left-hand menu.
- Look for the “Wishlist“ tab and click on it.
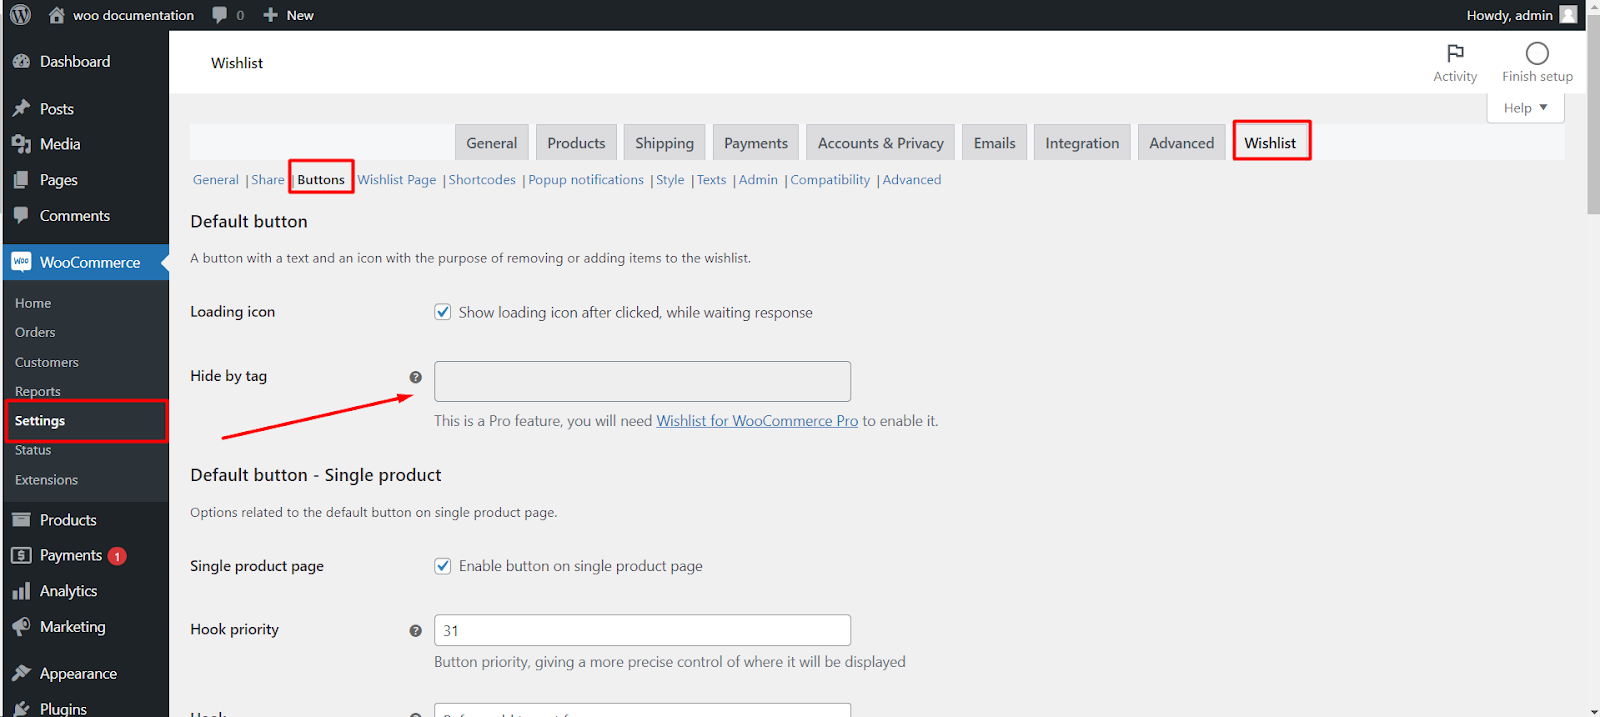
Step 2: Access the Button Settings #
- Within the Wishlist settings, find and click on the “Button” tab.
Step 3: Enable the “Hide by Tag” Option #
- Under the “Button” tab, you’ll see various options related to the wishlist button.
- Locate the “Hide by Tag” option and enable it.
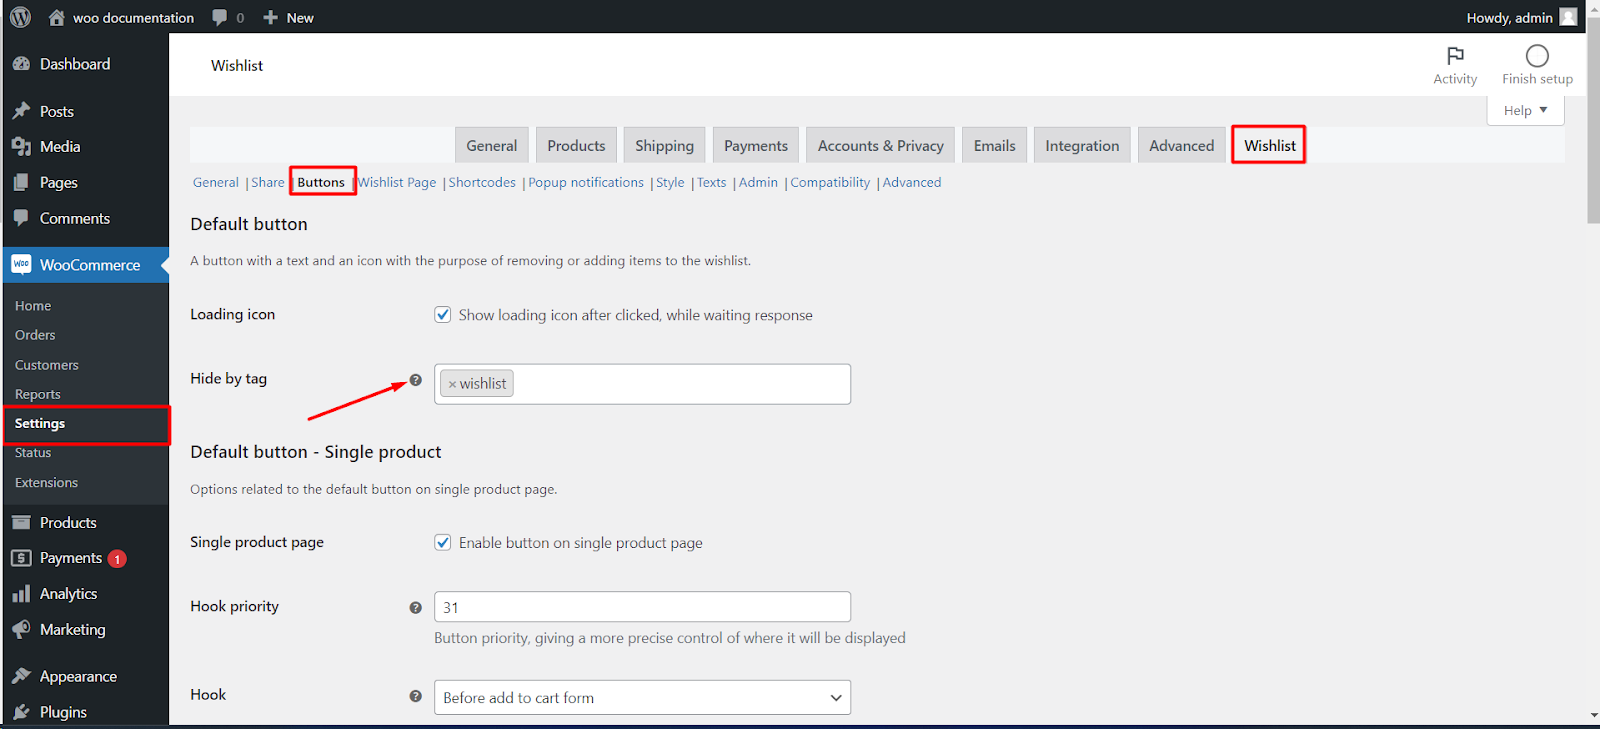
Step 4: Add Product Tag #
- At the “Hide by Tag” option, you’ll see a space to add product tags.
- Enter the product tag for which you want to hide the wishlist button.
Step 5: Save Changes #
- Don’t forget to save your changes.
Now, the wishlist button will be hidden on the product pages that are associated with the specified tag. This is a powerful feature that allows you to customize the visibility of the wishlist button based on your product tagging strategy.