How to Import Content into WordPress & WooCommerce Using Excel
Do you want to learn how to import content to your WordPress & WooCommerce site using Excel instead of manual importing and complicated CSV file? You are in the right place!
Whether you want to import hundred, thousands of products, files, blog posts, or any custom data you want from other site to your WordPress & WooCommerce site, you can now import them all at once using an Excel spreadsheet with drag & drop feature easily, no more time-consuming manual work or confusing CSV formatting.
With the Content Importer for WordPress & WooCommerce with Excel you can easily:
Let’s go to see how easy it is to get started with this smart tool!

Step1:
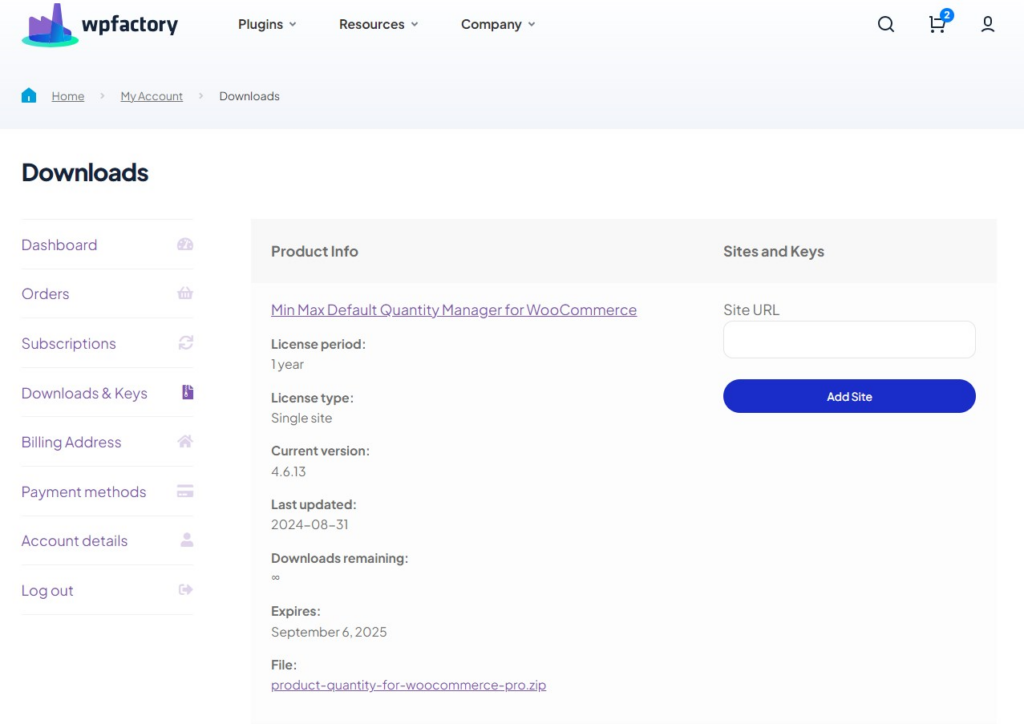
➡ Download the Plugin
To get started, you will need to download the “Content Importer for WordPress & WooCommerce with Excel” plugin, which allows you to easily import any data you want.
After downloading the plugin from your WPFactory account, upload it to your WordPress site.
Step2:
➡ Access the Plugin
Once the plugin is installed and activated, you can tailor it to fit your business needs.
Go to WPFactory > “Content Excel Importer Pro”

Step3:
➡Import/Update Content
Before you start importing your data through the plugin, you need to prepare an Excel file containing the data you want to import. To prepare an Excel file that the plugin can read, download the CONTENT SAMPLE FILE.
This file is divided into columns with headers that the plugin can read.
Note: the plugin cannot handle just any Excel file. It requires a specific structure and format. So, it’s highly recommended to use the CONTENT SAMPLE FILE, as it is already formatted with the correct columns and headers that are compatible with the plugin and can read it.
After downloading it, you can modify the content within the columns and add the content you want to import to your site.

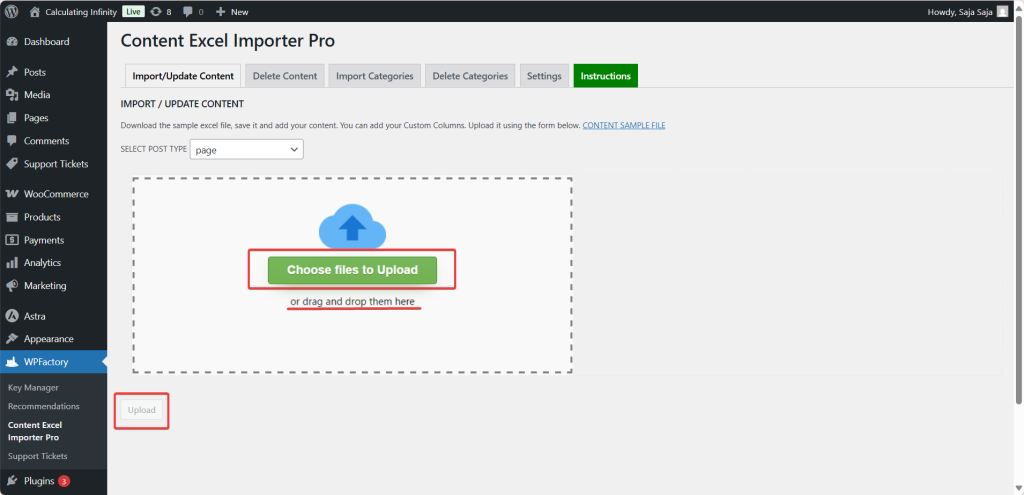
To start Import/Update your content:
- Now, make sure you are in the Import/Update Content tab.
- From the Select Post Type option, choose the type of content you want:

3. Then upload the Excel file you modified
4. Click the upload button, and all the data will be imported.
Step4:
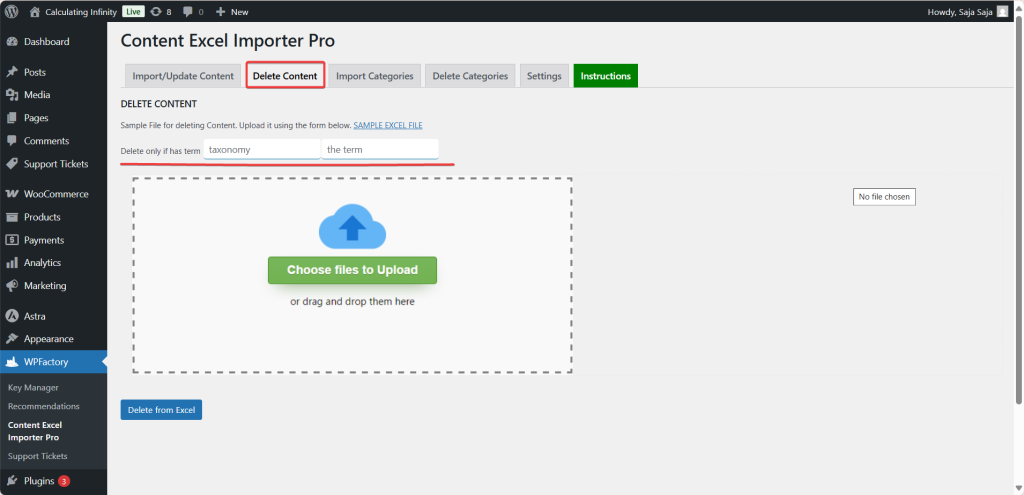
➡Delete Content
This section is dedicated to deleting custom content from your site using an Excel file.
- Delete only if has term
This option allows you to set a condition for deleting the content, meaning that if the condition you specified is not met, the content will not be deleted.
This condition contains of two parts:
1. Taxonomy: It refers to the type of classification (such as category, post_tag, or any custom taxonomy).
2. The Term: The term or name found within this category, (for example: News, sale, or the name of a specific category).
Practical example: If you wrote:
Taxonomy = category
Term = news
Will only be deleted if it exists under the category news.
So, from here, you select the Excel file that contains the items you want to delete and then click on the upload button.
Step5:
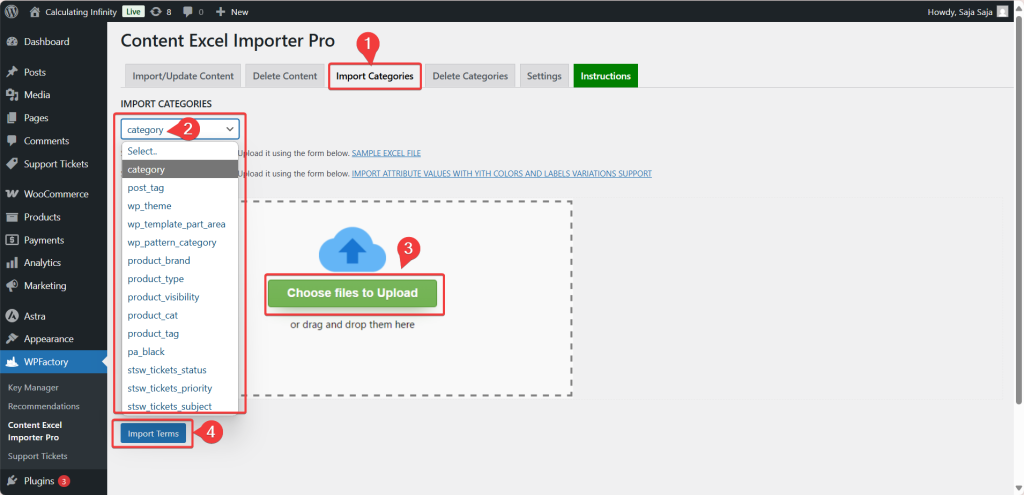
➡Import Category
This option is dedicated solely to creating categories (which can be for article categories, product categories, etc.)
The Excel file should contain the category name, the parent category (if it is a subcategory), the description, and the slug.
You will upload the file through the tab, and the addition will automatically create these categories on your site, under the type of content you specify.
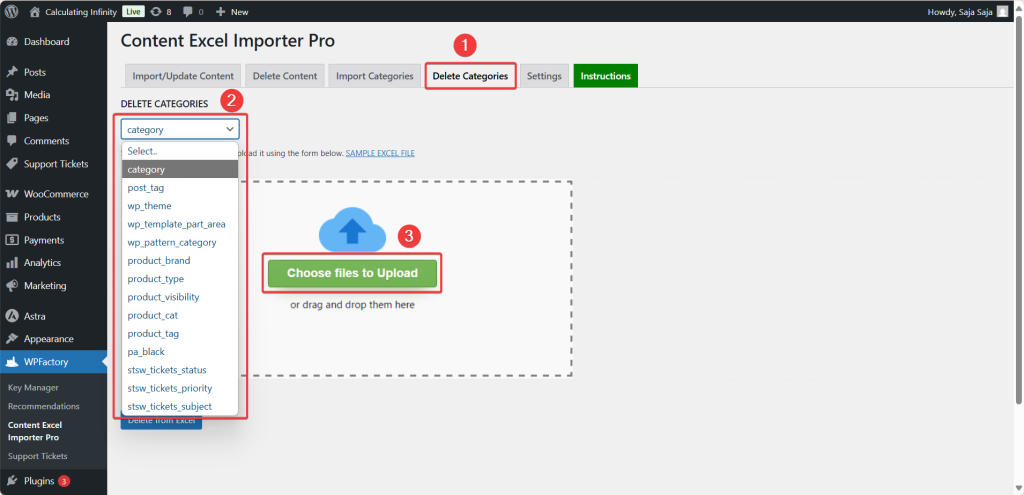
Step6:
➡Delete Category
The same settings explained in the Delete Content section, will also apply here, but for Delete Categories section.
Step7:
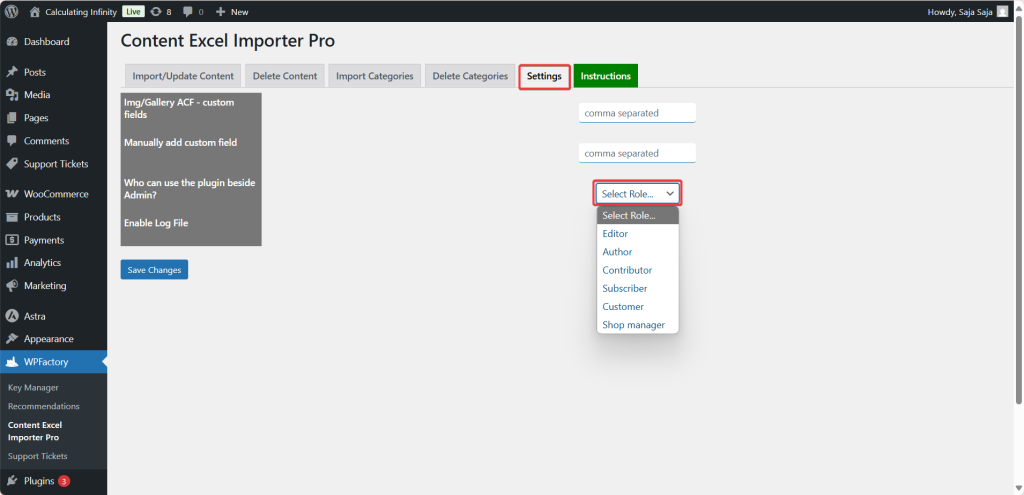
➡Settings
- Img/Gallery ACF – custom fields
This field is used to enter the names of the custom fields (ACF) associated with images or galleries. If you are using ACF – Advanced Custom Fields, and you want to upload images or a photo gallery from Excel file to these fields, you write the field name here.
- Manually add custom field
If you have other custom fields (other than images), and you want to add data to them from Excel, you write the names of these fields here.
- Who can use the plugin besides Admin?
Here, you choose who can use the extension other than the Admin.
- Enable Log File
If you enable this option, the plugin will start recording the import or delete operations.
This feature is very useful for tracking if an error occurs or if you want to know what happened during the upload of the Excel file.
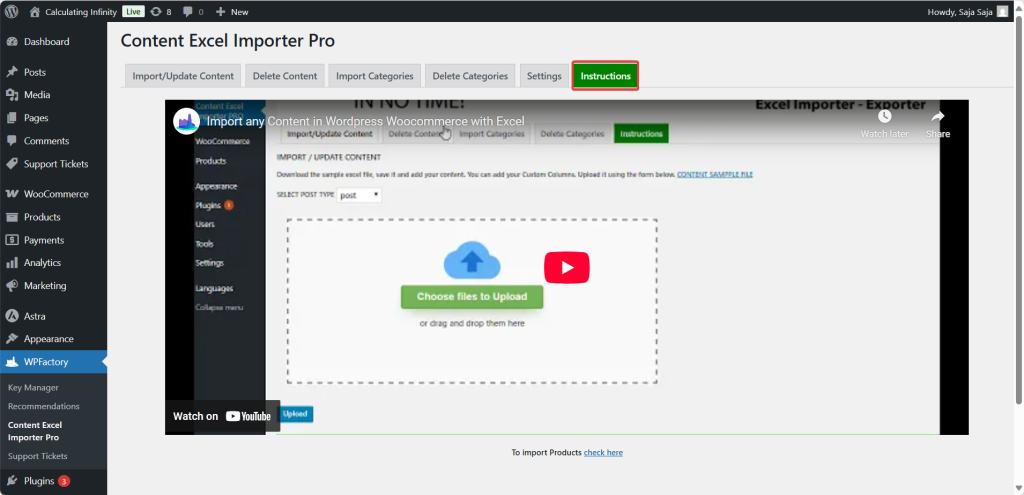
Step8:
➡Instructions
This section shows you some instructions that you should know regarding this plugin.
You can watch this video from here.
The Conclusion
Instead of taking long hours manually transferring content transfer, and risking errors along the way, now with the Content Importer for WordPress & WooCommerce with Excel, you can import any content, blog posts, pages, custom content, all at once without the need of manual entry.
This saves you a lot of time, effort, and reduces many human errors that may occur during manual transfer. This tool can significantly ease your workflow. In addition, this giving you full control over your data, making content management faster, easier, and more reliable.
Prefer watching? This short video summarizes the article in just a few minutes.