Table of Contents
The Back Button Widget plugin simplifies navigation for your WooCommerce store visitors by adding a dedicated “Back” button. This guide will walk you through the installation process, getting you started in minutes.
Installation Steps #
Access the Plugins Menu
#
- Log in to your WordPress dashboard.
- Navigate to Plugins on the left-hand menu.
Install the Plugin
#
There are two ways to install the Back Button Widget #
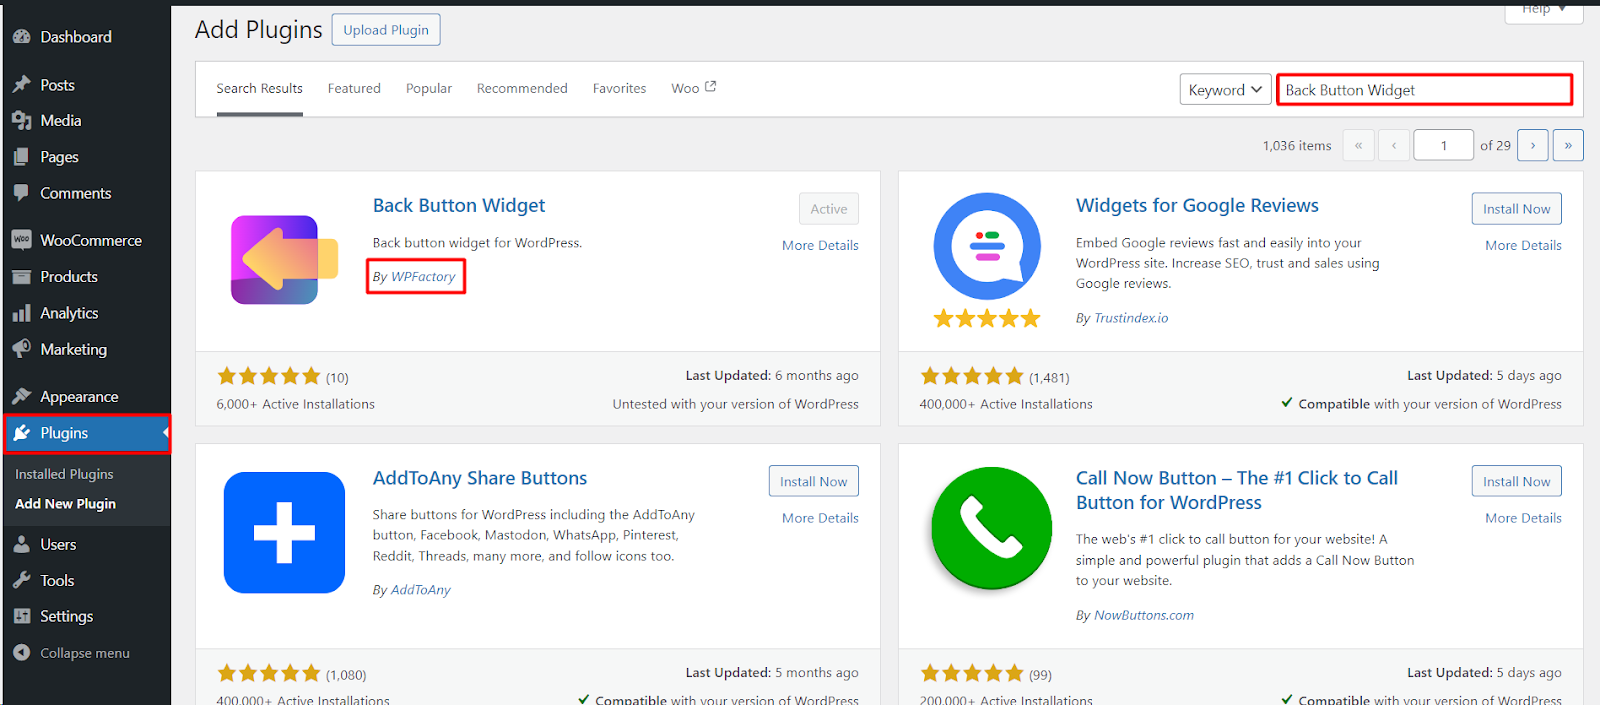
- Search: Click on Add New and search for “Back Button Widget” in the plugin directory. Locate the plugin by WPFactory and click Install Now.
- Manual Upload: If you’ve downloaded the plugin from a third-party source, click on Upload Plugin. Choose the downloaded ZIP file and click Install Now.
Activate the Plugin
#
- Once the installation is complete, click on Activate to enable the Back Button Widget plugin on your website.
Congratulations! You’ve successfully installed the Back Button Widget plugin.
Additional Notes #
- The Back Button Widget offers basic functionality and customization options may be limited.
- Consider exploring premium versions for more advanced features.
By installing the Back Button Widget, you’ll enhance your WooCommerce store’s user experience by providing visitors with a clear way to navigate back to previous pages, improving overall site flow and potentially increasing conversion rates.
Prefer watching? This short video summarizes the article in just a few minutes.