The Payment Gateway Currency for WooCommerce plugin by WPFactory empowers you to manage currency compatibility for various payment gateways within your WooCommerce store. This guide walks you through a smooth installation process, ensuring you can leverage the plugin’s functionalities to enhance your customer’s payment experience.
Installation Process #
There are two primary methods for installing the Payment Gateway Currency for WooCommerce plugin.
Method 1: Using the WordPress Plugin Directory #
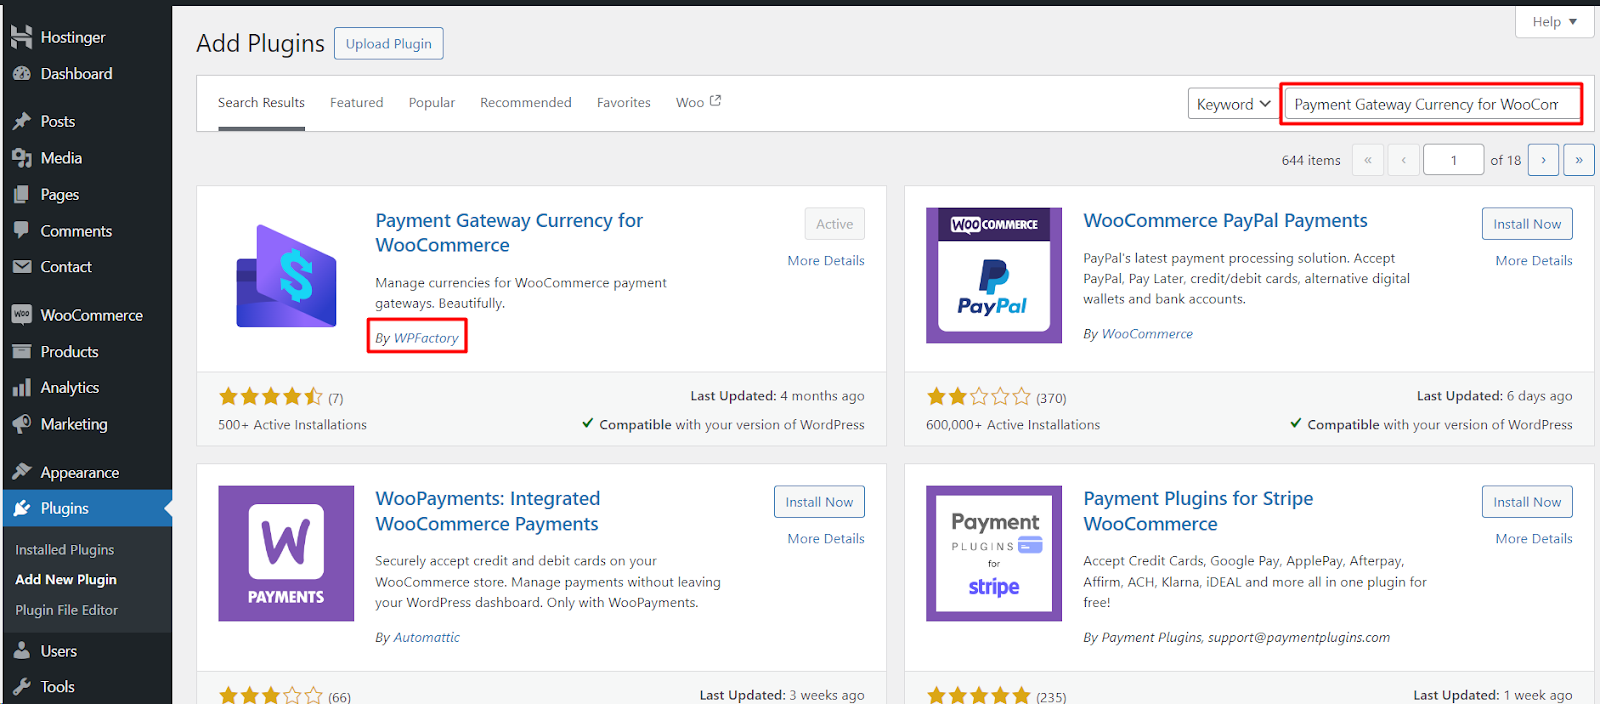
- Navigate to Plugins: Within your WordPress dashboard, locate the Plugins menu on the left-hand side and click on it.
- Search for Plugin: In the search bar, type “Payment Gateway Currency for WooCommerce.”
- Install and Activate: Once you locate the plugin, click Install Now and then Activate to begin using it.
Method 2: Uploading the Plugin Manually #
- Download the Plugin: Download the plugin file (usually a .zip archive) from a the WPFactory website.
- Go to Plugins: Navigate to the Plugins menu on your WordPress dashboard.
- Add New: Click on Add New at the top of the page.
- Upload Plugin: Click Upload Plugin and select the downloaded .zip file from your computer. Click Install Now and then Activate the plugin.
Verifying Installation #
Once you’ve installed the plugin using either method, you can verify its activation by following these steps.
- Navigate to Settings: Locate the Settings menu on the left-hand side of your WordPress dashboard and click on it.
- Find Payment Gateway Currency: Look for a section labeled Payment Gateway Currency (or similar wording) within the settings menu. If you see this section, the plugin is successfully installed and activated.
Conclusion #
By following these simple steps, you can effortlessly install the Payment Gateway Currency for WooCommerce plugin. This plugin empowers you to manage currency compatibility for various payment gateways, creating a more seamless and convenient payment experience for your international customers within your WooCommerce store.
Prefer watching? This short video summarizes the article in just a few minutes.