Table of Contents
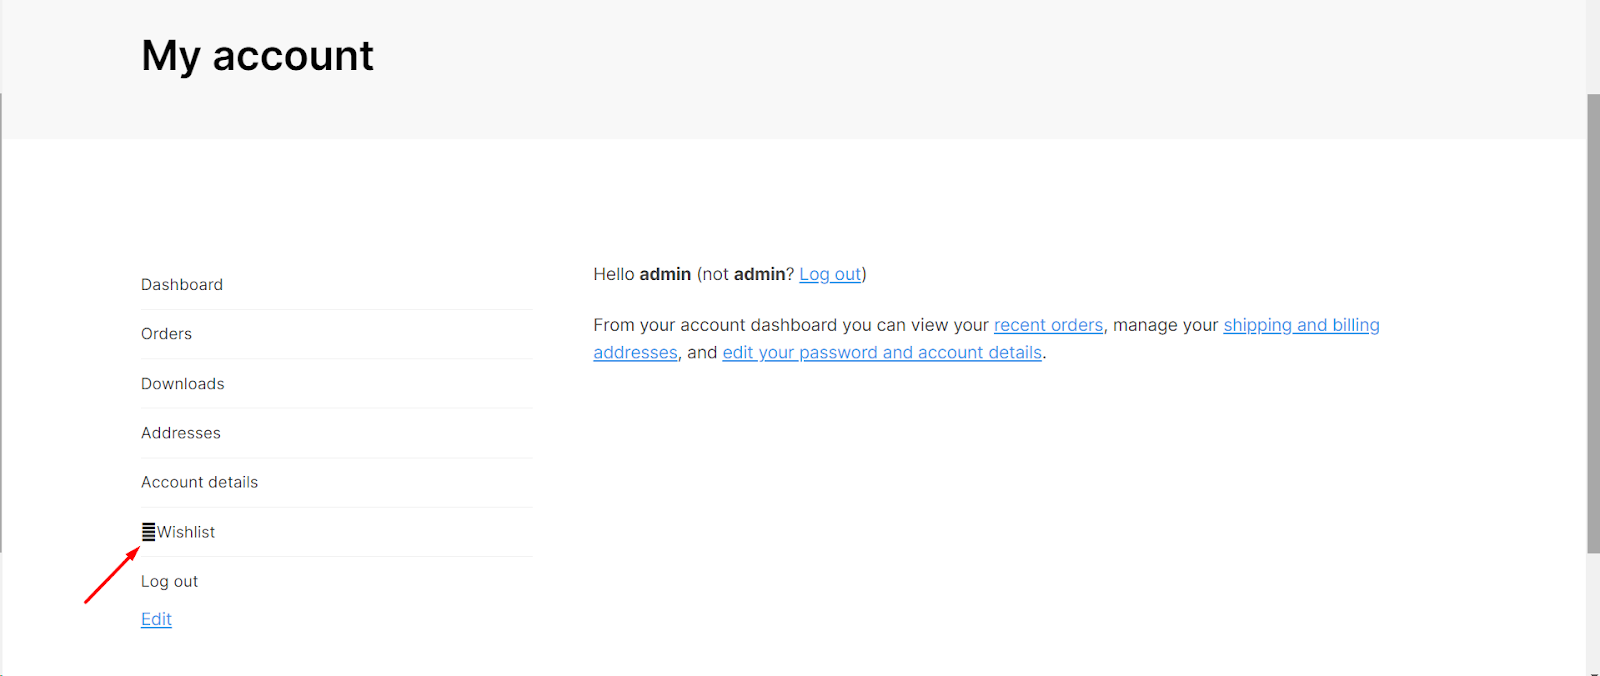
Enhance the visual appeal of your WooCommerce store by adding icons to the Wishlist tab on the “My Account” page. With our plugin’s easy-to-use settings, you can incorporate icons that resonate with your brand. Follow these steps to add icons to the Wishlist tab:
Step 1: Navigate to WooCommerce Wishlist Settings #
- Log in to your WordPress dashboard.
- Go to “WooCommerce“ in the left-hand menu.
- Find and click on the “Wishlist“ tab under WooCommerce settings.
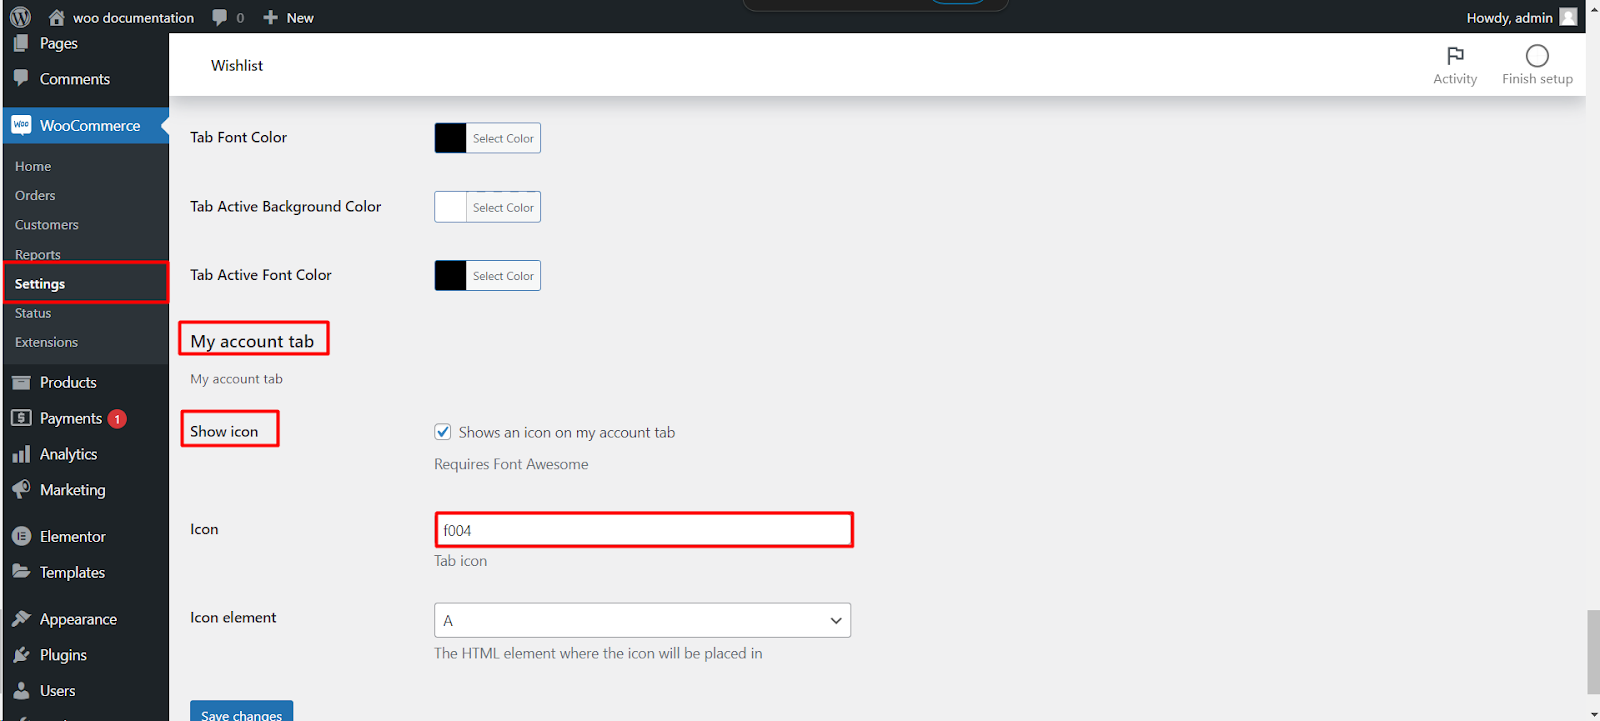
Step 2: Access Wishlist Style Settings #
- Within the Wishlist settings, click on the “Style“ tab.
Step 3: Show Icon on My Account Tab #
- Look for the “Show icon“ option. Enable this to display an icon on the “My Account“ tab for the Wishlist.
- Make sure you have Font Awesome installed, as it is required for the icon to be visible.
Step 4: Choose an Icon #
- In the “Icon“ section, you’ll find an input field for the Tab icon. Enter the Font Awesome code for the desired icon. For example, if you want to use a heart icon, enter `f004`.
Step 5: Define Icon Element #
- Choose the HTML element (e.g., ‘A’) where the icon will be placed.
Step 6: Save Changes #
- Save your changes to apply the icon to the Wishlist tab on the “My Account“ page.
Now, customers visiting their account page will see an icon alongside the Wishlist tab, providing a more visually engaging experience.