- Infusing Brand Identity into Your Wishlist
- Step 1: Enabling Custom Styles
- Unleashing Creative Control
- Step 2: Defining the Color Palette
- Setting the Visual Tone
- Step 3: Personalizing Buttons and Icons
- Crafting the Details
- Step 4: Refining Text and Background Styles
- Fine-tuning the Visual Elements
- Step 5: Adjusting Alignment and Padding
- Balancing the Layout
- Step 6: Incorporating Responsive Design
- Ensuring Visual Appeal Across Devices
- Step 7: Saving Your Stylistic Flair
- Solidifying Your Aesthetic Choices
Infusing Brand Identity into Your Wishlist #
The visual appeal of your online store’s Wishlist can significantly influence customer engagement. By personalizing the style settings, you create a Wishlist that is not only functional but also a true reflection of your brand’s identity.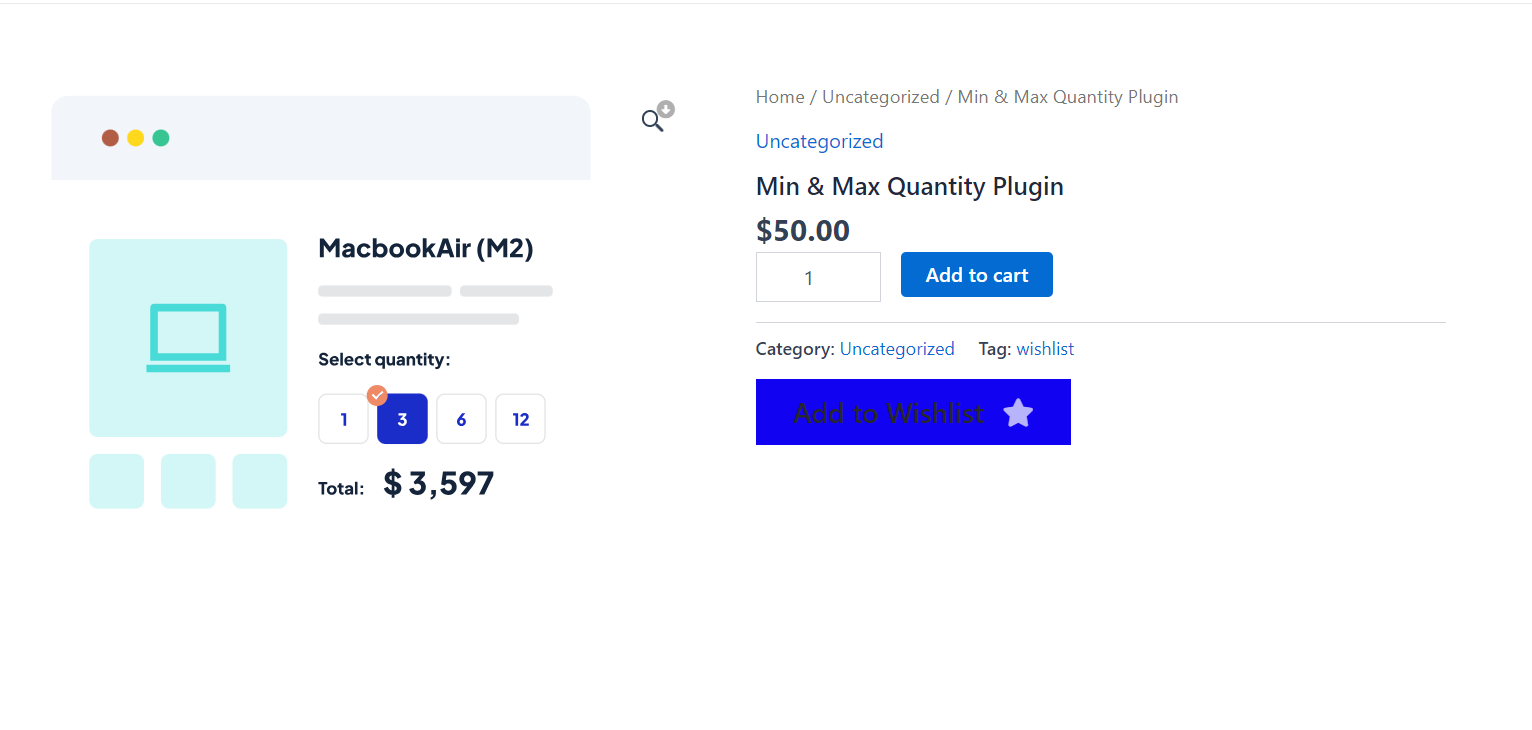

Step 1: Enabling Custom Styles #
Unleashing Creative Control #
Toggle on the custom style section to take charge of your Wishlist’s appearance, setting the stage for a unique and personalized user interface.
Step 2: Defining the Color Palette #
Setting the Visual Tone #
Select the colours for social icons, buttons, and notification popups, ensuring consistency with your brand’s colour scheme and enhancing visual harmony.
Step 3: Personalizing Buttons and Icons #
Crafting the Details #
Customize the icons for added and removed items, their colours, and behaviours like pulsation on hover to add a dynamic and interactive element to your Wishlist.
Step 4: Refining Text and Background Styles #
Fine-tuning the Visual Elements #
Adjust text colour, background colors, and font properties across the Wishlist and popup notifications to match your store’s theme and maximize readability.
Step 5: Adjusting Alignment and Padding #
Balancing the Layout #
Set the alignment for Wishlist items and fine-tune the padding to ensure a clean and organized layout that enhances user experience.
Step 6: Incorporating Responsive Design #
Ensuring Visual Appeal Across Devices #
Ensure that your Wishlist’s style settings are responsive, providing a seamless and visually appealing experience on both desktop and mobile platforms.
Step 7: Saving Your Stylistic Flair #
Solidifying Your Aesthetic Choices #
Once you’ve perfected the look of your Wishlist, hit ‘Save changes’ to apply your custom style settings, bringing your Wishlist’s new look to life.