How to Get Advanced Sales Reports and Forecasts in WooCommerce
Imagine driving with your eyes closed, sooner or later, you will cause a lot of accidents.
The same applies to your WooCommerce store, without clear, detailed reports on sales, inventory, you’re working in the dark, because you will take your decisions based on guesswork, not reality.
Therefore, you need advanced and detailed reports about your sales and inventory, which give you the whole image about what is happening in your store, and what decisions you should make based on these reports.
So, in this article, we will walk you through WooCommerce Advanced Reporting and Statistics. This tool is a powerful plugin designed to give you advanced reports and visual analytics for your WooCommerce store, helping you track performance, forecast sales, and manage inventory intelligently, all through your WordPress dashboard.
Now let’s go to see how easy it is to get started with this smart tool!

Step1:
➡ Download the Plugin
To get started, you will need to download the “WooCommerce Advanced Reporting and Statistics” plugin, which allows you to track and your sales and inventory easily.
After downloading the plugin from your WPFactory account, upload it to your WordPress site.
Step2:
➡ Access the Plugin
Once the plugin is installed and activated, you can tailor it to fit your business needs.
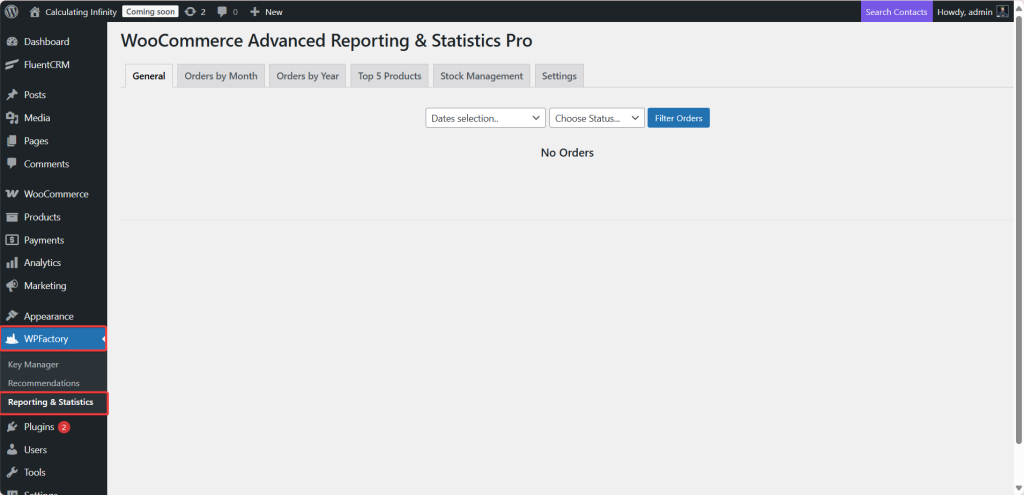
Go to WordPress dashboard > “WPFactory” > Reporting & Statistics.
This is the main page for full control of the reporting & statistics.
Step3:
➡ General
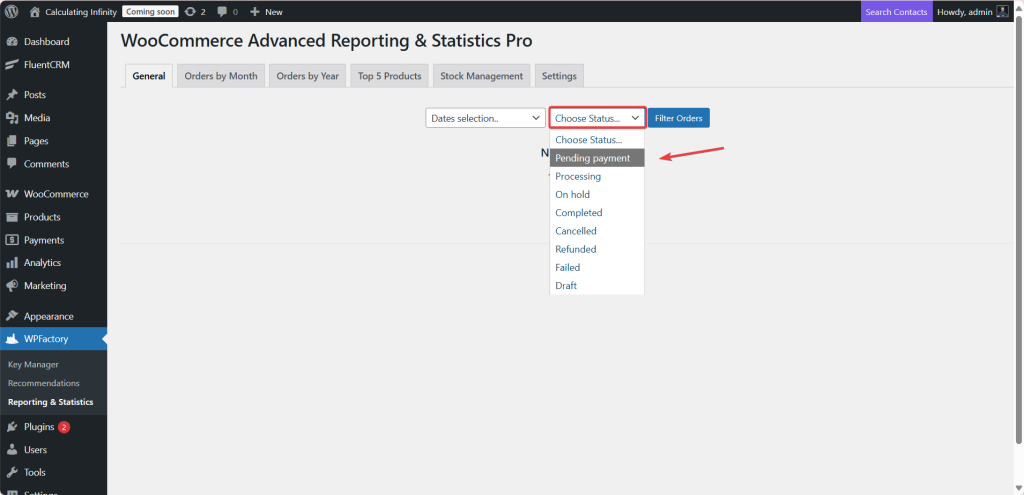
This page displays the general reports of your store.
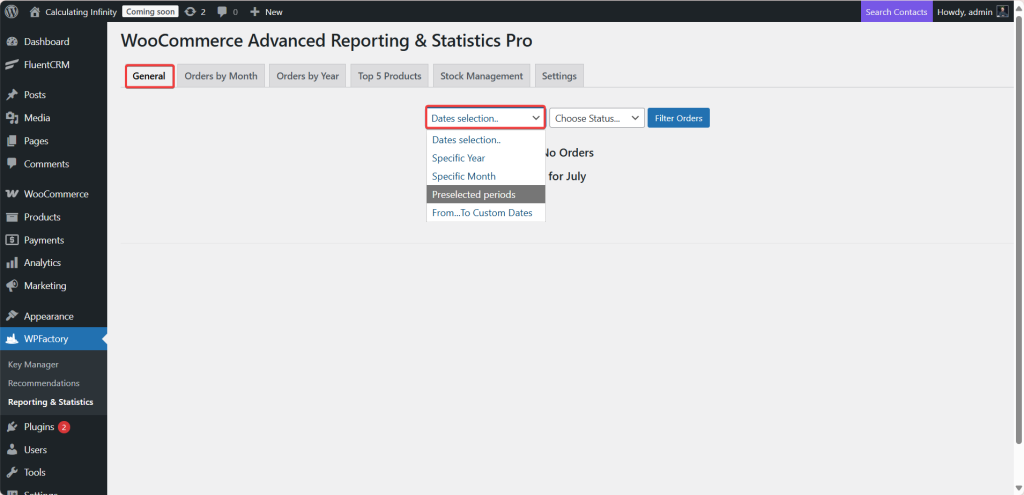
You can specify the date range and order status from the dropdown menu:
- Dates Selections
From here, you specify the date range you want to view.
-
Specific year
-
Specific month
-
Preselected periods
-
From…to custom dates
- Choose Status
From here, you can filter orders based on their status.
-
Pending payment.
-
Processing.
-
On hold
-
Completed
-
Cancelled.
-
Refunds.
-
Failed.
-
Draft.
Step3:
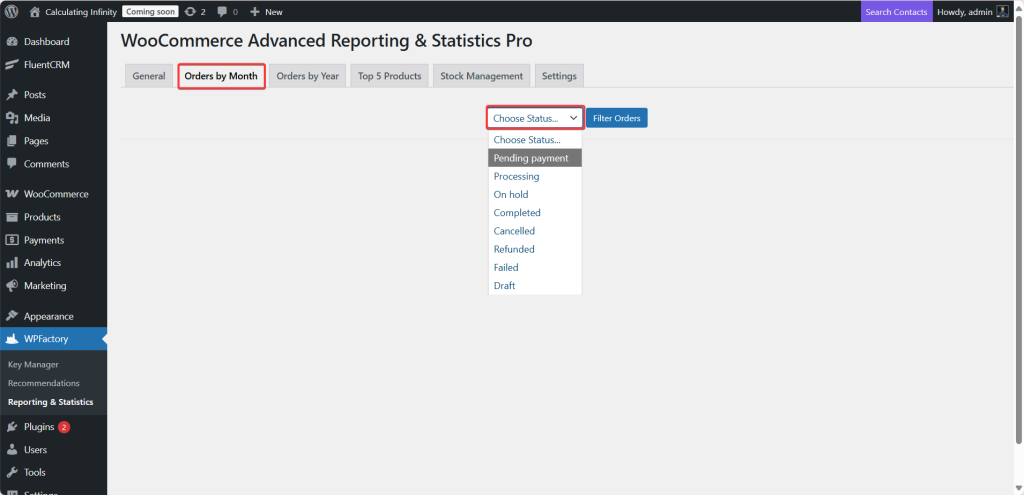
➡ Orders by Month
From here, you can get sales reports divided by months.
Useful for tracking monthly growth and performance trends.
Step4:
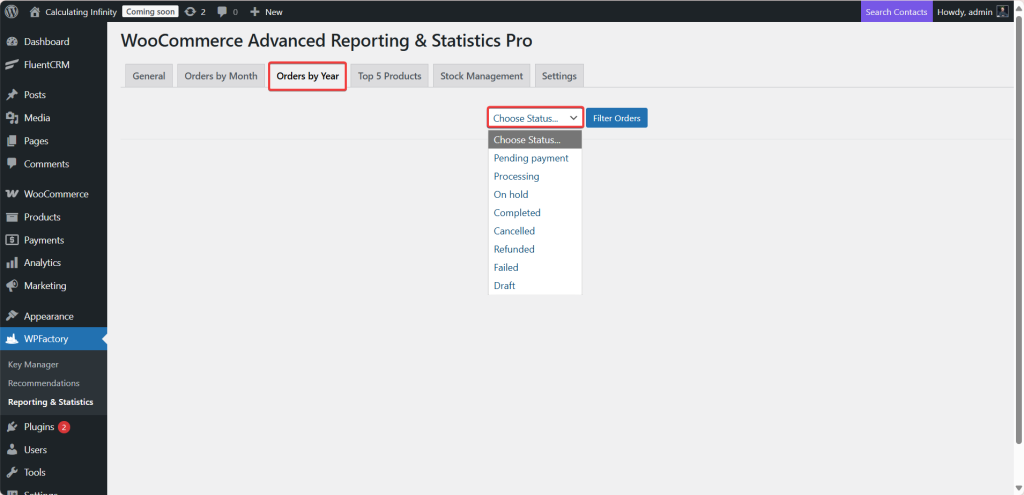
➡ Orders by Year
This section provides yearly reports and statistics for your orders and sales.
Step5:
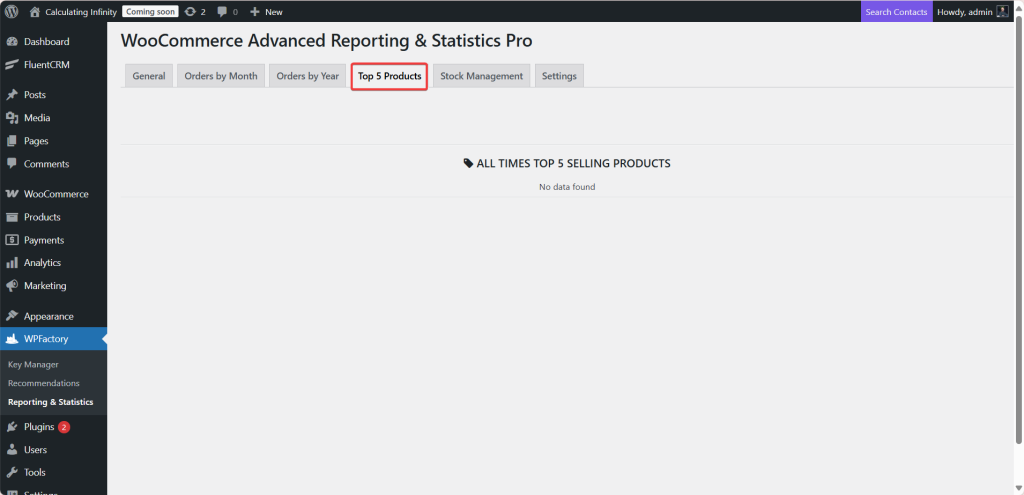
➡ Top 5 Products
Here, you will see a list of top 5 best-selling products in your stores. Helping you spot what’s selling well and plan your promotions.
Step6:
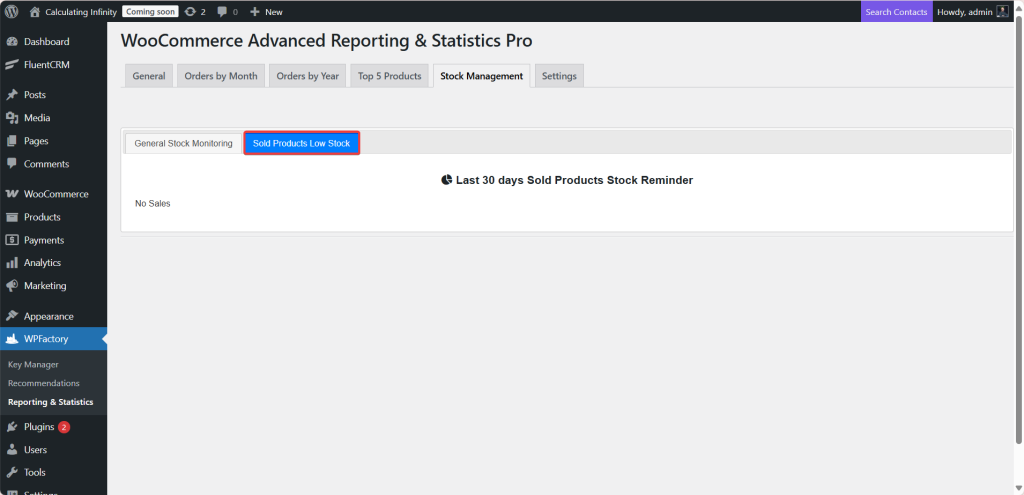
➡ Stock Management
From her,e you can manage and track the inventory of your store. It shows you products that are close to running out. This option is very useful to avoid losing sales due to stock depletion.
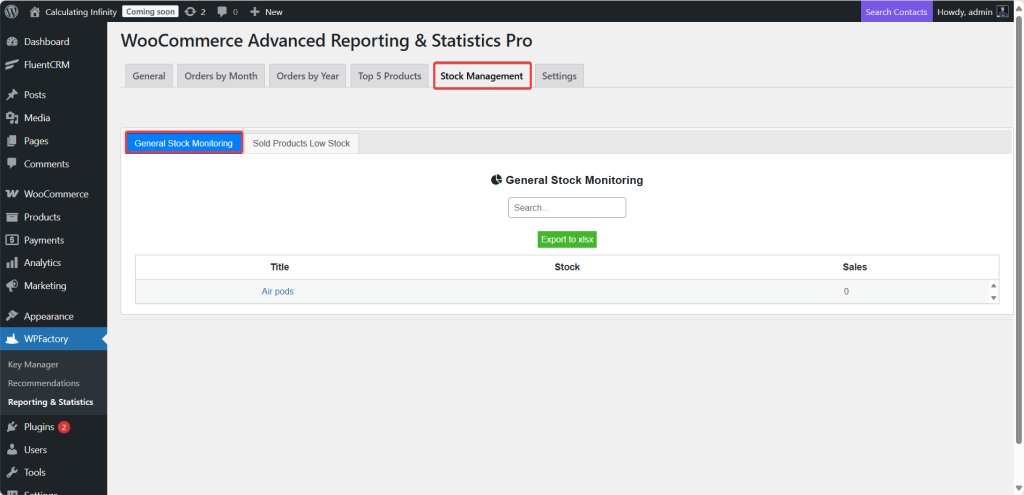
The plugin reviews the products that have been sold in the last 30 days. Then it checks the current inventory level for each product. If the inventory of any of those products is low, the plugin will list them in the low stock reminder.
Step7:
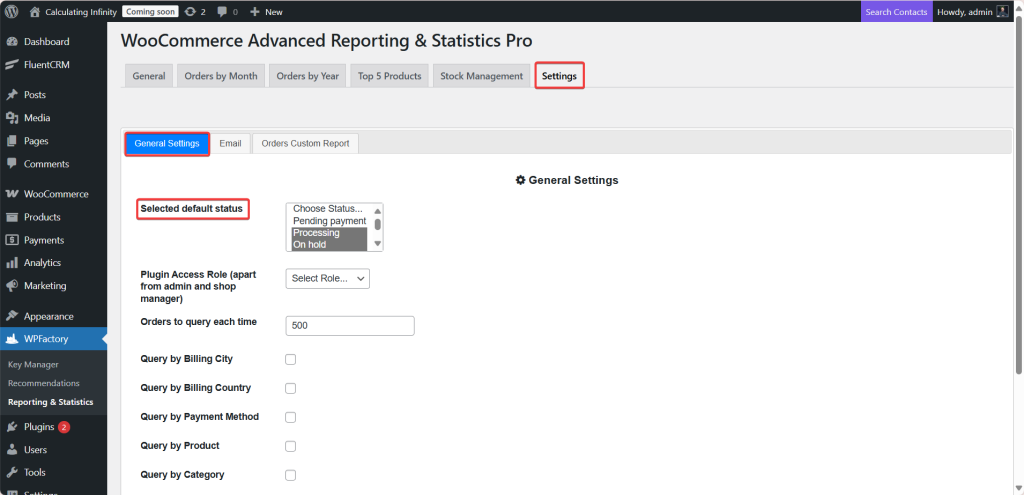
➡ Settings
-
General Settings
From here, you can control the general settings.
- Selected Default Status
From her,e you can select the default order status that the plugin will use for its operations or display in reports.
The options are the order statuses in WooCommerce:
-
Pending payment
-
Processing
-
On hold
-
Completed
-
Cancelled
-
Refunded
-
Failed
-
Draft
- Plugin Access Role (apart from admin and shop manager)
From here, you can choose which additional user roles should have access to the plugin. For example:
-
Editor
-
Author
-
Customer
-
Subscriber
So, you can simply select the role you would like to grant permission to.
- Orders to query each time
From here, you can specify the number of orders that are fetched each time. For example, 500 means that each time it retrieves data for 500 orders at once.
You can also filter by billing city, payment method, filter by a specific product, by product category, or even by customer.
-
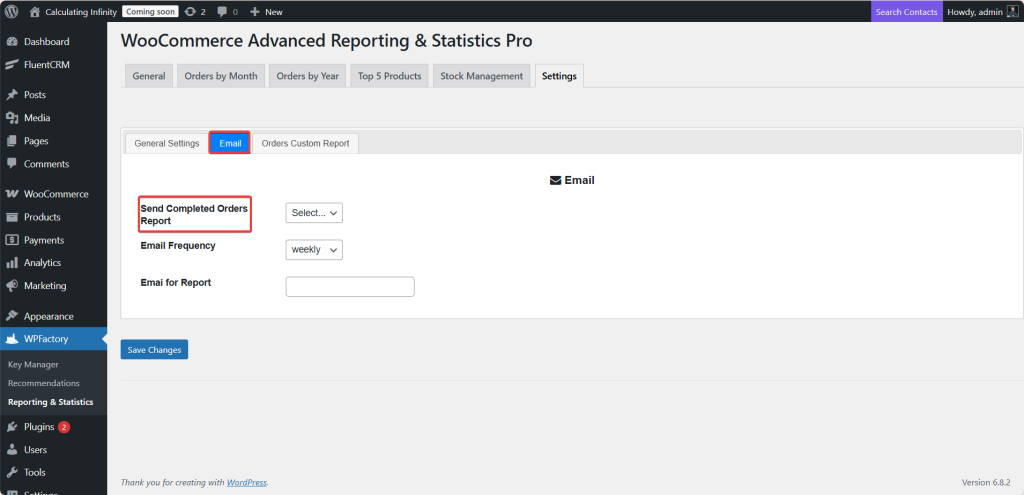
Emails
Here, you can control the automatic sending of completed order reports via email.
- Send Completed Orders Report
Here, you can select options, Yes or No, to enable automatic email reports for orders with the states completed.
- Email Frequency
From here you can specify the duration for which emails are repeatedly sent. For example, every day, week, or month.
Final Thoughts
So, if you are struggling to actually track your sales performance, want to know which products are at risk of running out, or even if you manage a large store and need clear and detailed reports, then “WooCommerce Advanced Reporting and Statistics” plugin is the perfect solution for your store.
With its smart & user-friendly interface, the plugin will provide you with the insights you need through smart filtering options and automated email reports. So, this will empower you to make smarter, data-driven decisions while minimizing errors and improving overall store performance.
Prefer watching? This short video summarizes the article in just a few minutes.