
Introduction
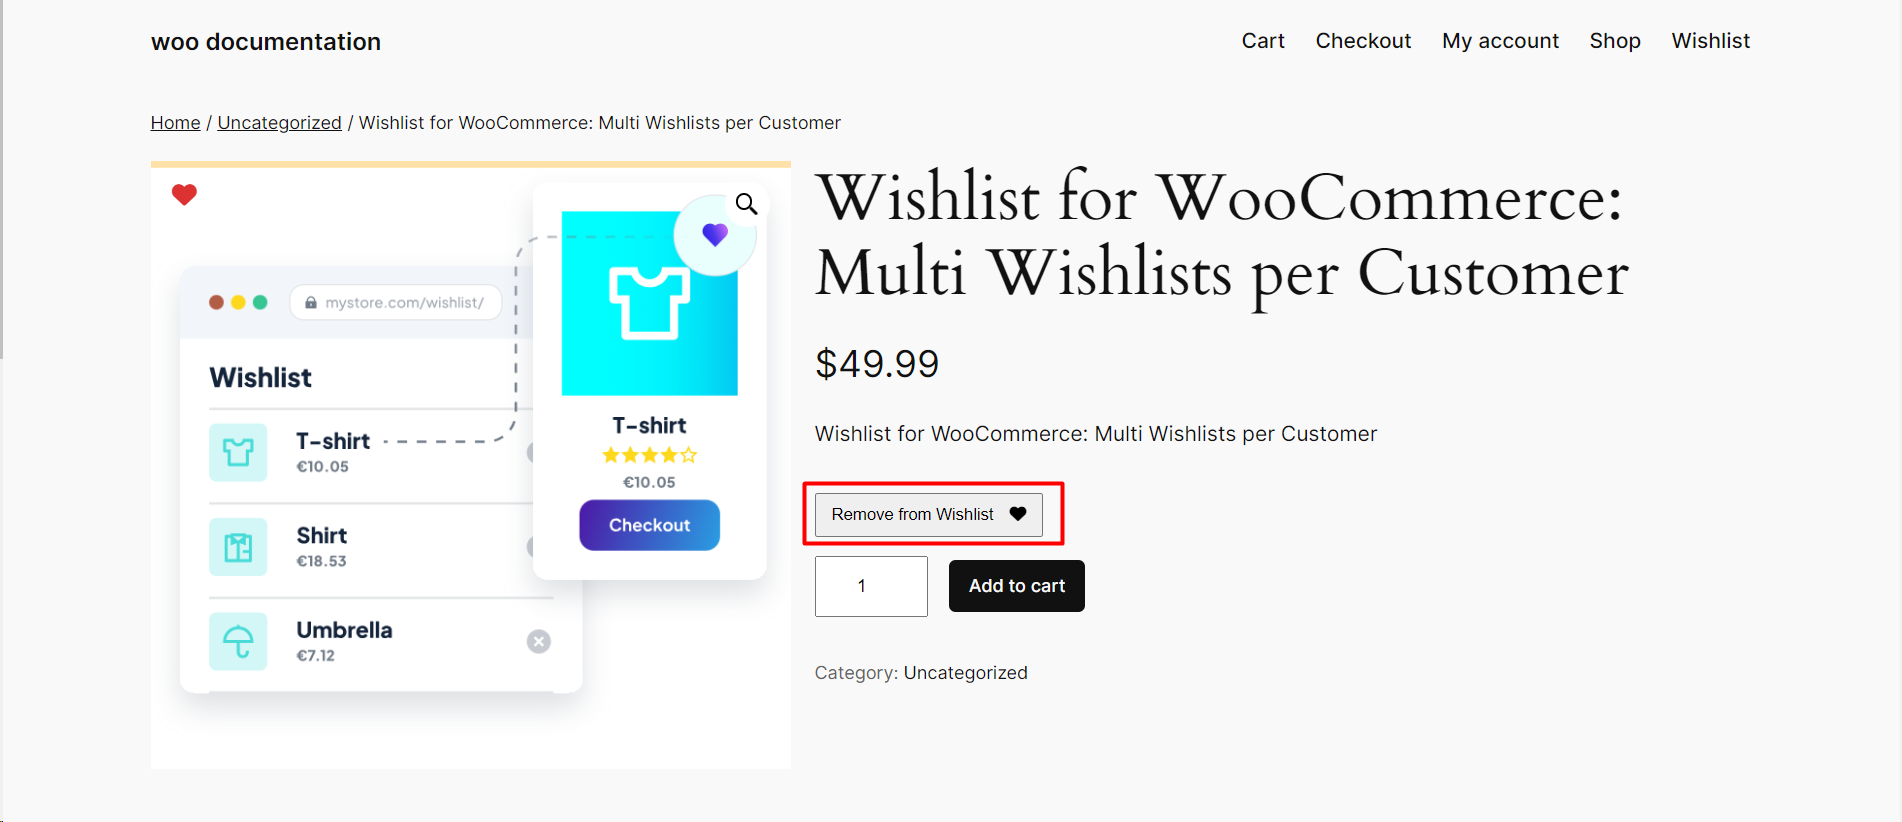
The ‘Buttons’ tab in the WooCommerce Wishlist plugin settings offers extensive customization options for the ‘Add to Wishlist’ button, catering to the diverse needs of different WooCommerce stores.
Customizing the Wishlist Button
The ‘Buttons’ tab is pivotal for enhancing how your customers interact with products they wish to save for later. Here’s a step-by-step guide to customizing this feature.
Step 1: Accessing Button Settings
- To begin customizing, go to WooCommerce > Settings > Wishlist and select the ‘Buttons’ tab.
Step 2: Default Button Customization
- Configure the default button settings, including whether to show a loading icon after a customer clicks to add an item to their wishlist.
Step 3: Single Product Page Button
- Enable the ‘Add to Wishlist’ button on single product pages and set its position with the hook priority to ensure it fits well with your theme’s design.
Step 4: Product Loop Button
- For displaying the wishlist button in product loops, like on shop pages or archives, enable the button and decide its placement with hook priority.
Step 5: Thumb Button Options
- Customize the thumb button that appears over product images to allow customers to add items to their wishlist directly from the product thumbnail.
Step 6: Interaction with Unlogged Users
- Determine how unlogged users interact with the wishlist button – whether they can add items or need to log in first.
Step 7: Save Your Customizations
- After making the desired changes, click ‘Save changes’ to apply them to your store.