
Introduction
The WooCommerce Wishlist Plugin is an essential tool for any eCommerce site running on WooCommerce. It allows users to save their favourite products, share lists for special occasions, and much more, enhancing the shopping experience. This guide will walk you through the basics of getting started with this plugin.
Installation
Step 1: Plugin Download
- Firstly, you need to download the WooCommerce Wishlist Plugin from the plugin repository or purchase a pro version for more features from our site.
Step 2: Installation from WordPress directory
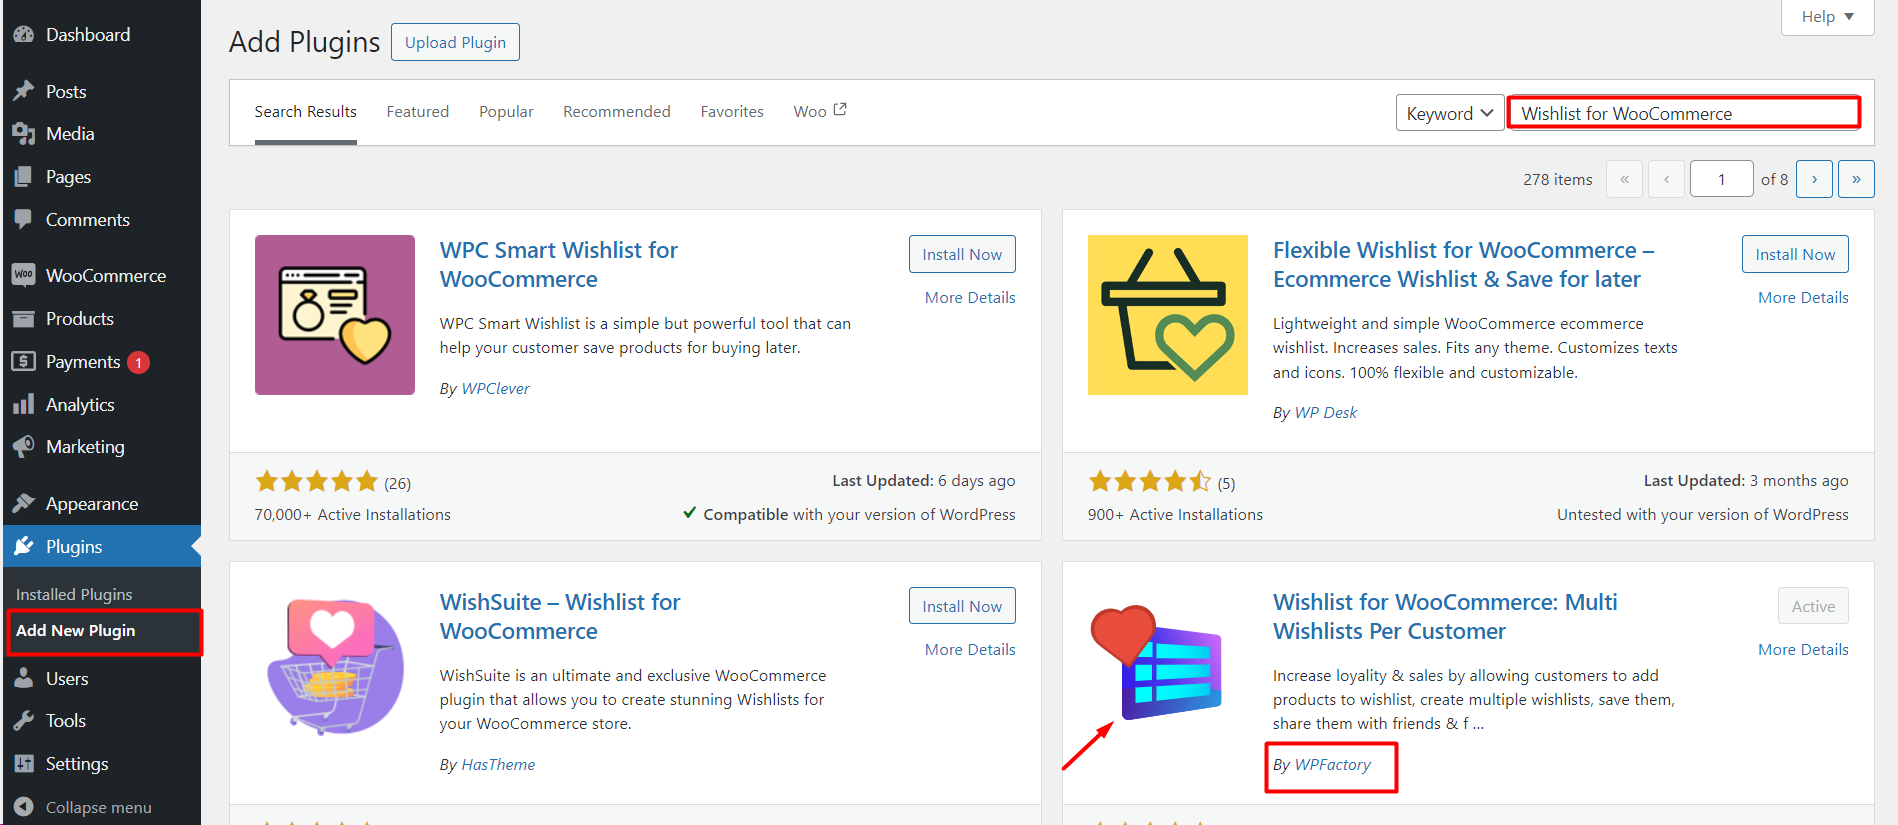
- A ) Free Version: Navigate to your WordPress dashboard, go to the `Plugins` section, and click on `Add New`. Search Wishlist for WooCommerce”.
Click the install now button.
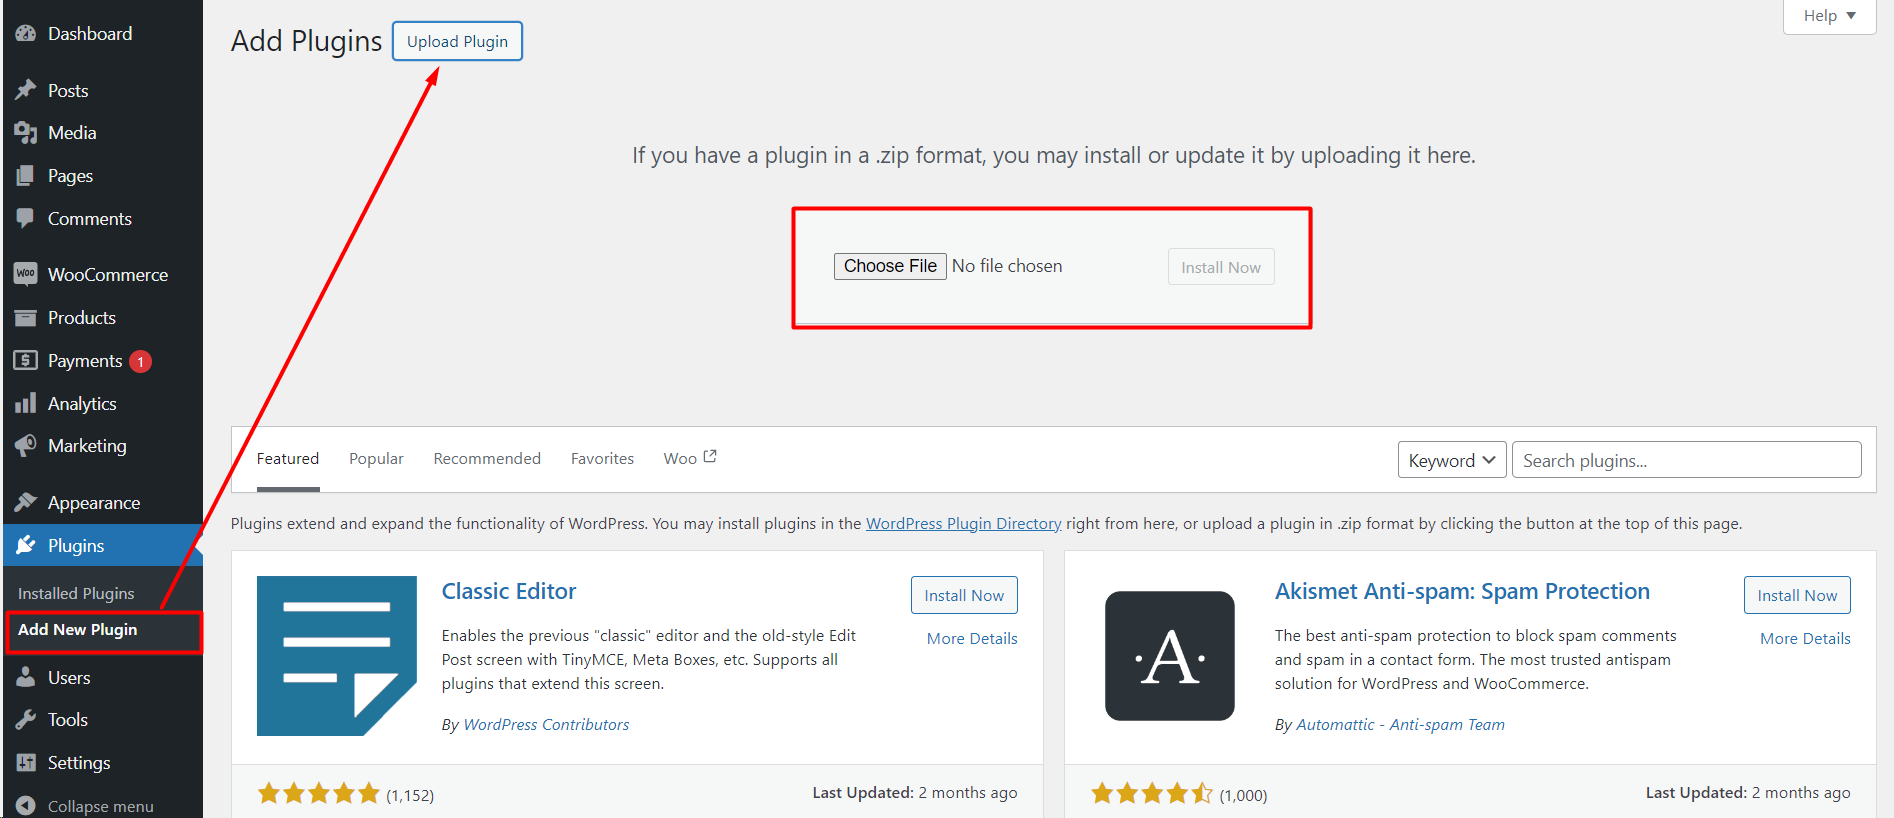
- B) Pro Version : To acquire the plugin’s Pro Version, make a purchase through our website. After completing the purchase, proceed to your WordPress dashboard. Navigate to the “Plugins” section and click on “Add New.” Choose “Upload Plugin,” upload the file, and initiate the installation process.
Step 3: Activation
- After the installation, click on the `Activate Plugin` link to get the Wishlist plugin running on your WooCommerce store.
Initial Configuration
- Accessing Wishlist Settings
- Once activated, you can find the Wishlist settings by going to WooCommerce > Settings > Wishlist.
- Here’s a quick overview of each tab:
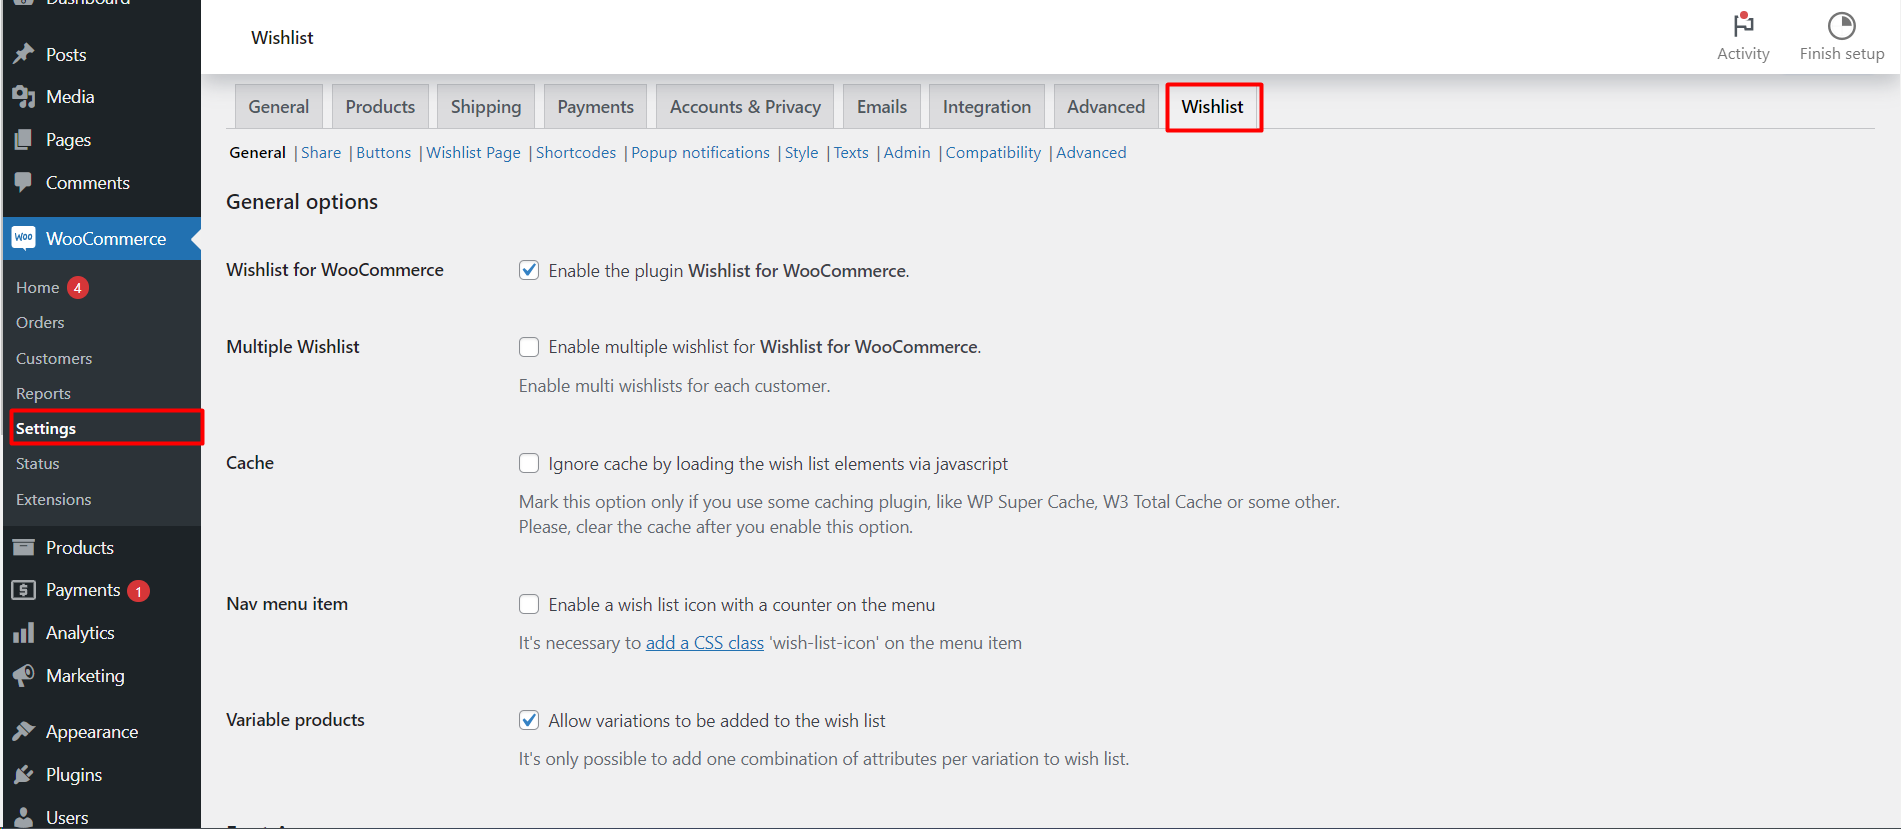
- General: Set up the core functionalities of your wishlist, like enabling the ‘Add to Wishlist’ button behaviour and setting fonts.
- Share:Enable and manage how users can share their wishlists on social media platforms or via direct links.
- Buttons :Customize the ‘Add to Wishlist‘ button’s appearance and functionality on product pages.
- Wishlist Page :Designate and configure the dedicated page that displays the user’s Wishlist items.
- Shortcodes :Utilize shortcodes to display wishlist-related elements throughout your site, such as display wishlist.
- Popup Notifications :Modify popup notifications for wishlist actions on desktop.
- Style : Adjust the visual style of wishlist components, ensuring they align with your site’s branding.
- Texts: Fine-tune the text displayed on wishlist elements, including buttons, notifications, and error messages.
- Admin:View and manage customer wishlists from the admin panel for better insights and control.
- Compatibility:In the ‘Compatibility’ tab, you can ensure smooth integration with themes such as The7, or replace shortcodes from other wishlist plugins like TI WooCommerce Wishlist for a seamless transition.
- Advanced:Dive into advanced settings to handle caching, AJAX updates, and more technical aspects of the Wishlist feature.