
Introduction
In the digital age, social sharing is a powerful tool for eCommerce platforms. The WooCommerce Wishlist plugin capitalizes on this by enabling customers to share their curated wishlists with their network.
Enabling Wishlist Sharing
The ‘Share’ tab in the WooCommerce Wishlist plugin settings is where you can empower your customers to share their wishlists. Here’s how to activate and utilize these features.
Step 1: Access the Share Settings
- Navigate to WooCommerce > Settings > Wishlist and click on the ‘Share’ tab to view the sharing options.
Step 2: Activate Sharing
- Ensure the ‘Share wishlist’ option is checked to allow customers to share their wishlist.
Step 3: Configure Share Button Placement
- Choose where you want the share buttons to be loaded. Options typically include ‘Before Wishlist Table,’ ‘After Wishlist Table,’ or as part of the wishlist item itself.
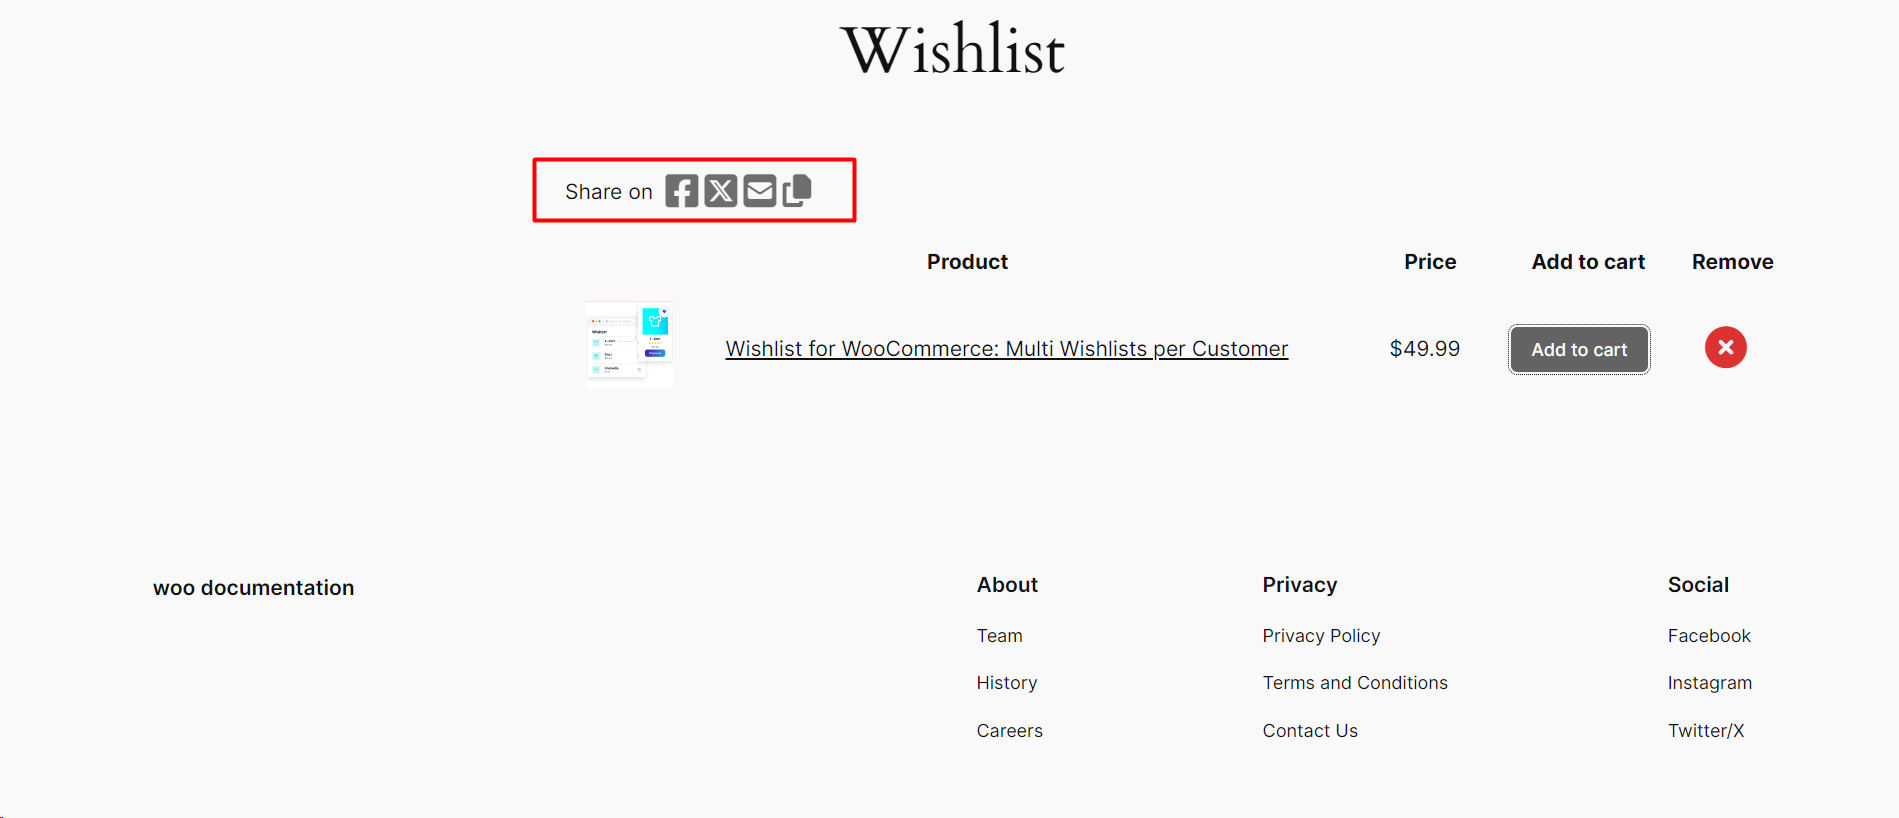
- Once Upon activating “share wishlist”, the icon will appear on the wishlist page, allowing customers to easily share wishlist product.
Step 4: Admin Email Notifications
- Enter the admin email(s) to receive notifications when wishlists are shared. This allows you to track engagement and follow up if necessary.
Step 5: Social Platforms
- Select the social media platforms where you want to enable sharing, like Facebook and Twitter. Make sure you have the appropriate meta tags set up for displaying images on these platforms.
Step 6: Save Changes
- After configuring the settings, click ‘Save changes’ to ensure your wishlist sharing is active and ready for your customers to use.