
Creating a Wishlist on your WooCommerce site that reflects your brand and enhances user experience is essential. The Wishlist for WooCommerce plugin offers comprehensive options to tailor the wishlist layout to your store’s style. Here’s how you can customize your wishlist layout effectively.
Accessing the Wishlist Settings:
To start customizing your Wishlist layout, navigate to WooCommerce > Settings > Wishlist in your WordPress dashboard.
General Options:
In the ‘General’ tab, you can activate the plugin and configure basic settings like enabling multiple wishlists for customers and controlling how wishlists should handle caching for optimal performance.
Wishlist Appearance:
Under the ‘General ‘ tab, you will find options to load custom icon libraries like FontAwesome, which offers a wide array of icons to choose from for your ‘Add to Wishlist’ button.
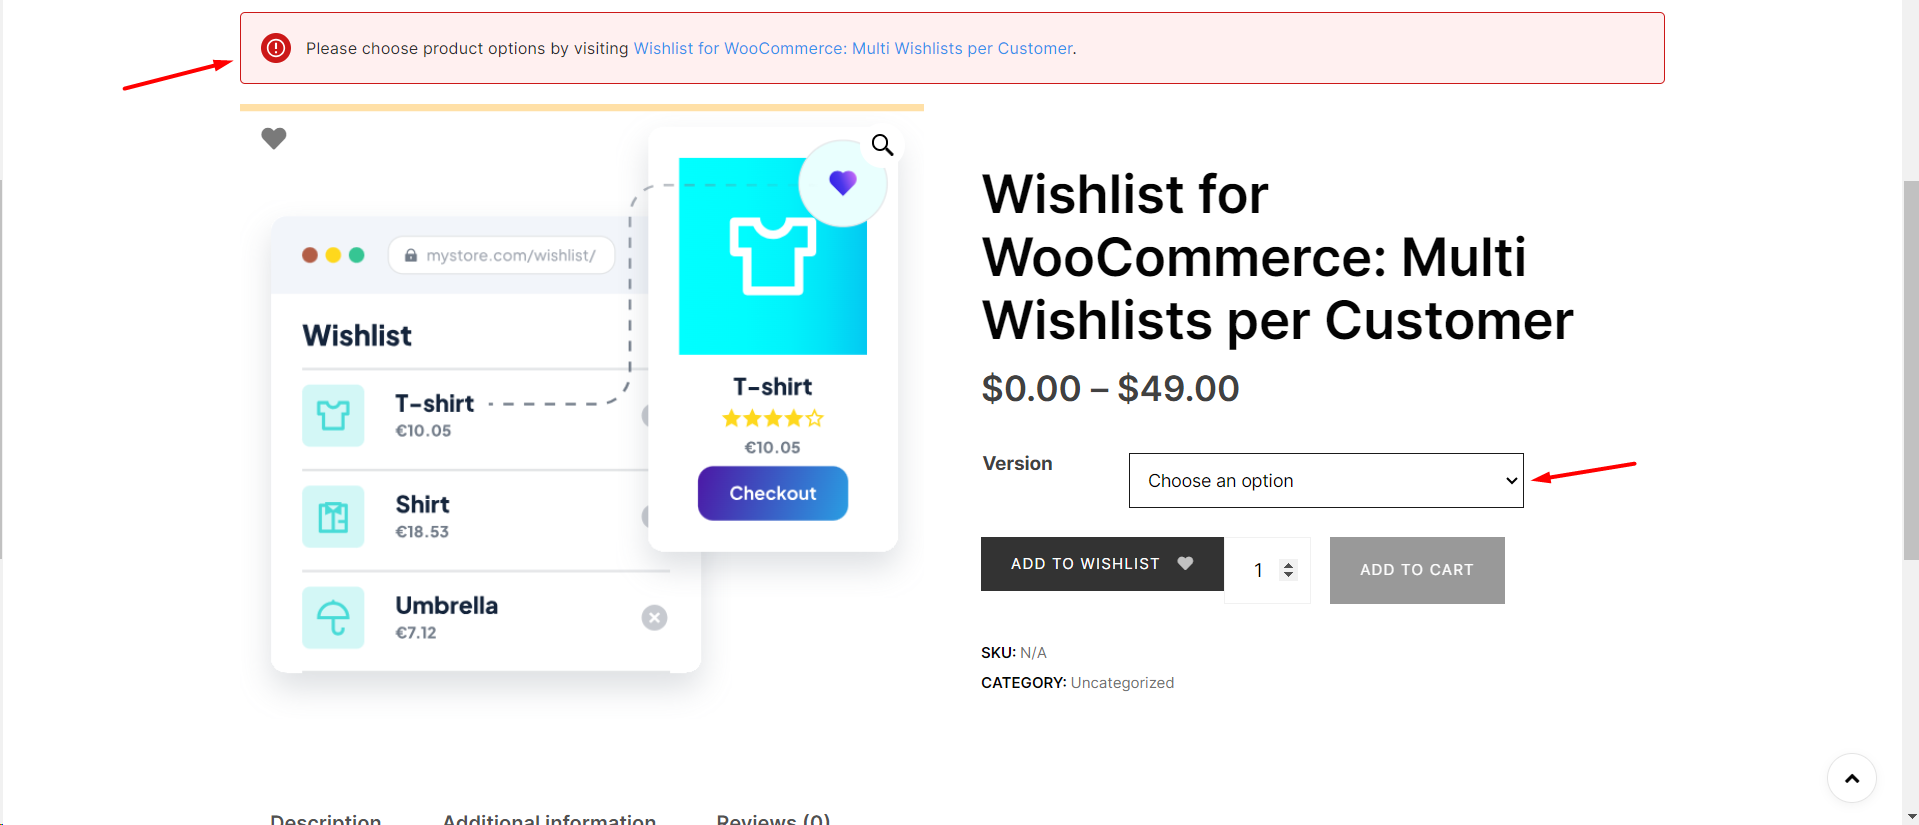
Upon activating Wishlist for WooCommerce, the icon will appear on the product page, allowing customers to easily add items to their wishlist.
Responsive Design:
The plugin allows you to set breakpoints for mobile responsiveness, ensuring your wishlist looks great on all devices. Adjust the max width and height to control how wishlist elements appear on smaller screens.
Saving Your Changes:
After you’ve made your desired changes, don’t forget to click ‘Save changes’ to apply them to your site.