
Elevate your customers’ shopping journey by creating a dedicated Wishlist tab on their “My Account“ page. With our WooCommerce Wishlist plugin, you can seamlessly integrate this feature to enhance user engagement. Here’s a step-by-step guide on how to add a Wishlist tab to the “My Account” page:

Step 1: Navigate to WooCommerce Wishlist Settings
- Log in to your WordPress dashboard.
- Find and click on “WooCommerce“ in the left-hand menu.
- Locate the “Wishlist“ tab and click on it.
Step 2: Access Wishlist Page Settings
- Under the Wishlist tab, look for the option related to “Wishlist Page“ or a similar setting.
Step 3: Enable Wishlist at My Account Page
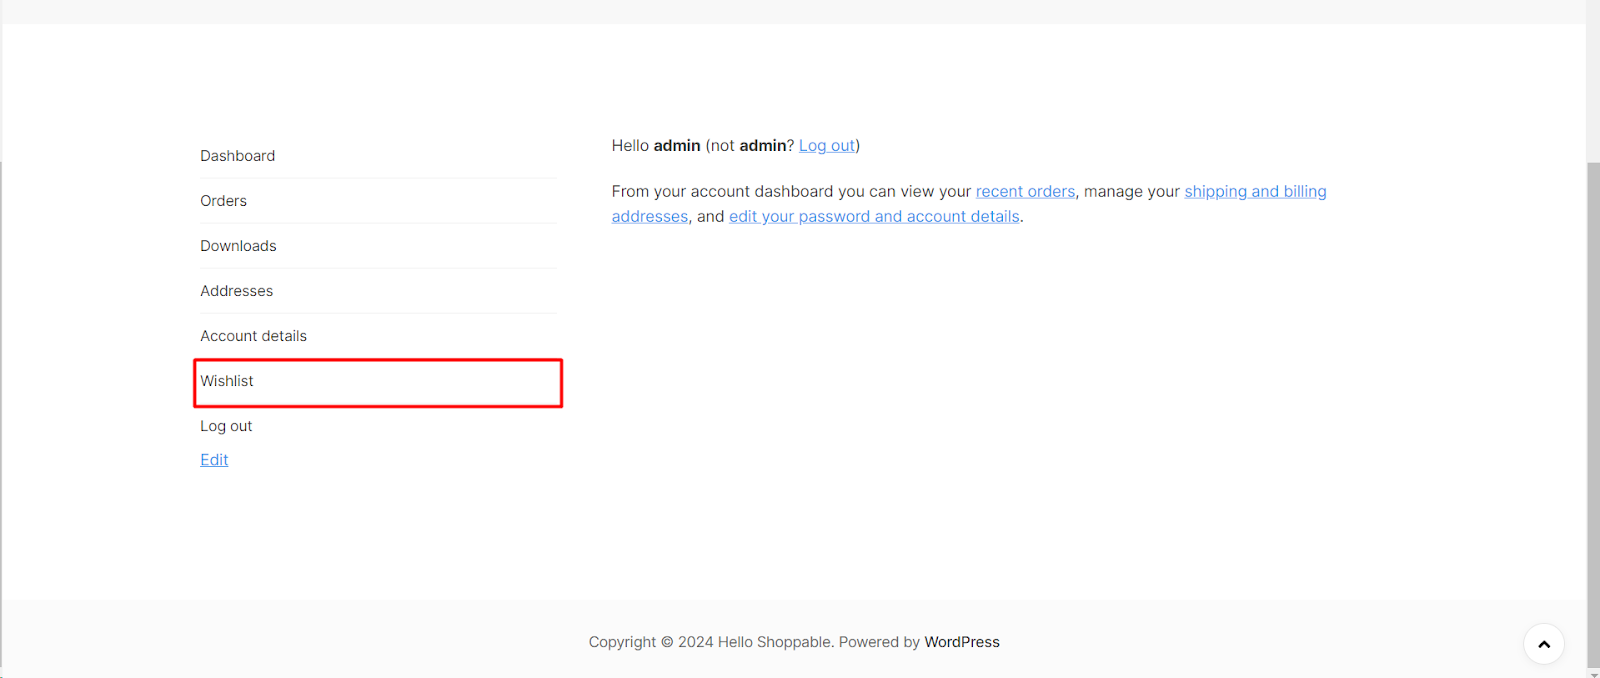
- Within the Wishlist Page settings, find the option to “Create a Wishlist Tab on ‘My Account’ Page“ or a similar setting.
- Enable this option to activate the Wishlist tab on the “My Account“ page.
Step 4: Troubleshooting Tip
- If the Wishlist tab doesn’t appear on the first attempt, go to Permalink Settings and save changes. This can help resolve any permalink-related issues.
Step 5: Save Changes
- Don’t forget to save your changes to apply the Wishlist tab to the “My Account“ page.
Now, your customers will have a dedicated Wishlist tab in their accounts, offering easy access to their saved items.