
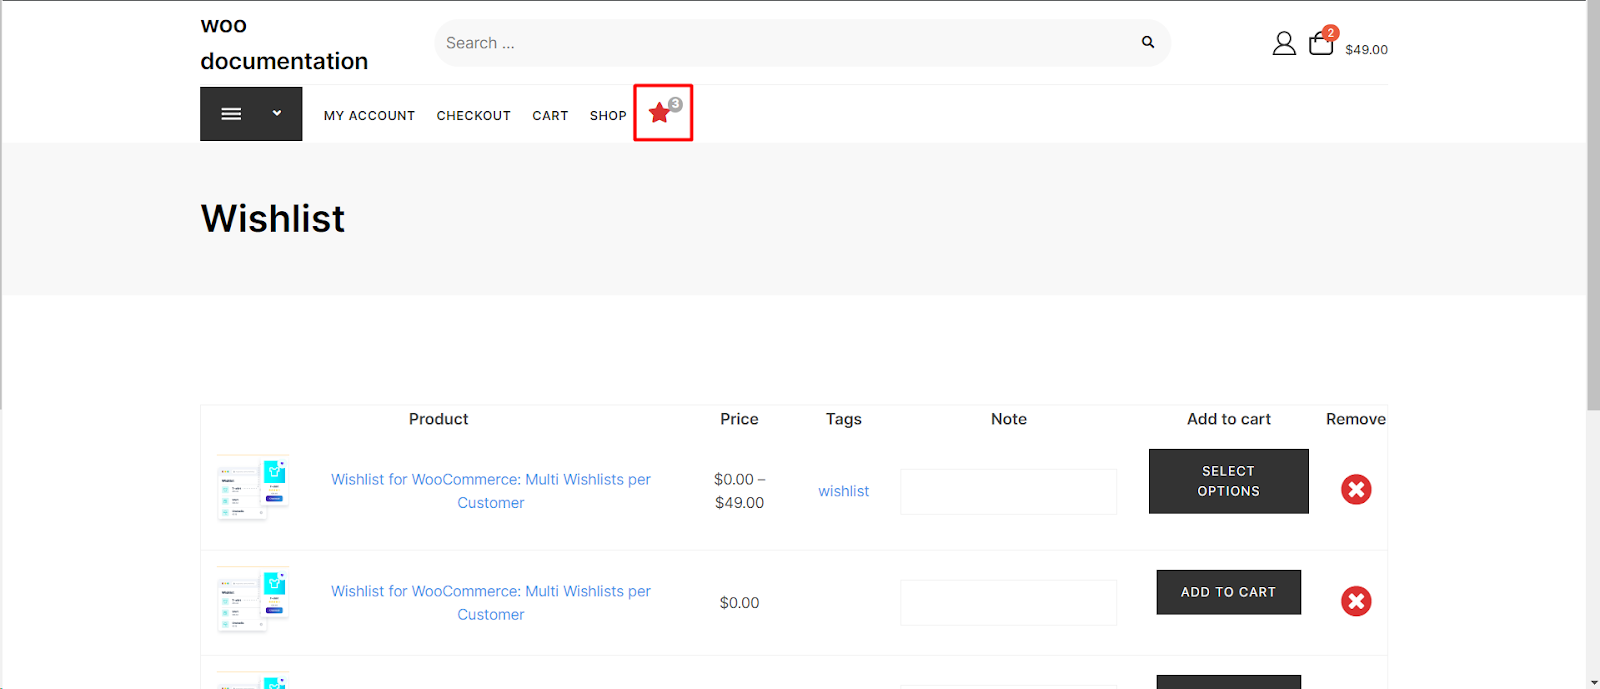
Elevate your WooCommerce store’s aesthetics by customizing the color of the wishlist icon across all pages. Our plugin provides an easy way to infuse your brand’s color scheme into the wishlist experience. Follow these steps to customize the wishlist icon color:
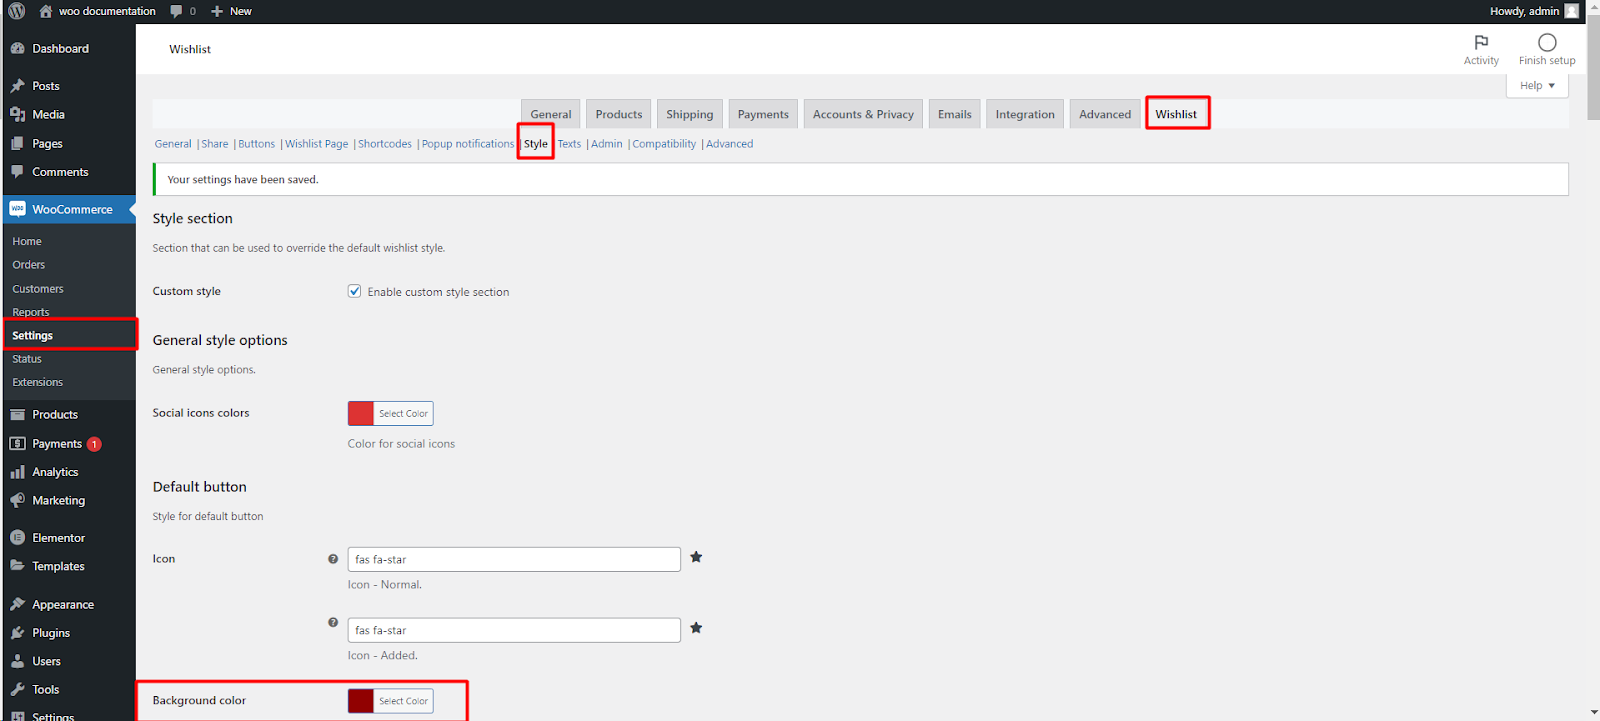
Step 1: Navigate to WooCommerce Wishlist Settings
- Log in to your WordPress dashboard.
- Go to “WooCommerce“ in the left-hand menu.
- Find and click on the “Wishlist“ tab under WooCommerce settings.
Step 2: Access Wishlist Style Settings
- Within the Wishlist settings, click on the “Style“ tab.
Step 3: Customize Icon Colors
- Locate the “Icon“ section, which includes settings for the normal and added wishlist icons.
- For the normal icon, you’ll find an option to select the color for the “Icon – Normal.” Click on “Select Color“ to choose the desired color.
- Similarly, customize the color for the “Icon – Added“ to represent items already added to the wishlist.
Step 4: Save Changes
- Once you’ve chosen your preferred colors, don’t forget to save the changes.
Now, the wishlist icon across all pages of your WooCommerce store will showcase the customized colors you’ve selected.