
Introduction
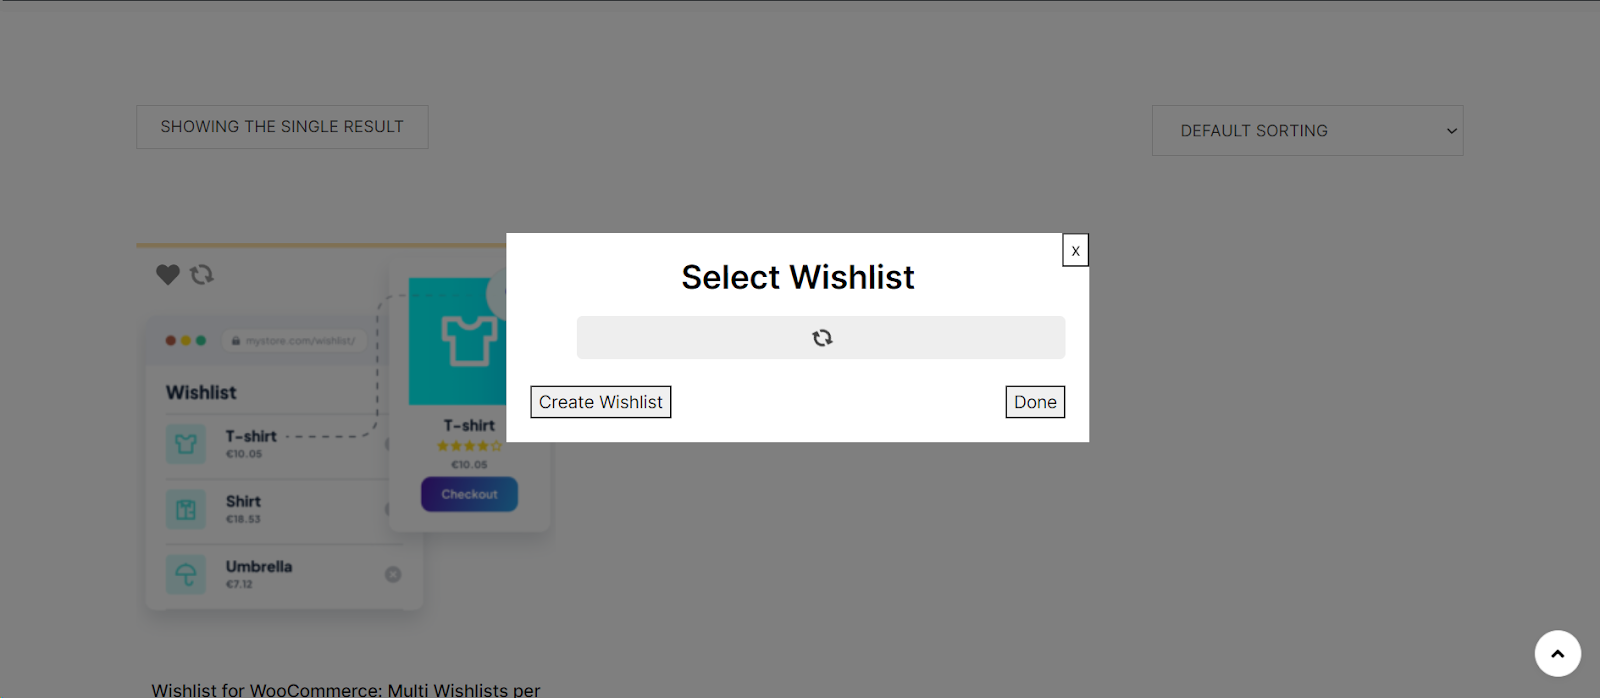
When customers add products to their wishlist on your WooCommerce store, providing visual feedback can enhance user experience. A loading icon indicates that the action is being processed. This guide will show you how to enable the loading icon in WooCommerce settings.
StepbyStep Guide to Enabling the Loading Icon
Step 1: Access WooCommerce Settings
- Log into your WordPress dashboard.
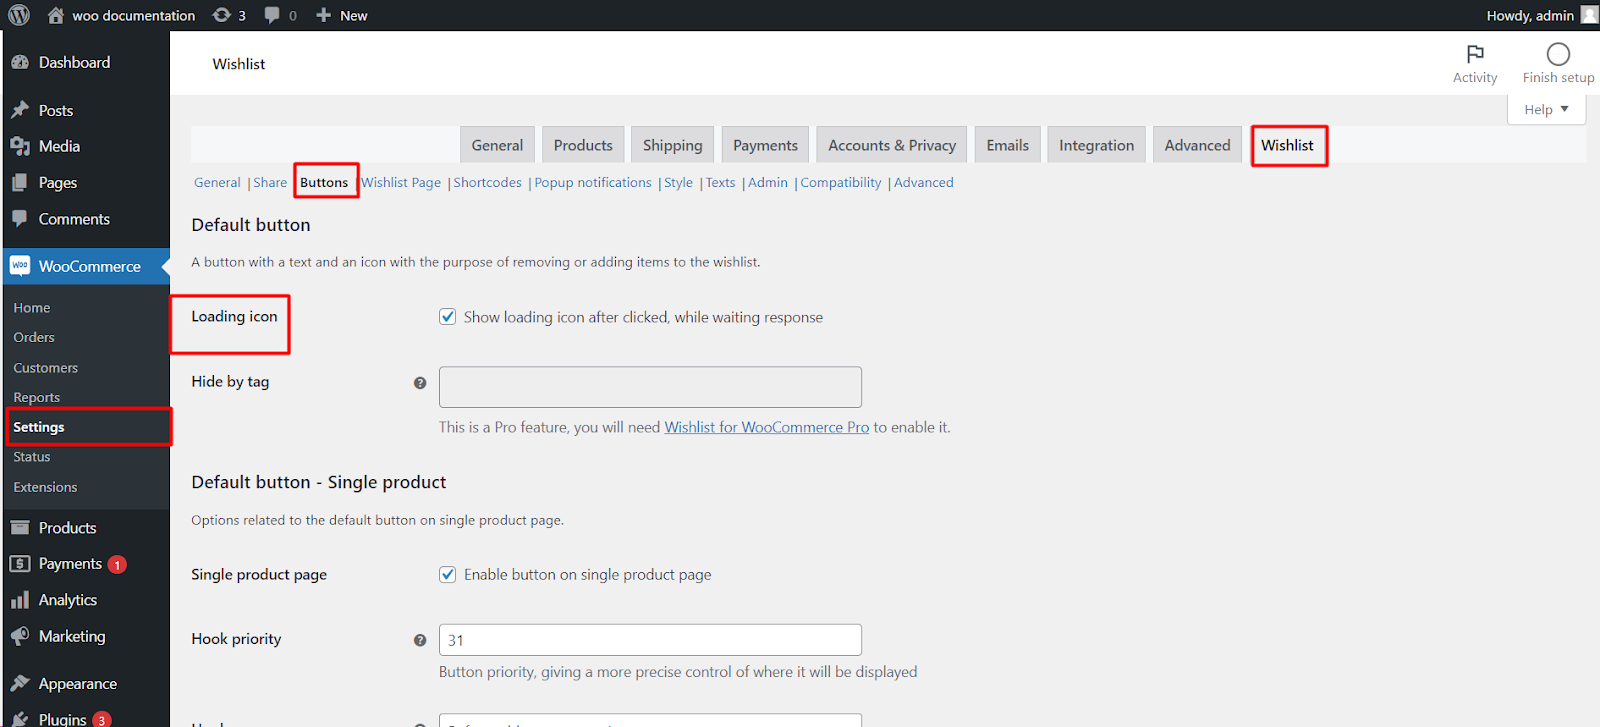
- Click on ‘WooCommerce’ on the sidebar and select ‘Settings’.
Step 2: Navigate to the Wishlist Settings
At the top of the WooCommerce settings, you will find several tabs. Click on the ‘Wishlist‘ tab.
Step 3: Go to the Buttons Tab
Within the Wishlist settings, locate and click on the ‘Buttons’ tab.
Step 4: Enable the Loading Icon
- Look for the ‘Loading icon’ setting.
- Check the box to ‘Show loading icon after clicked, while waiting response’.
Step 5: Save Your Changes
- Click on the ‘Save changes’ button to apply your new settings.
- Tips for a Better Customer Experience
- Test the Functionality: After enabling the loading icon, test to ensure it works correctly on different browsers and devices.
- Customize the Icon: If possible, choose a loading icon that matches your website’s design for a more integrated look.
- Inform Your Customers: Update your website or send a newsletter to inform customers about the improved functionality.