Getting Started with WooCommerce: Everything You Need to Know
If you are looking to start an online store to sell physical or digital products, one of the best platforms available at your disposal is WordPress. WordPress combined with WooCommerce is the perfect combination for an ecommerce website. There are numerous advantages of using WooCommerce over other platforms. The main one is the availability of plugins for additional functionality and features. The community around this platform is also great and a lot of support is available. The best part is both WordPress and WooCommerce are free. In this tutorial, we will look at how we can easily setup an ecommerce store with WooCommerce.

Who Needs a WooCommerce Store?
If you want to start an online business or expand your current offline one into the online shopping world you will be diving into the world of eCommerce, you will need a platform to show your products to the world, whether physical or digital products, so customers can know about them and ultimately buy.
The eCommerce journey needs an infrastructure that can host all your online business activities from product management, accounting, orders management, shipping management, marketing, and much much more.
This is where WooCommerce fits into the big picture, WooCommerce is the platform that will host all of your online business activities no matter what your business model is, whether it’s eCommerce, SaaS, or even a subscription business model WooCommerce can handle all your needs for such businesses as WordPress is a widespread platform with amazing community and support of plugins and extensions that WooCommerce businesses benefit from.
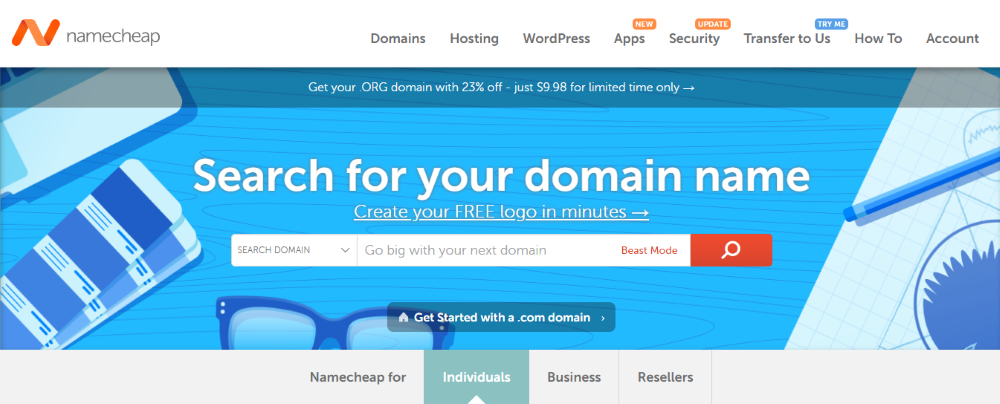
Step 1: Get a domain name and hosting
A domain name is your store’s unique address such as www.myecomstore.com. Web hosting is a remote computer where your website’s files and database are stored for access to your visitors. There are many domain name and web hosting providers. Some of the most popular ones are GoDaddy, Bluehost and Namecheap.
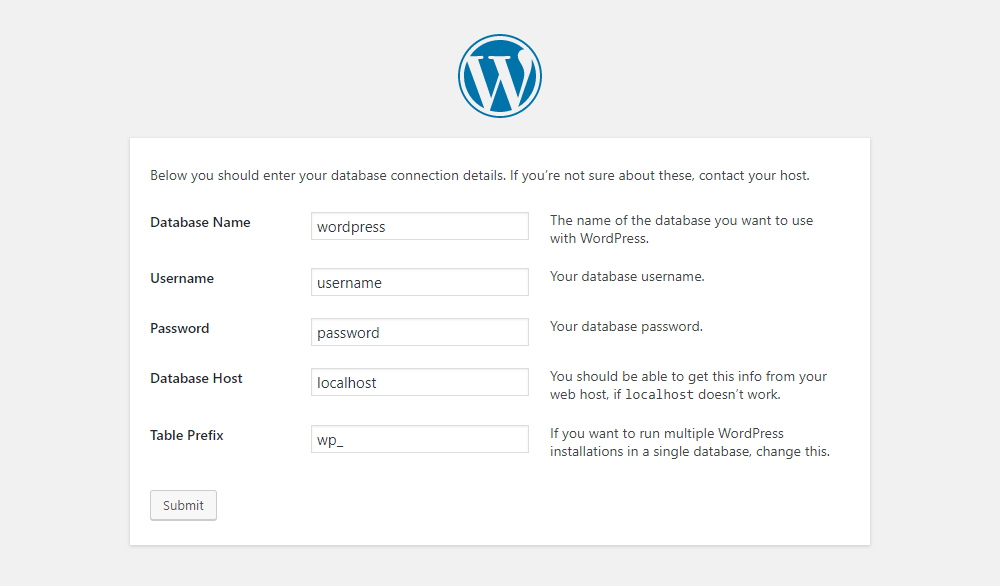
Step 2: Install WordPress
Depending on where you have purchased your hosting from there are a number of ways to install WordPress. Most hosting providers will allow one-click WordPress installs using Softaculous. If that option is not available, you will need to download the latest version of WordPress from https://wordpress.org/download/. You will then need to upload these WordPress files to your webhosting. Next, you will need to create a MySQL database and user. You can then start installing WordPress by visiting the following URL: www.myecomstore.com/install (remember to replace myecomstore.com with your actual domain name).
Step 3: Setup your theme
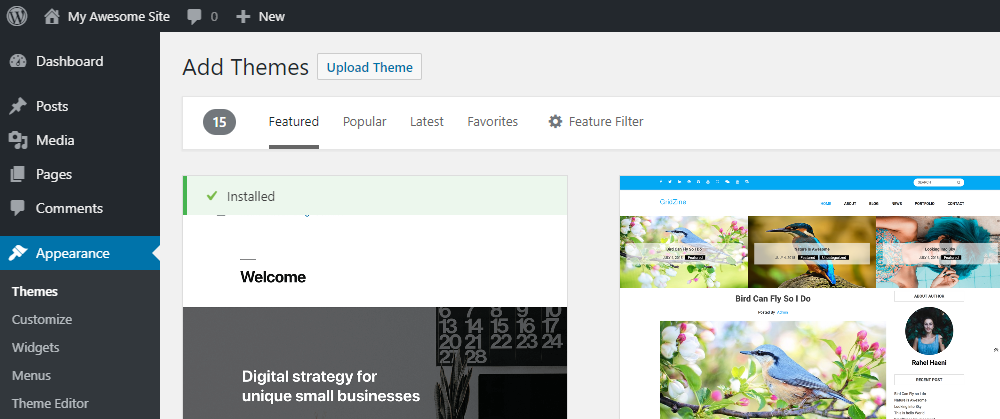
There are numerous free and paid WordPress themes available for WordPress and WooCommerce. WordPress themes control the design of your website. Login to your WordPress dashboard by visiting www.myecomstore.com/wp-admin, navigate to “Appearance > Themes > Add New”, click on “Upload Theme” to upload your theme. Activate the theme after uploading.
Step 4: Install WooCommerce
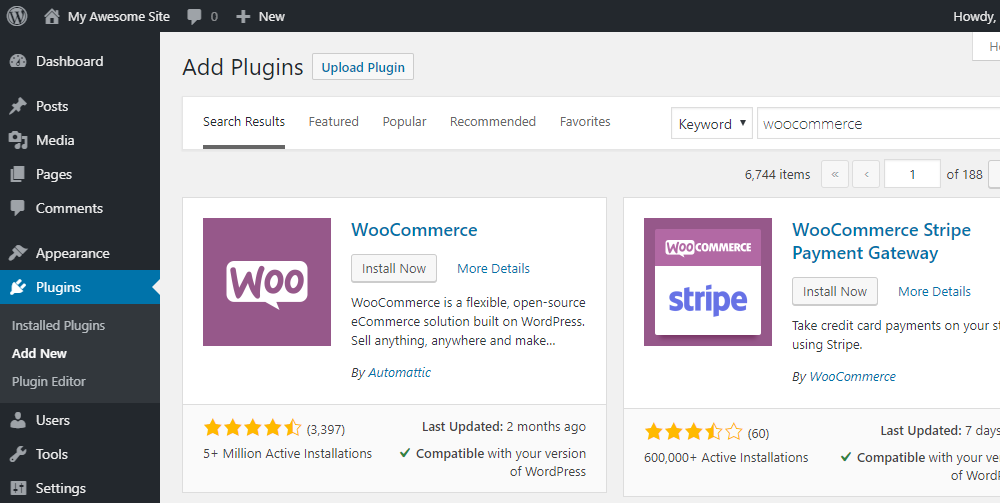
Essentially WooCommerce is a WordPress plugin. In your WordPress dashboard navigate to “Plugins > Add New” and search for WooCommerce. Install and activate the plugin as shown.
Once you install and activate WooCommerce you will then be prompted to setup the basic options. There are 6 steps involved in setting up as shown.
Store Setup: Here you will need to enter your country and store address. You will also need to setup the currency in which you want to accept payment in and whether you plan to sell physical, digital, or both types of goods. Click on “Let’s go!” once done.

Payment: Here you will need to setup the payment methods you want to use. These will allow your customers to pay you. PayPal and Stripe are the most popular along with offline payments such as bank transfers, cash on delivery, and cheque payments. You can also setup additional payment gateways later on. Click on “Continue” once done.

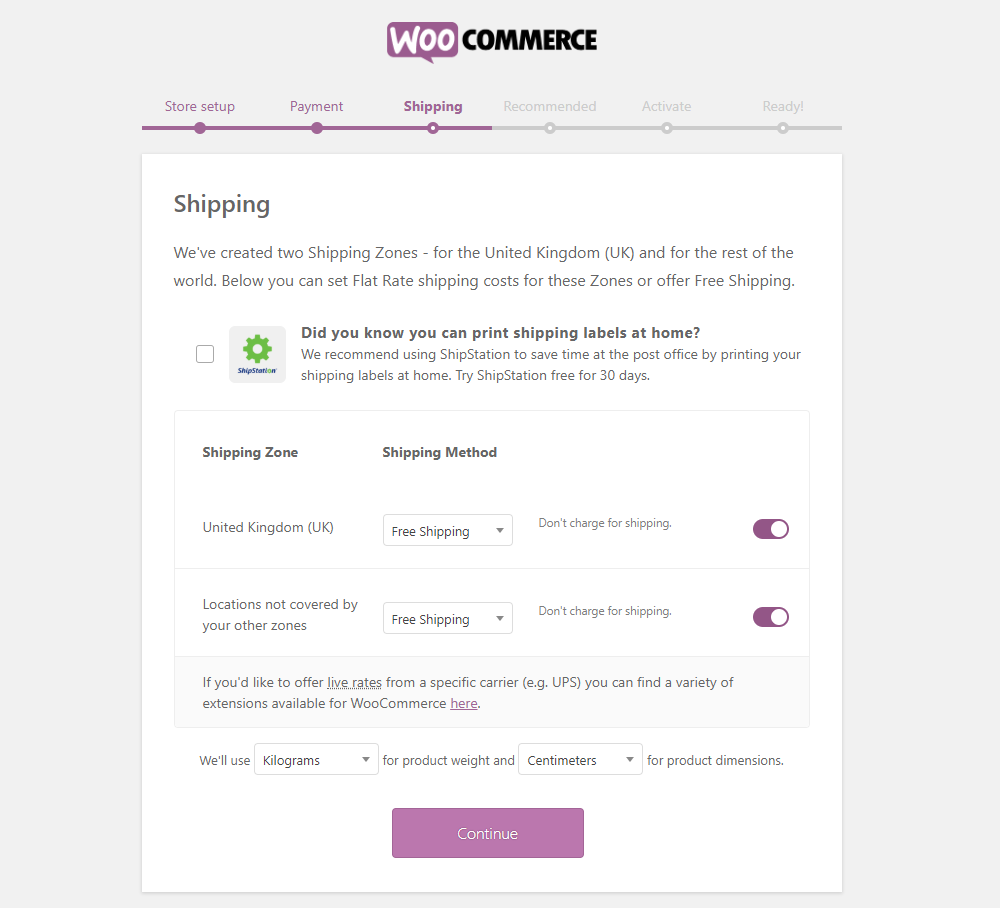
Shipping: Here you can setup your shipping method and shipping rates. Click on “Continue” once done.
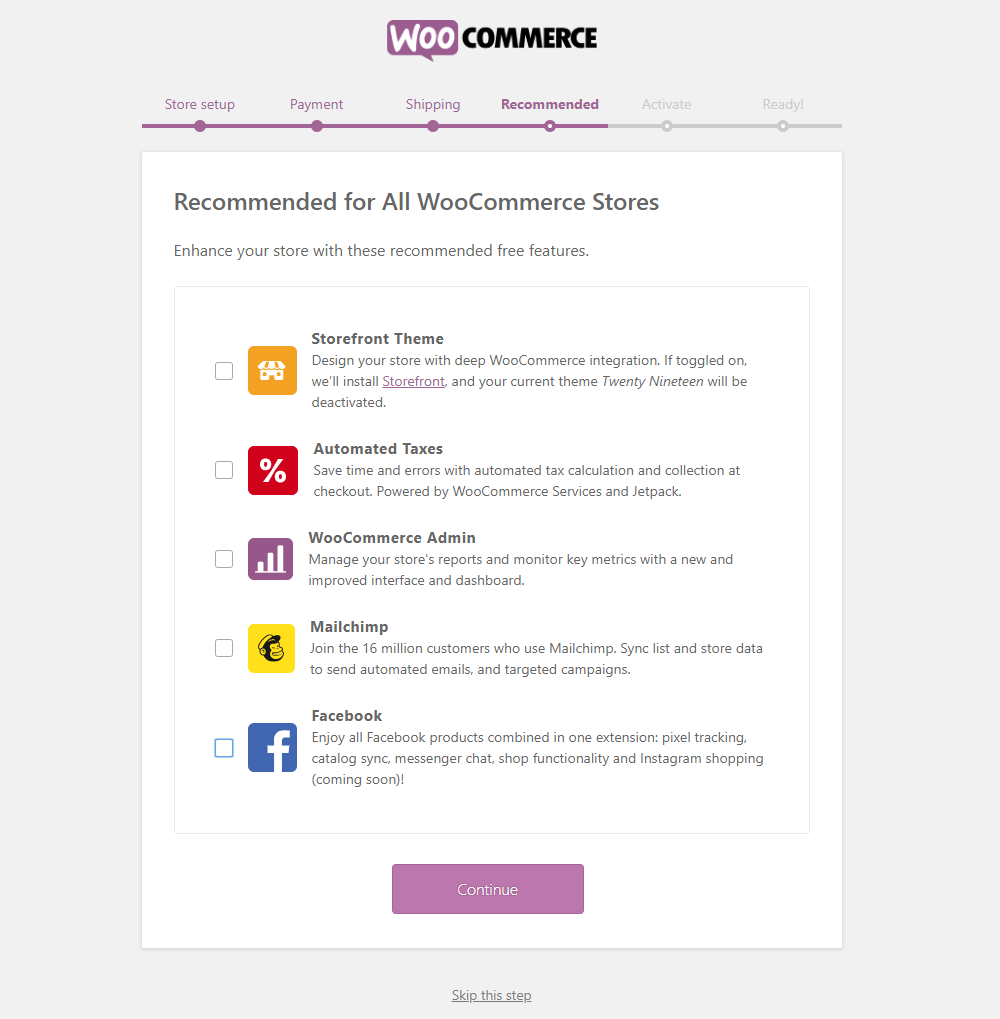
Recommended: These are plugins and themes recommended by WooCommerce. It is not a must to use them and it is better to avoid having too many plugins as they slow down your website. Click on “Continue” after selecting any of the recommendations that you need.
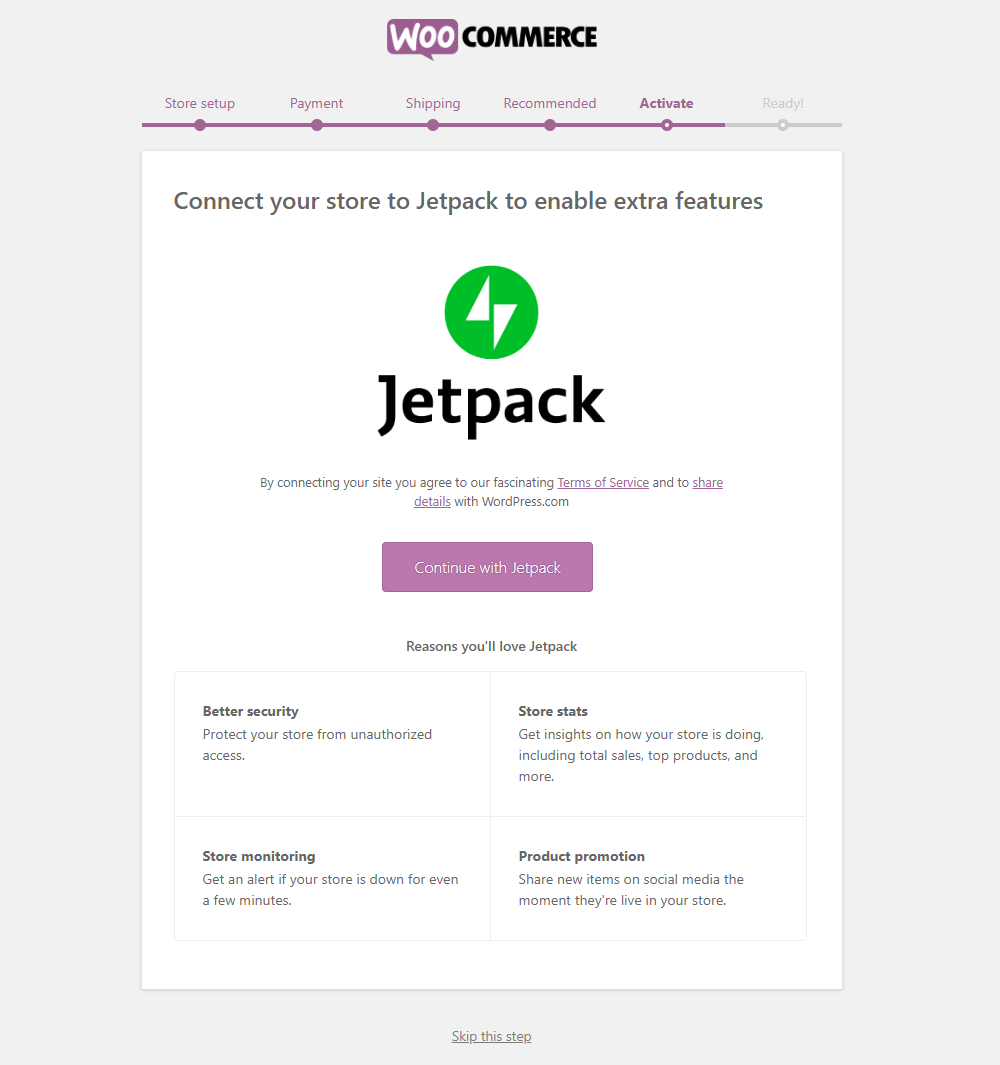
Activate: Here you will be prompted to install Jetpack plugin. It is also not a requirement for WooCommerce and ok to skip installing it. While it does have some useful features, it can be setup later if necessary. Click on “Skip this step” at the bottom to continue.
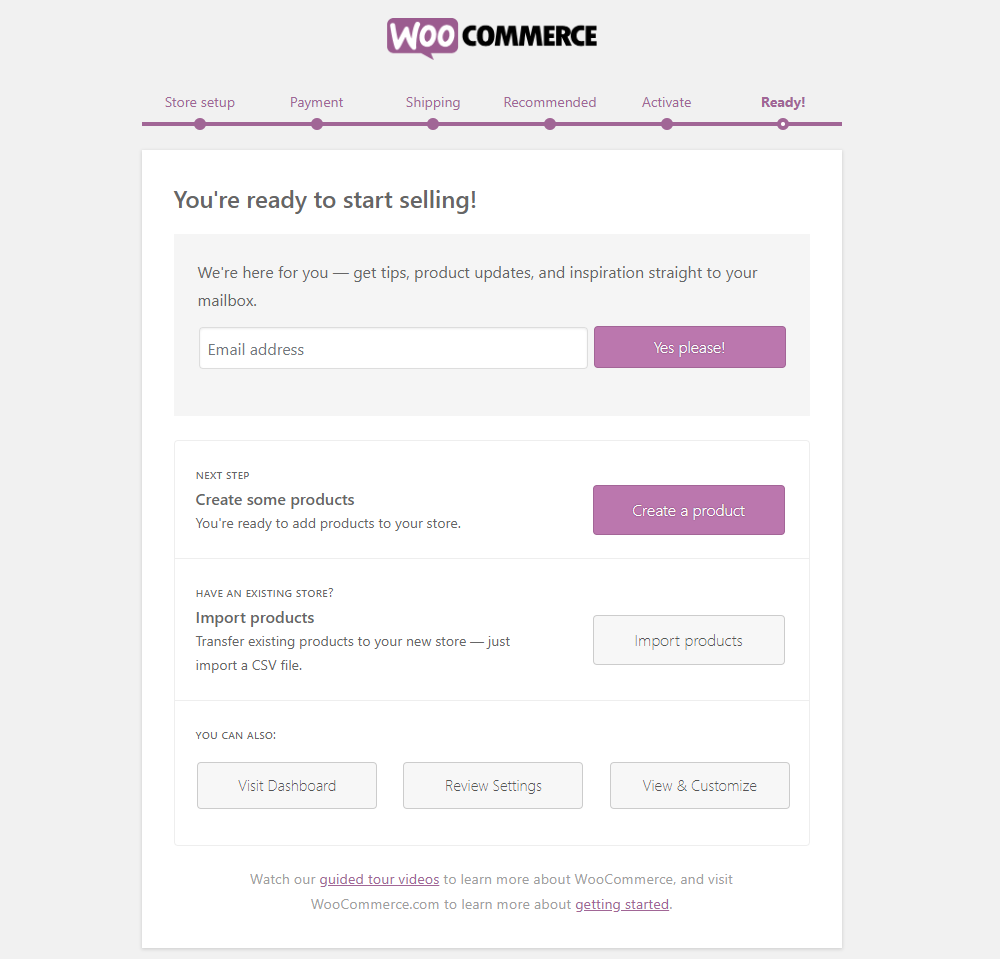
Ready: You have now completed setting up WooCommerce and you can either setup your first product or you can import products from a CSV file. We will look at how to setup products later in the tutorial. Click on “Visit Dashboard” to go back to the WordPress dashboard.
Step 5: Setting up a product
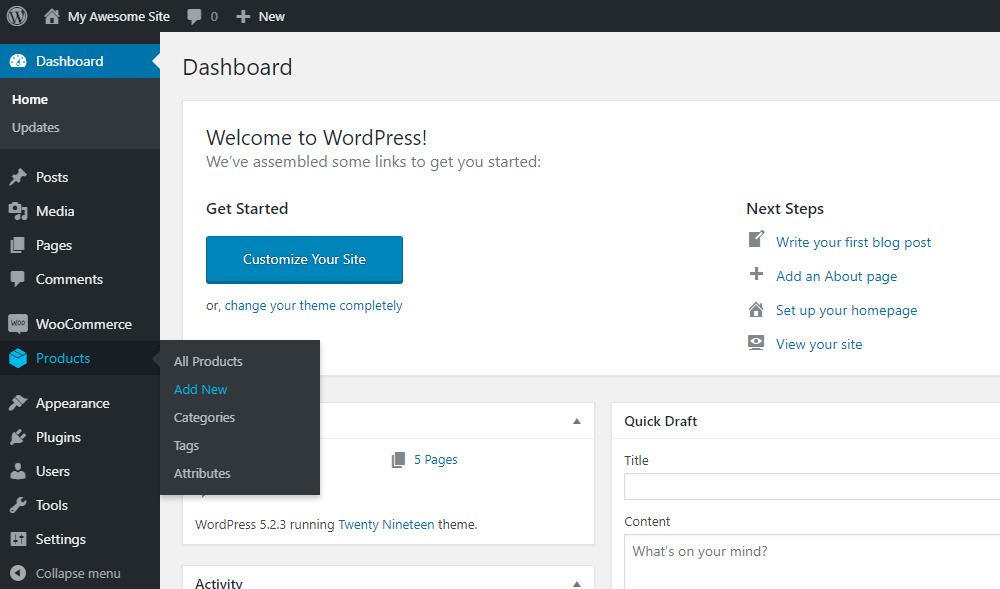
In your WordPress dashboard navigate to “Products” and click on “Add New”. You can also add categories and tags for your products. Categories are simply classifications of your products – for example, if you are selling kids clothes you can have baby boys and baby girls as categories. Tags are easy-to-identify descriptive labels that you can add to your products. They help visitors identify your products.
Adding a new product is the same as adding a new page or post in WordPress except that it has some additional fields. You need to add a title for your product, add a description, select the category of the product, and add any tags that you wish.
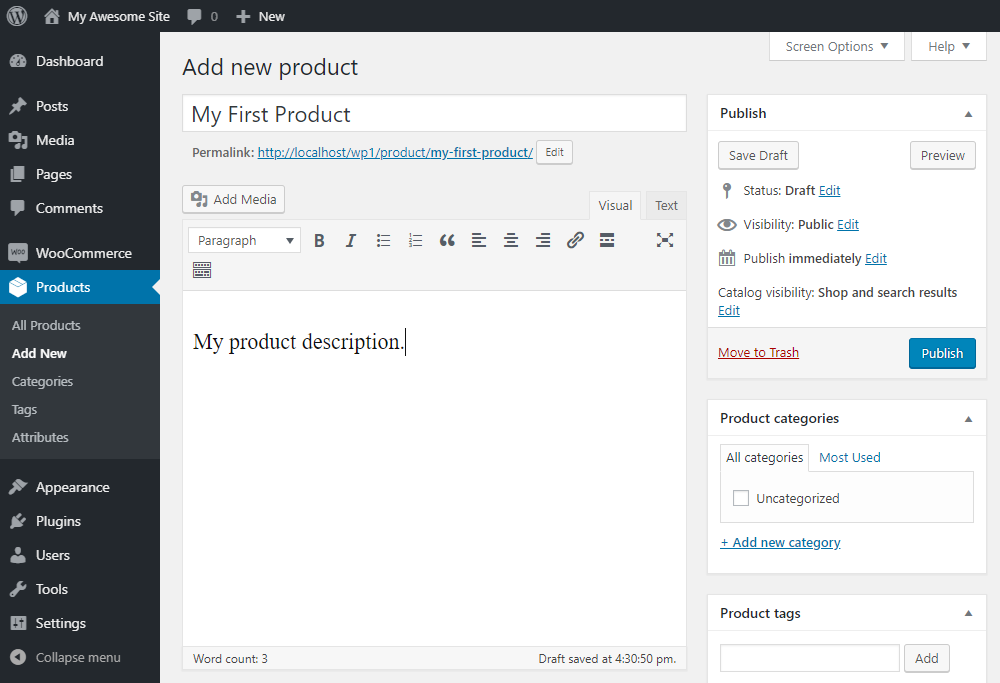
Scroll down and you will find more product options that you can add. On the right of the screen, there are 3 options, product tags, product images, and product gallery images. Tags have already been explained. Product image is the main image or the cover image of the product. Product gallery images are additional images for the product.
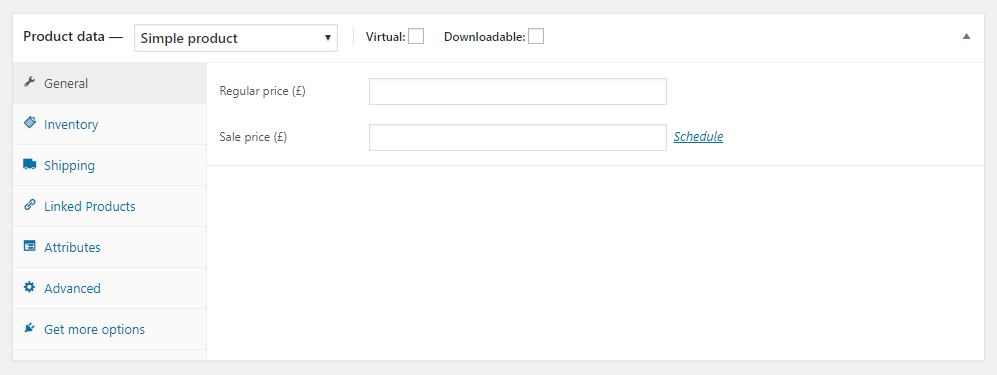
On the right-hand side, you can setup product data. On the “General” tab you can add the product’s regular price and sale price if it’s on sale.
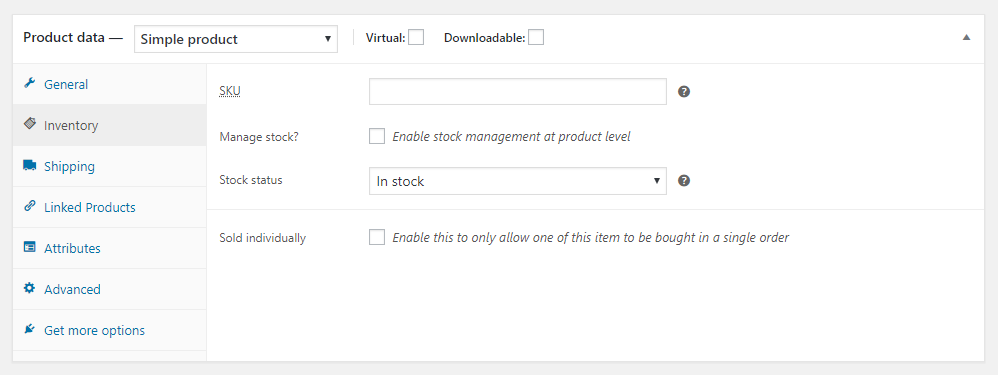
On the “Inventory” tab there are fields for inventory management. You can add the SKU and select if you want WooCommerce to manage the stock for this product.
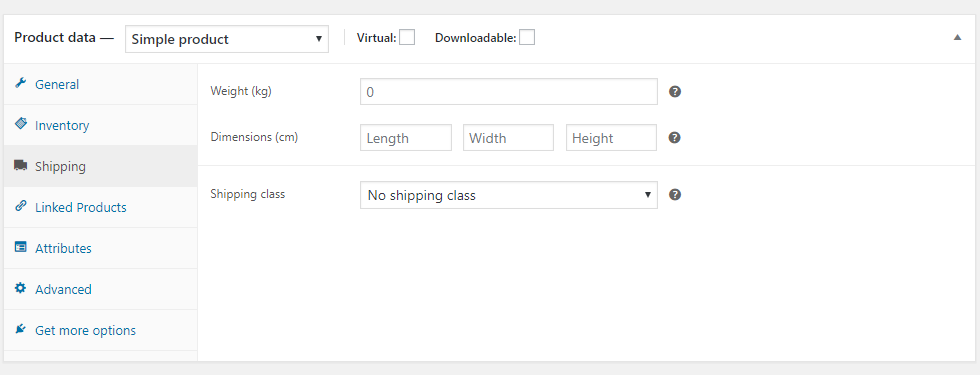
On the “Shipping” tab you can setup the weight and dimensions of the product. These are useful for calculating shipping costs.
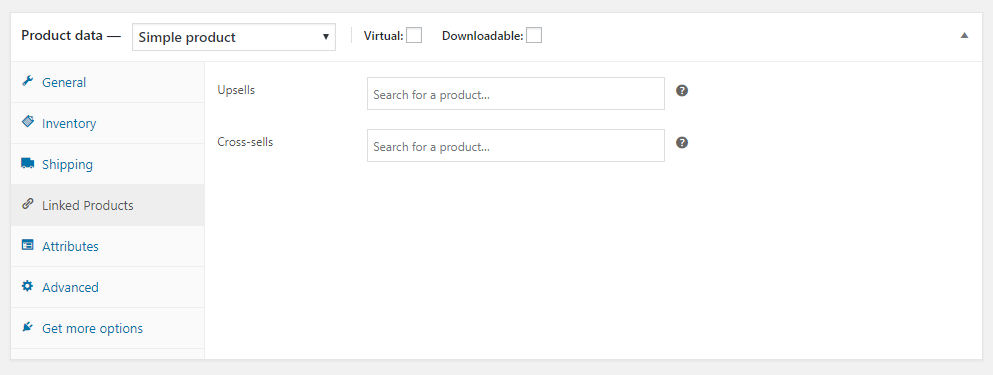
Under the “Linked Products” tab you can setup any upsells and cross-sells for this product.
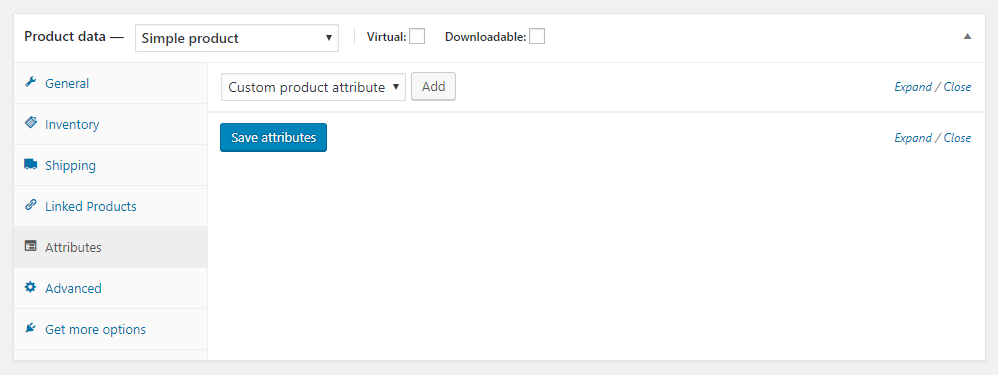
Under the “Attributes” tab you can set up various product attributes such as colors and sizes.[hide] These are usually minor variations of the same product.[/hide]
Under the “Advanced” tab you can add purchase notes for buyers and enable or disable reviews.

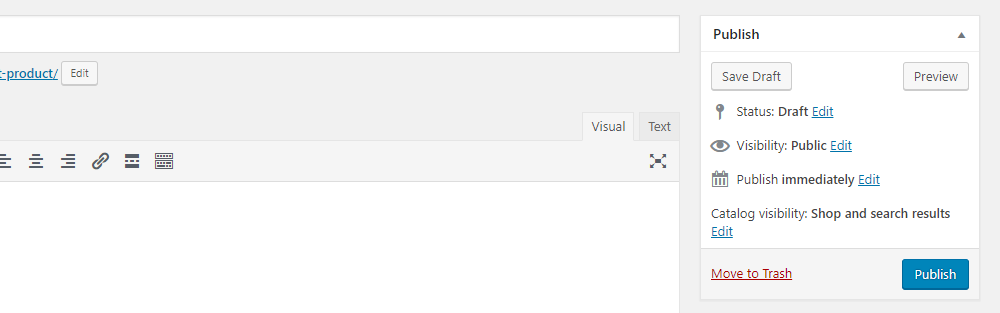
Once you are done setting up the product simply click on “Publish” to finish adding the product.
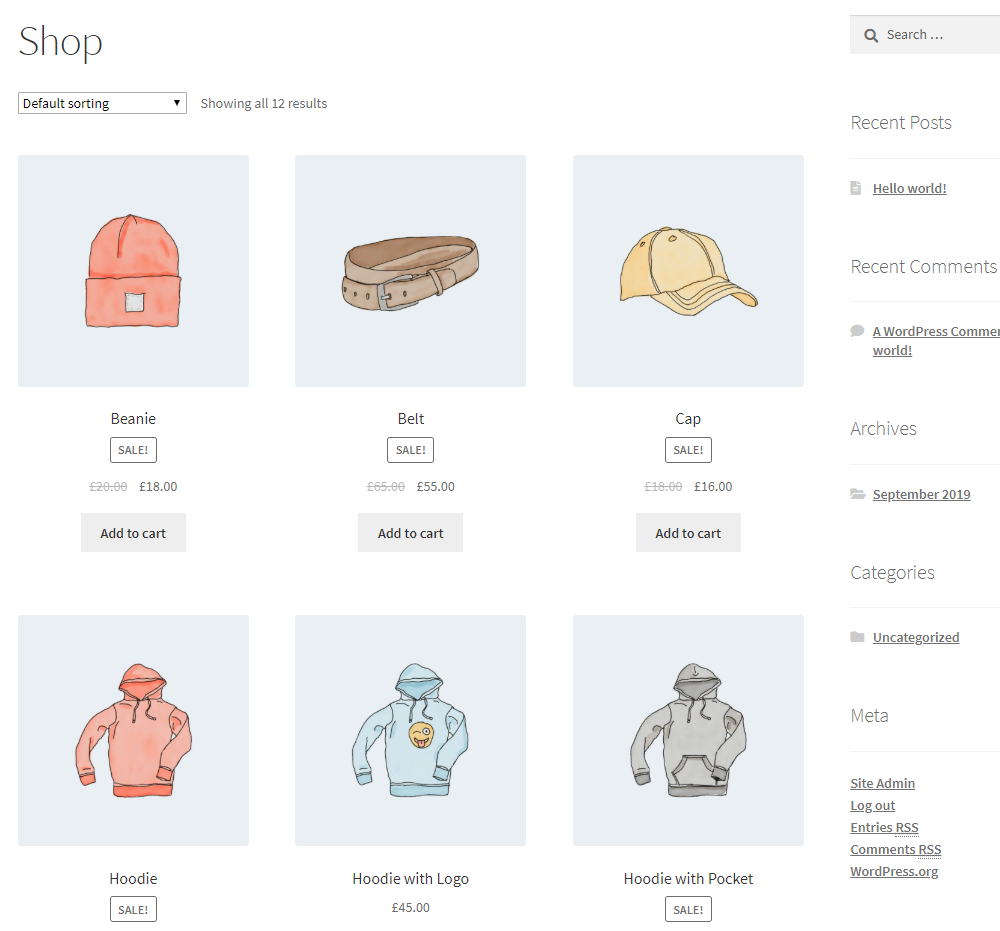
It will now be visible to your store’s visitors and they can easily purchase it. If you add other products and visit your store’s shop page you should be able to see them on the front end of your website.
Customers can now add these products to their cart and checkout. Depending on the payment and shipping methods you have set up they will be able to pay and select the shipping methods.
How to Grow Your WooCommerce Store?
Now you’ve had your store up and running a question arises in your mind, how customers will reach your online store?
Marketing is the next phase after setting up your online store, this is where you will need to have a digital marketing strategy for your store that includes organic growth strategy and paid media strategy.
Organic growth is where you rely on producing quality content on platforms that your target audience hangs out on so you can reach your target audience with quality content and promote your website and business. The most widely used organic growth strategy for eCommerce stores is search engine optimization (SEO) where customers can find you right at the moment when they’re searching on Google for products to buy. Other marketing strategies for eCommerce might need a whole other article to cover, but what you need to know is that search engine optimization is the most sustainable tactic you can use to grow your online business.
Another way to increase your sales is to apply discounts and coupons in your store to encourage customers to buy more products from your store.
Upsells, downsells, and cross-sells are all well-known strategies that you might want to consider when optimizing your sales and conversion rates in the online business world.
And of course, you would want to watch your analytics carefully to know which areas of your store the most profitable and what areas are need improvements.
Conclusion
We have covered the basic steps of setting up WooCommerce and adding a product. While creating a full-fledged e-commerce store requires a lot more work, this tutorial will get you started, and you should be on your way to building your first store.