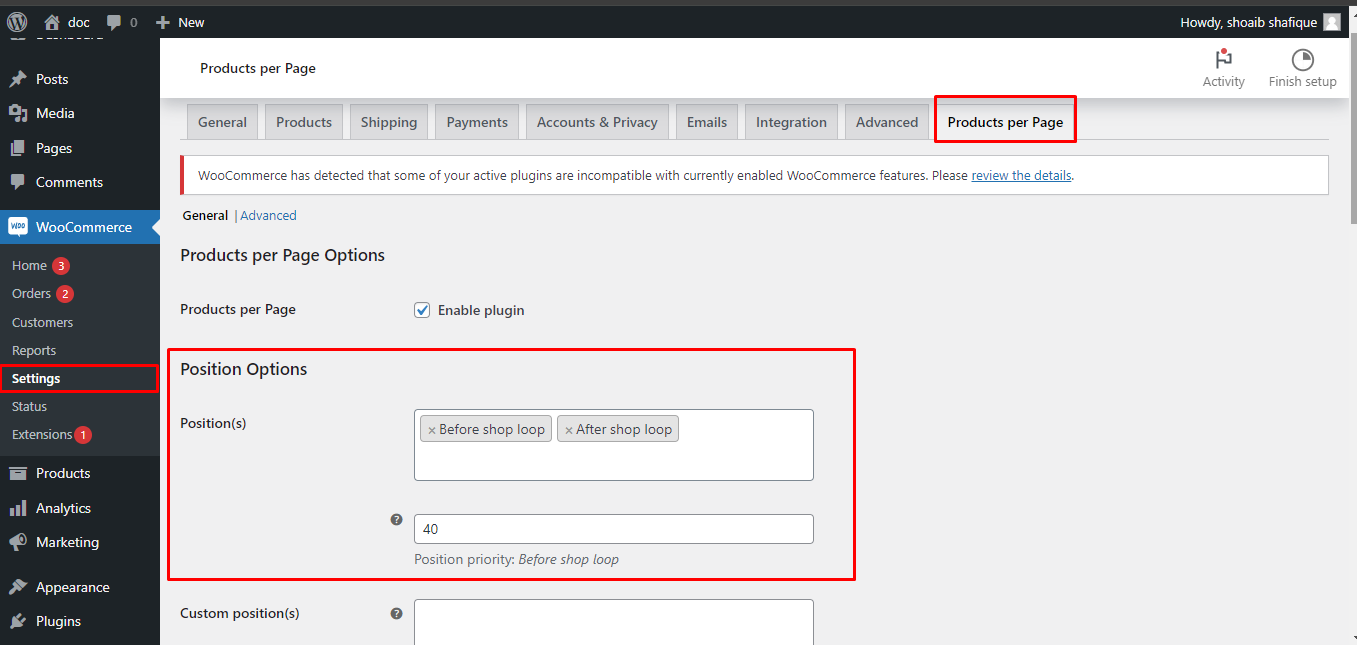
Enable Plugin
The first step is to enable the plugin. This will activate the core functionality of the plugin, allowing you to choose how many products are displayed per page.
Position Options
The plugin offers several positions to place the product per page selector on your shop pages.
Here’s a breakdown of the available options
- Before shop loop: This positions the selector before the list of products on your shop page. (Recommended)
- After shop loop: This positions the selector after the list of products on your shop page. (Recommended)
Custom Positions (Widget)
If the above positions don’t suit your needs, you can enable the widget option. This will create a “Products per Page” widget that you can place in any widgetized area of your theme using the WordPress Appearance -> Widgets menu.
Template Options
The template options allow you to customize the appearance of the product per page selector. However, these options might be specific to the plugin you’re using.
Here’s a general explanation of what each option might control
- Template: This allows you to define the overall structure of the selector using placeholders.
Placeholders
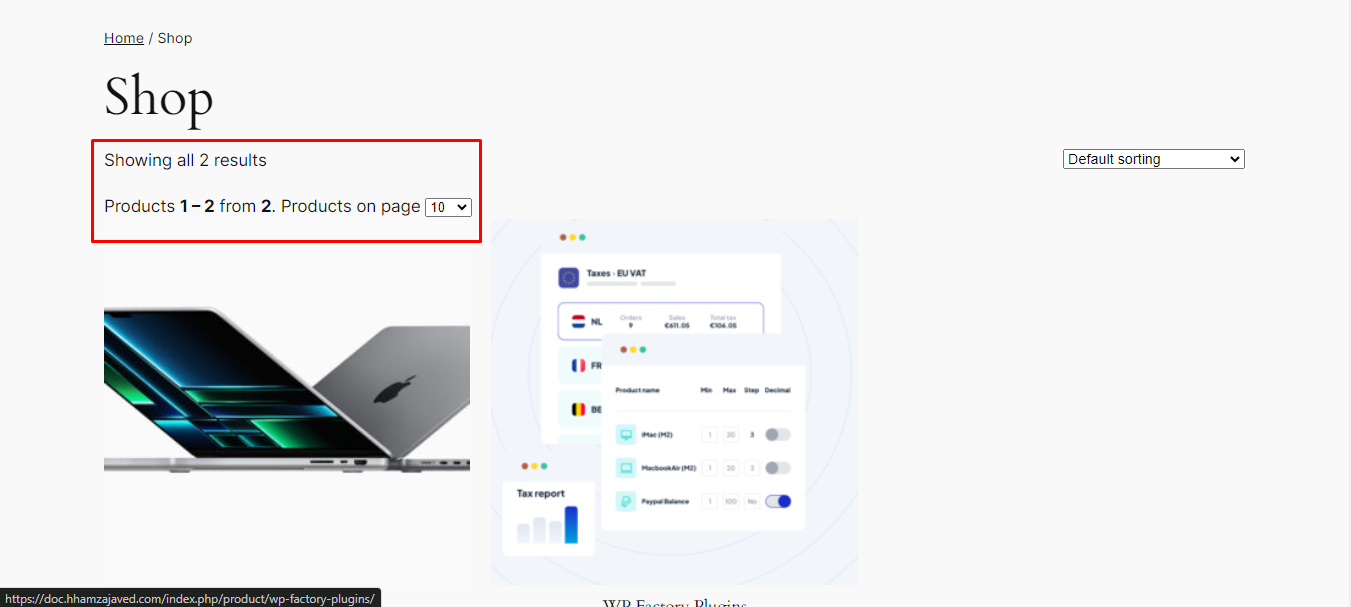
- %from%: This represents the starting product number on the current page.
- %to%: This represents the ending product number on the current page.
- %total%: This represents the total number of products.
- %dropdown%: This represents the HTML code for a dropdown menu if the plugin uses one.
- %radio%: This represents the HTML code for radio buttons if the plugin uses them.
- Selector class: This allows you to add a CSS class to the selector element (dropdown or radio buttons) for further styling.
- Selector style: This allows you to add custom CSS styles directly to the selector element.
- Before HTML and After HTML: These options allow you to add custom HTML code before and after the selector element.
- Radio Glue: This is used if the selector uses radio buttons. It allows you to define a string to “glue” the radio buttons together visually.
Select Options
The select options define the choices available in the dropdown menu (if applicable). You can enter one option per line in a format like “Title | Number”.
Here’s an example
Products per Page | 10
Products per Page | 25
Products per Page | 50
Products per Page | -1 (all products)
Default Option
The default option allows you to pre-select a specific number of products to display per page when the user first visits the shop page. You can use the corresponding number from your select options list or use -1 to display all products on a single page (not recommended for performance reasons).