Editing & Customizing the WooCommerce Checkout: A Complete How-To Guide
The checkout page is one of the most important pages in your entire site, this is where the sale happens, and if you’re using the default checkout page or your checkout page isn’t customized properly you will not only be losing visitors, but money.
In this tutorial I am going to walk you step by step through how to optimally customize the checkout page for maximum conversion, I am going to list the best practices when it comes to checkout page layout and design, and I am going to tell you about the plugins and tools pros use to make their checkout pages most appealing.
No worries about changing the HTML or CSS code of your pages or missing with PHP theme files, this step is easy and requires no technical knowledge and it takes no time. In just a few clicks of a button, you will have a perfectly designed conversion machine that converts regular visitors into customers who can’t stop buying from your store.
So, let’s go…
Why Customers Abandon the Checkout Page
There are many reasons why a customer may abandon the checkout page, one of these reasons is the checkout page design but it’s not the only one.
Unexpected fees are one major reason why customers abandon the checkout page, any taxes or hidden fees that customers didn’t expect to pay when they were planning to buy the items in your store can cause them to hesitate and take a step back as this wasn’t part of their budget. So make sure to always tell the customers upfront about any additional fees.
Lengthy and complicated checkout forms with too many steps can be another reason why customers abandon the checkout page, you need to only collect the necessary information and remove any unnecessary information from the checkout fields so the checkout process runs as smoothly as possible.
If your store is new or if this is the first time your customers buy from you there will be a lack of trust, you will need to overcome that barrier, and when they trust they can purchase from you again and again. By providing secure payment options and clear privacy policies you can establish trust between you and the customer that will help you convert more visitors into buyers.

Customers can abandon buying from you just because your website doesn’t support your preferred payment option, you will need to provide a wide variety of options to your customers so they can use their preferred method, and the buying process can be as smooth as possible.
Technical issues can also play a major role in preventing customers from turning into buyers, as they might face a 404 error when they’re adding items to the cart or when they are checking out. So, make sure to properly test your site and clear any errors that may face the customer on their way to buy from you.
All of these are factors to take into consideration when redesigning the checkout page, conversion doesn’t happen only from one element, conversion depends on multiple elements, and checkout page design is one of these elements that impact the conversions of your site.
The Anatomy of the Optimal Checkout Page: How Do You Customize Your WooCommerce Checkout Page?
Keep it clean, keep it simple.
That’s the main idea we need to keep in the back of our minds when we are redesigning the checkout page, we need to keep a simple and clean layout that communicates with the user the essential elements of the checkout process without overwhelming him with unnecessary details.
Having consistent branding and keeping the logo and the colors of your site apparent on the checkout page will also help a lot in establishing trust between your store and the customer and it will give a sense of professionalism to your customers.
Progress indicators will help keep users informed about the phase they’re currently in the buying process so they can be aware of how many steps are ahead of them before finishing the buying process.
Allowing the users to easily edit their cart without restarting the whole buying process all over again is an important element to have in your checkout process as it allows for more flexibility for the user to add and remove items from their cart while in the checkout phase.
You’ll have to show all costs, including taxes, upfront so the customers aren’t surprised at the checkout with additional costs. Following this strategy will add transparency to your store and will eventually increase your conversion rates as customers won’t be surprised by additional charges at the final stages of the purchase.
If you’re applying discounts to items in your store, make sure the discount is prominent and apparent to your customers so they can know and benefit from the discount which will ultimately increase your conversions.
Collecting only necessary information on the checkout page and using autofill and autofocus to make filling information an easy step for your customers will reduce friction in your checkout pages and increase conversions in your store.
Having a guest checkout option will also increase your conversions as signing up to your store would add additional friction and additional steps before conversion, so making it easier to order without having to sign up would be extremely beneficial to your store.
All of these are ideas that can help reduce the abandonment rate at your checkout and increase your store’s conversions and profitability.
So now the question…
How to Edit WooCommerce Checkout Page?
There are three ways you can edit WooCommerce Checkout Page:
- Using WooCommerce Built-in Settings
- Editing With CSS
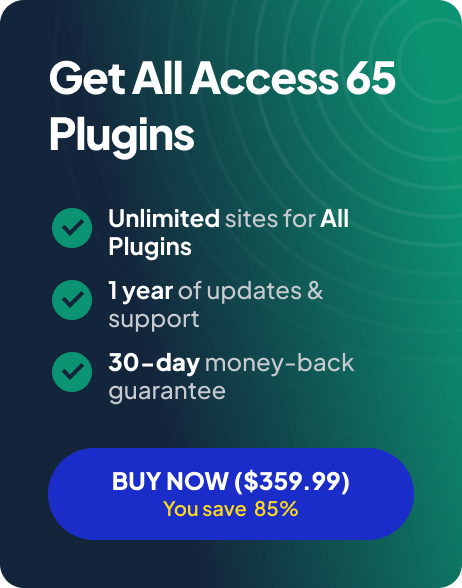
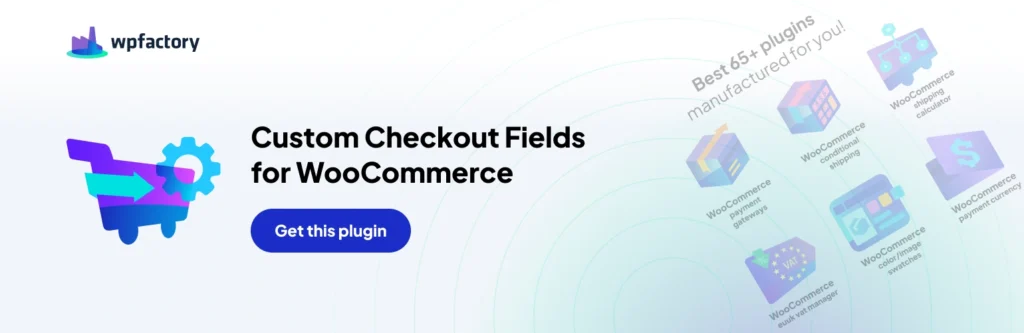
- Using WPFactory’s Custom Checkout Fields Editor for WooCommerce
Using WooCommerce Settings:
- Navigate to your WordPress admin dashboard.
- Go to WooCommerce > Settings.
- Click on the “Checkout” tab.
- Here, you can customize various checkout options such as billing details, shipping details, and additional fields.
The limitations of this method are that it is limited only to built-in options and doesn’t provide extensive design customization, so you don’t have much flexibility using this method.
Editing with Code (CSS):
- Use custom CSS to style and modify the appearance of the checkout page.
- Navigate to Appearance > Customize > Additional CSS and add your custom styles.
This method is highly customizable, as you can add anything using CSS, but the issue is you will either need to be tech savvy so you can edit the CSS files without breaking anything apart or you will need to hire a programmer to do the edits for you.
Using WPFactory’s Custom Checkout Fields Editor for WooCommerce
- Login to Your WordPress Admin Dashboard
- Head to Plugins -> Add New
- Search for “Custom Checkout Fields Editor for WooCommerce”
- Install the Plugin by WPFactory
- Activate the Plugin
- Head to WooCommerce -> Settings -> Custom Checkout Fields Tab
Here you can control everything you can imagine about the custom fields you want to add, you can add fields of any type whether it’s number, text, color, country, URL, or anything you can imagine.
You can control input maximum length and minimum value, and you can offer to your customers autofill and autofocus, so the checkout process is streamlined and easy to go through.
You can style your fields with different styles by label class or by input class.
There are a lot of options in this plugin, and it provides maximum flexibility and ease of use without you having to be a tech geek just to customize the checkout fields in your store.
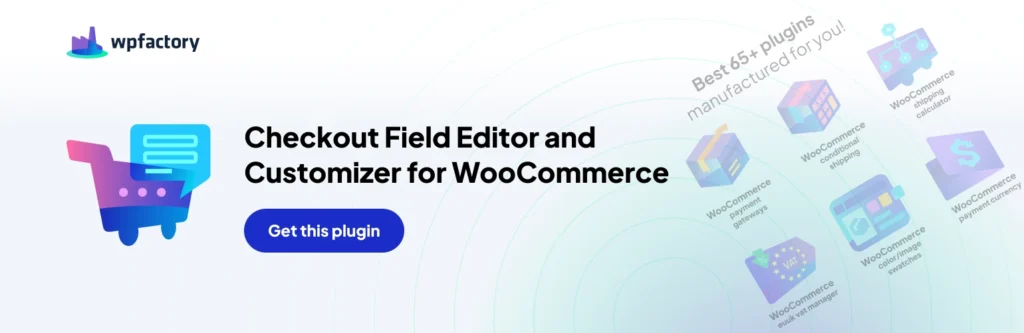
There’s an additional plugin also by WPFactory for editing and customizing core checkout fields, so if you want to edit the default checkout fields by WooCommerce you can edit them using this plugin.
Summary:
This was an overview of the different approaches you can take to edit and customize your checkout page, it’s essential to customize the checkout page to fit your customers’ needs as the default WooCommerce checkout page isn’t optimized for conversion so you will have to figure out your own version that fits the needs of your customers properly and the easy way to do so is using WPFactory’s Custom Checkout Fields Editor for WooCommerce.