
How to Install a WordPress Plugin (3 Ways: Dashboard, ZIP Upload & FTP)
WordPress is one of the most popular content management systems. One of the things that contributes to this popularity is the large number of plugins available for WordPress. Plugins are additional software for your website that provide additional functionality. There are several thousand WordPress plugins available both free and paid. If you can think of any functionality that you want to add to your website, it is likely there is a WordPress plugin available for it.

Plugins allow you to add additional functionality to your website with no coding.
Step by Step Guide to Install a Plugin on your WordPress Website
There are several methods to install a plugin in WordPress. In this article, we will look at 3 common ways in which you can install a plugin on your WordPress website. You can install a plugin from your WordPress dashboard through the WordPress repository, or you can upload one from your computer through your WordPress dashboard. You can also upload one through FTP.
- Method 1: Installing a plugin from the WordPress Repository
- Method 2: Installing a plugin by uploading it in the WordPress dashboard
- Method 3: Installing a plugin by uploading via FTP
Method 1: Installing a plugin from the WordPress Repository
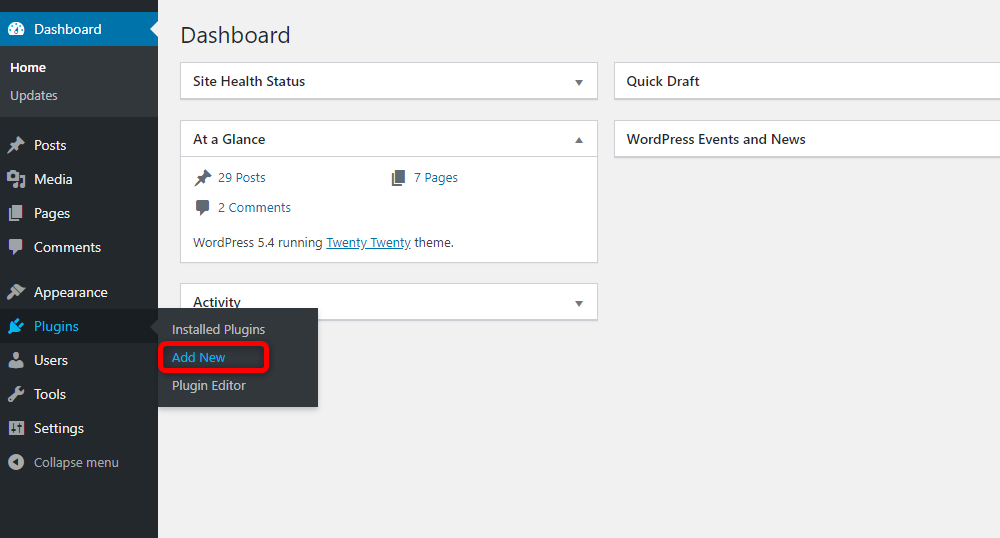
Step 1: Log in to your WordPress Dashboard and Navigate to the Plugins Menu
In your WordPress dashboard, under the Plugins menu click on Add New.
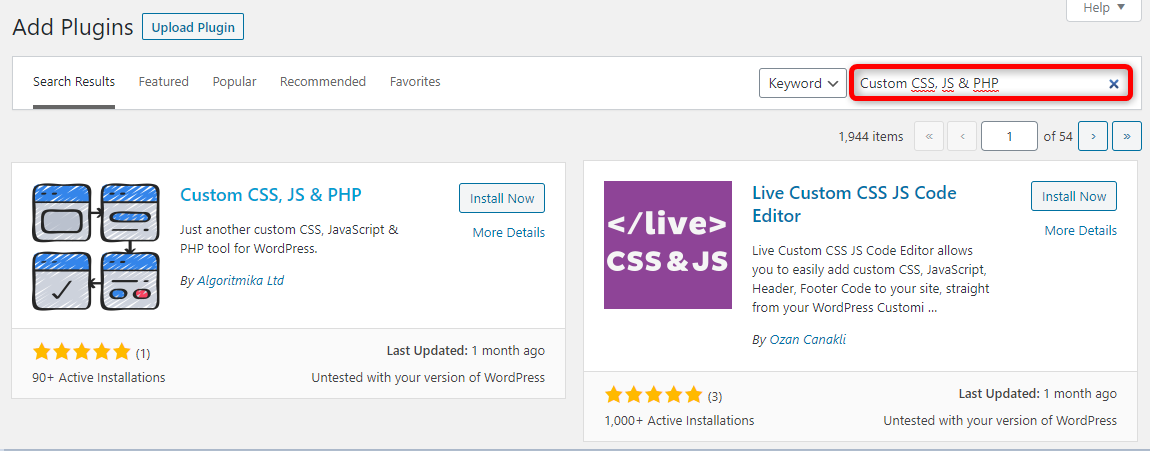
Step 2: Searching for the Plugin
Use the search box to search for the plugin that you would like to use.
In this example, we are installing the Custom CSS, JS & PHP plugin. You can install any other plugin that you wish, and the process will be the same.
This plugin can be used to easily add custom CSS, JS, and PHP code to your WordPress website.
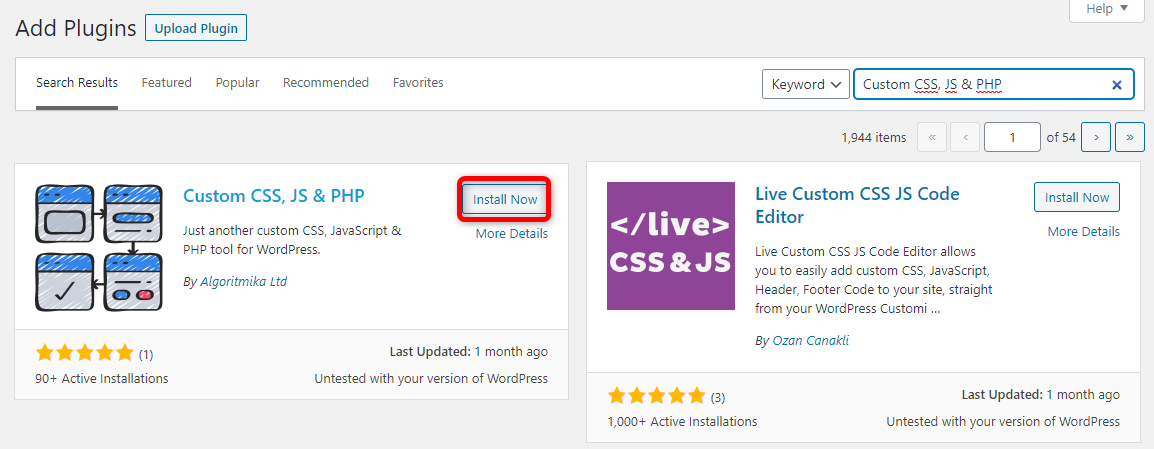
Step 3: Installing and Activating the plugin
Once you have found the relevant plugin click on Install Now to install the plugin.
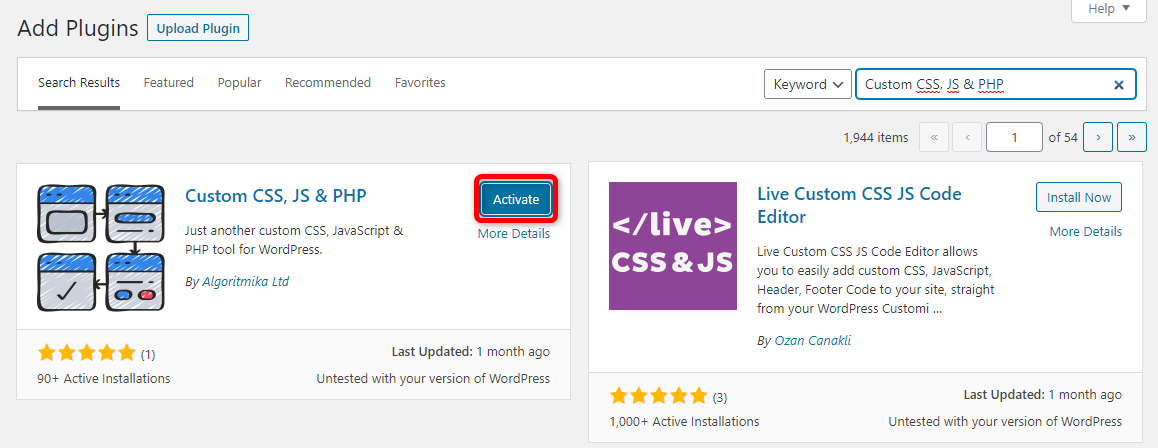
Once installed click on Activate to start using the plugin.
Method 2: Installing a plugin by Uploading it in the WordPress Dashboard
Step 1: Log in to your WordPress Dashboard and Navigate to the Plugins Menu
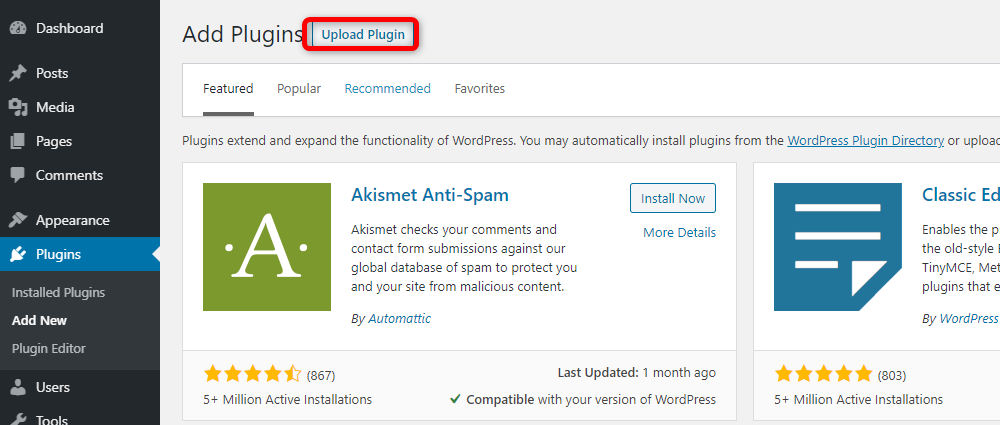
Login to your WordPress dashboard and under the Plugins menu click on Add New as shown in the screenshot below.
Step 2: Uploading the Plugin
You will need to have downloaded the plugin files on to your computer. Usually, this will be a zip file.
Click on the Upload Plugin button to start uploading your plugin.
Click on Choose File to upload your plugin file.

Step 3: Choose and Upload the Plugin File
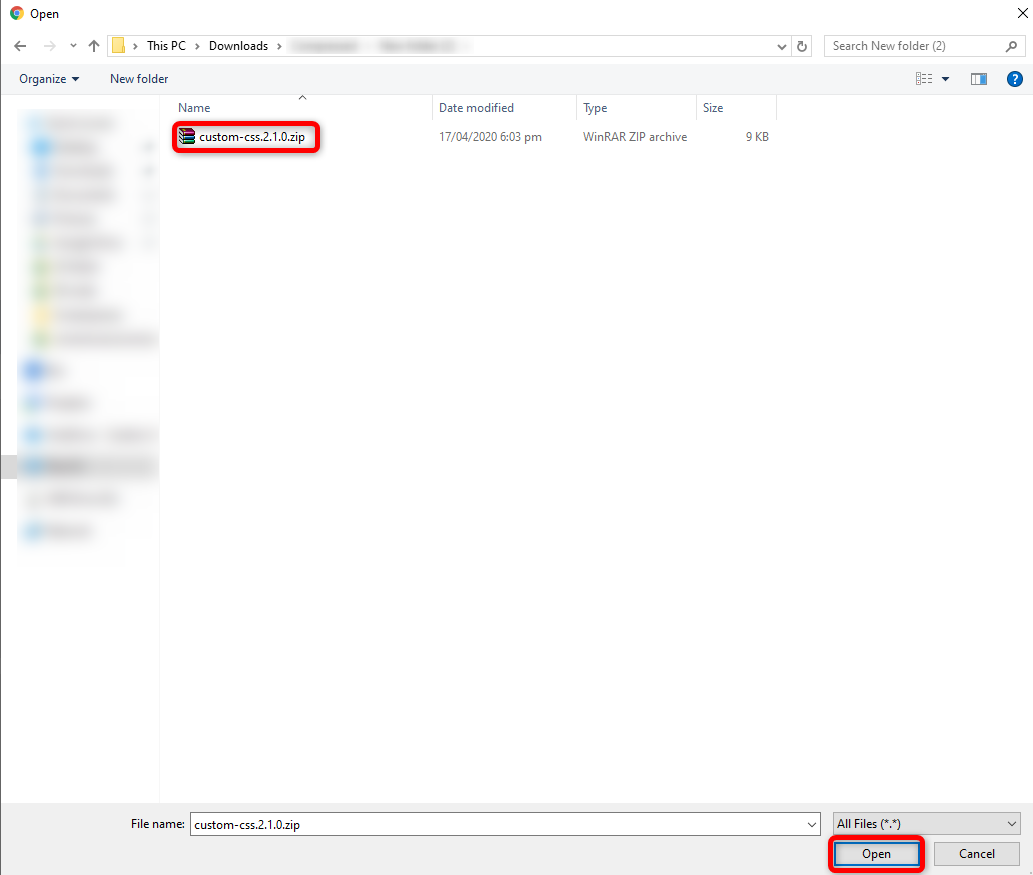
Select the plugin file from your computer and click on Open.
Click on Install Now to begin installing the plugin.

Step 4: Activating the Plugin
Once the installation of the plugin is complete click on Activate Plugin to start using it.

Method 3: Installing a Plugin by Uploading Via FTP
Step 1: Download the plugin to your computer
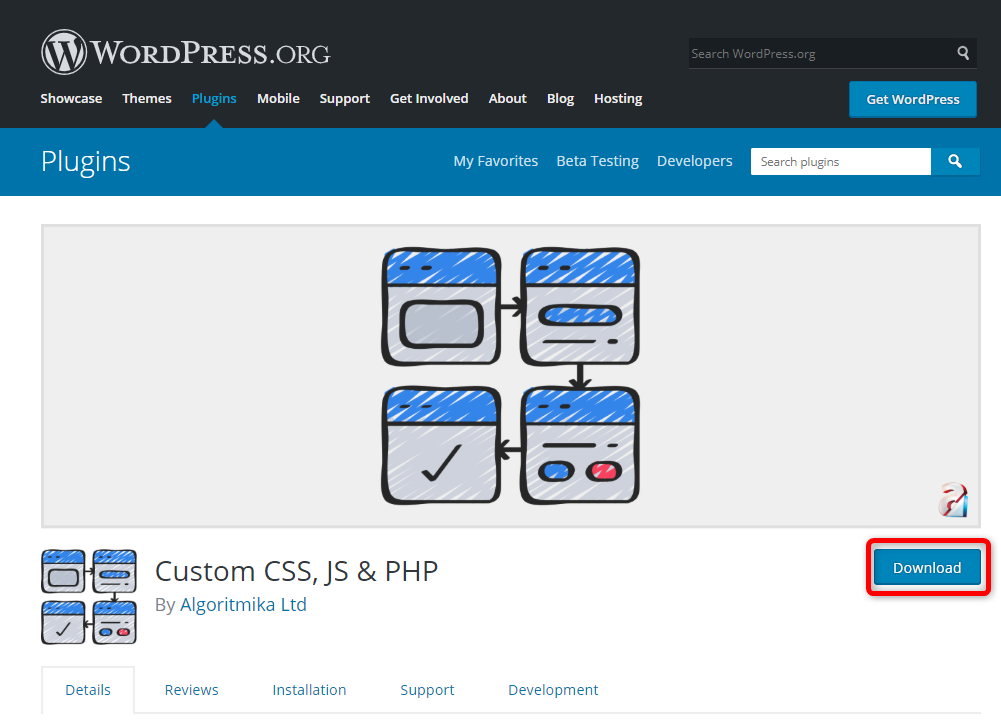
You will need to download the plugin to your computer. This can usually be done from the plugins sales page if this is a paid plugin. If it is a free plugin, you can download it from the official WordPress repository. An example is shown in the screenshot below.
You will need an FTP client. For purposes of this tutorial, we are using the FileZilla FTP client. Make sure FileZilla or any other FTP client is installed on your computer. The process of uploading a plugin through FTP will involve the same steps as shown below, however, depending on the FTP client you use, the steps may differ slightly.
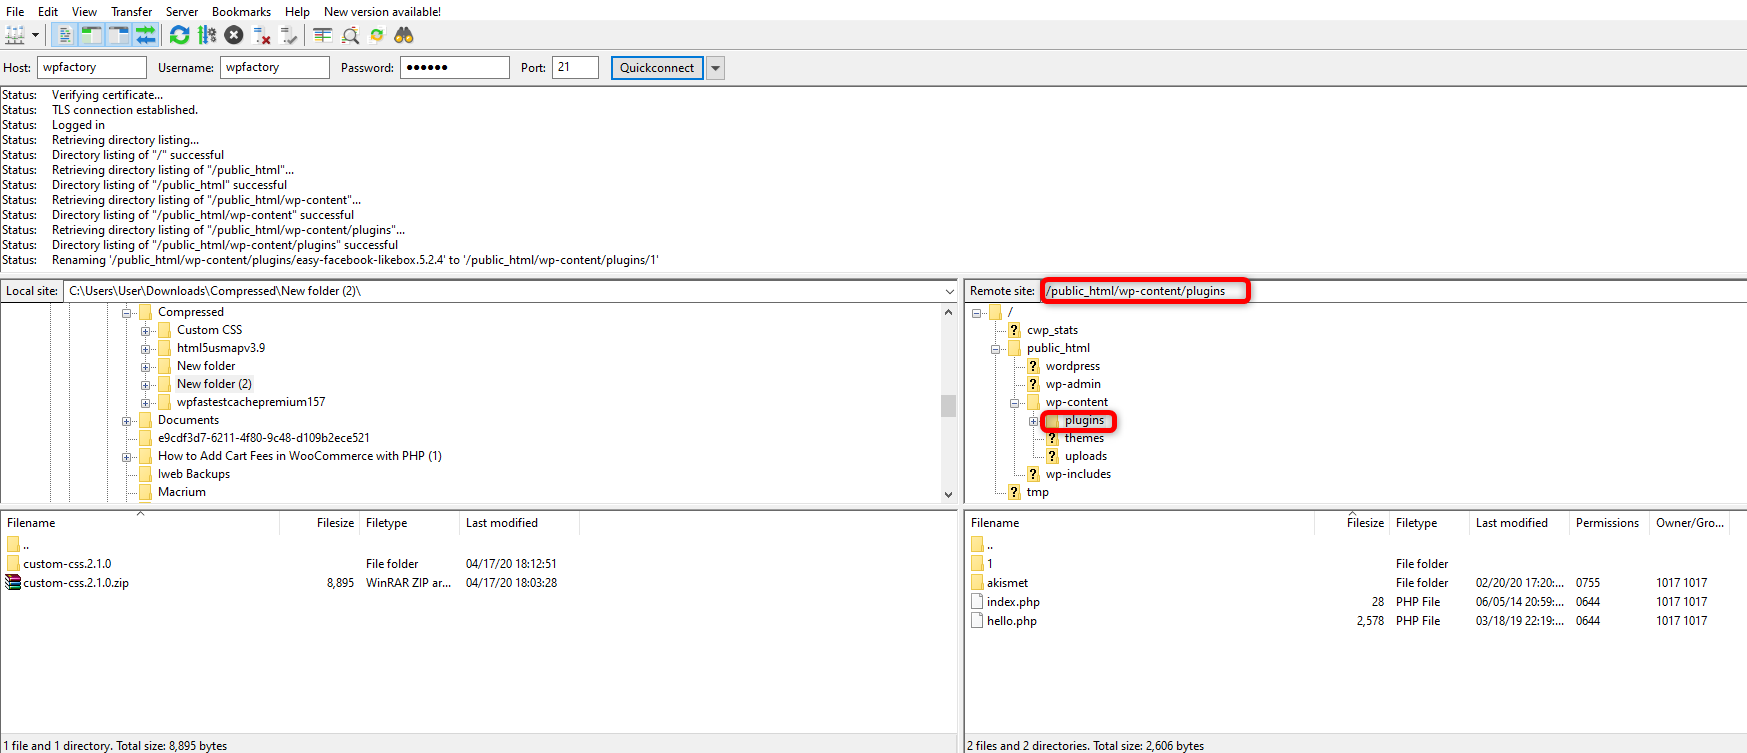
Step 2: Access your host through the FTP Client
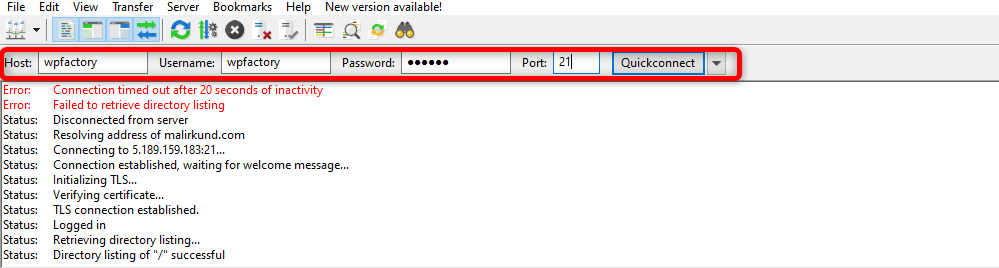
Enter your FTP username, password and FTP address and connect to your host by clicking on Quickconnect. The username, password, and hostname will usually be provided by your web host. If you are using cPanel you should be able to create a new FTP account from cPanel.
Step 3: Open the plugins folder of your WordPress installation
Once connected you will have access to the WordPress files and folders. The plugin will need to be uploaded to the wp-content/plugins folder. Double click on the wp-content folder to open it and then double click on the plugins folder to open it.
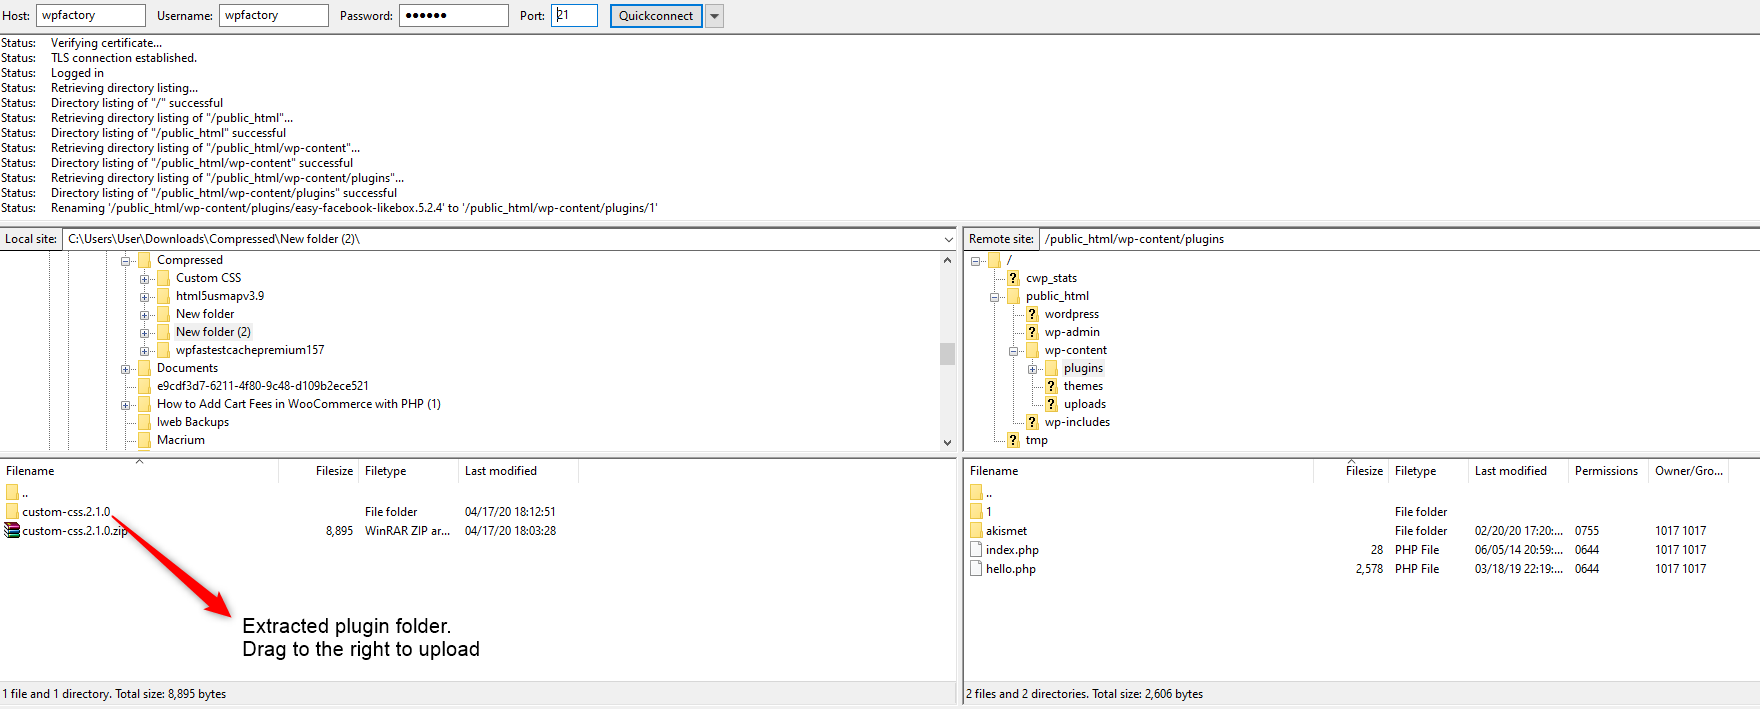
Step 4: Uploading the plugin files
Once in the plugins folder, you will need to upload the plugin files. You should not upload the zipped file. You will need to extract the zipped files to a folder on your computer. Usually extracting the zipped files will create a folder with the same name on your computer.
Drag the extracted folder from your computer to the plugins folder on your server to upload it.
Once the transfer has finished the folder should have uploaded to your server as shown below.
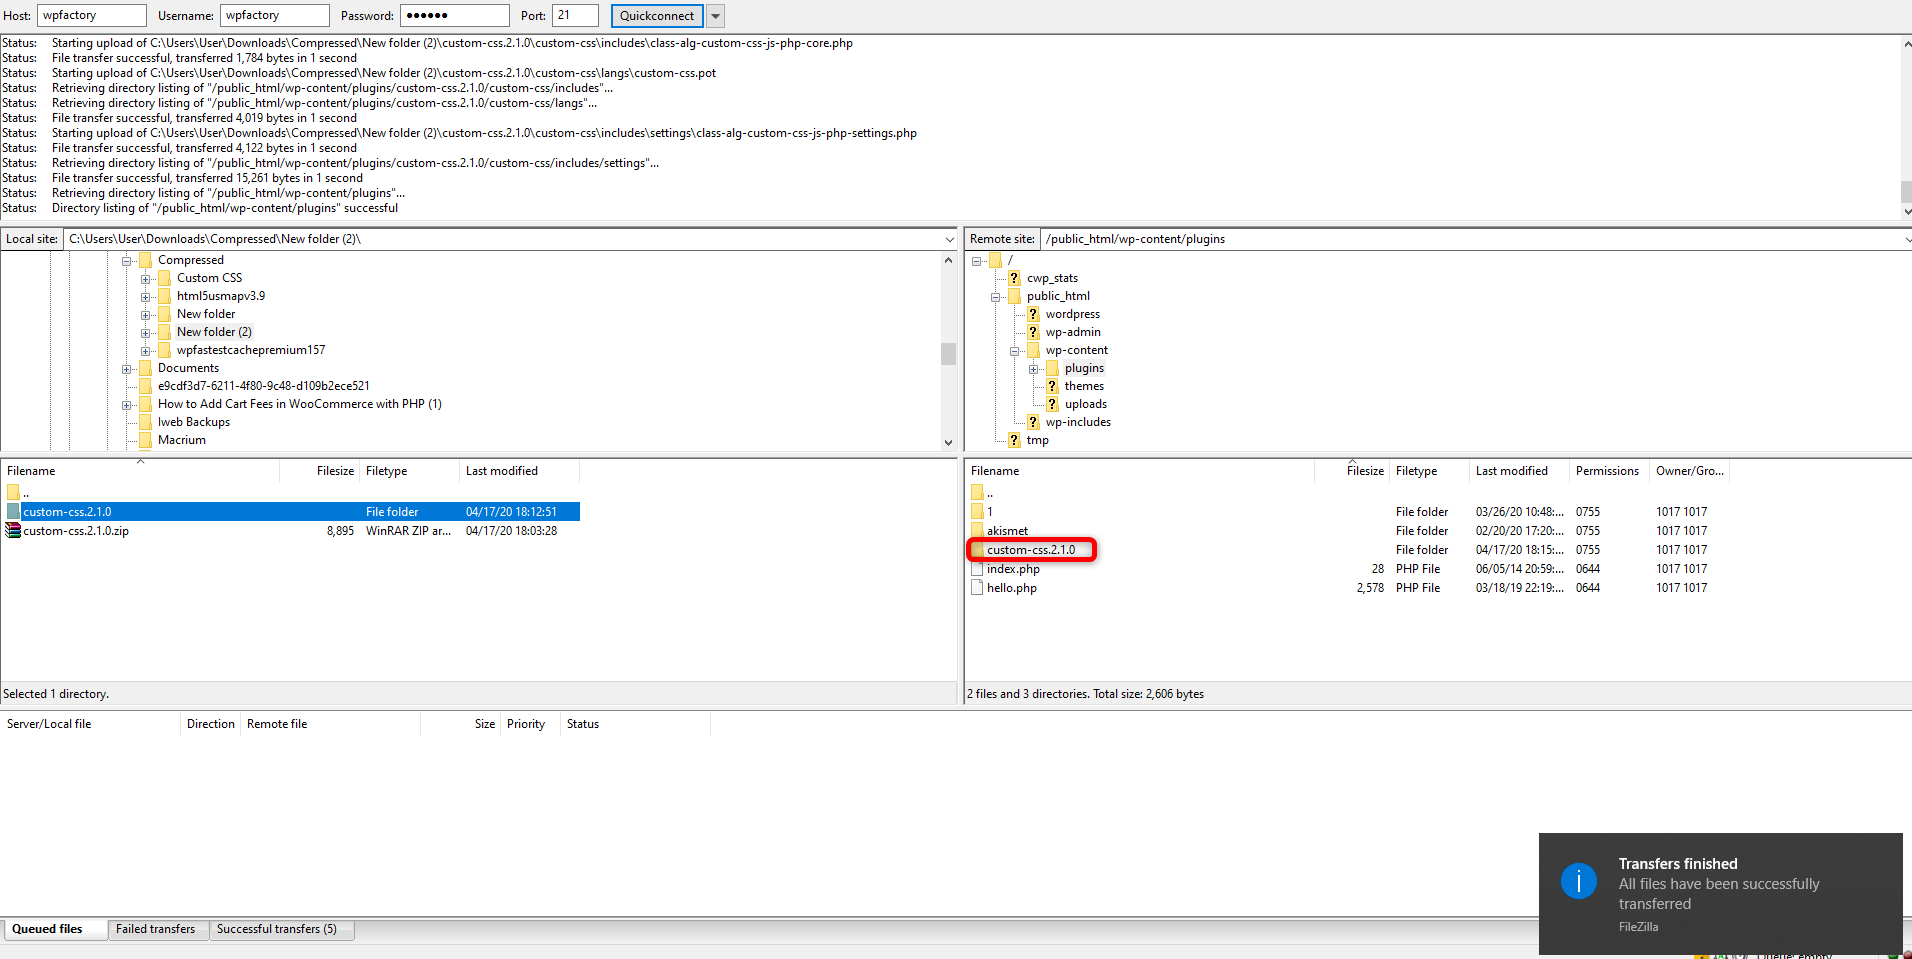
Step 5: Activating the plugin
Login to your WordPress dashboard and under the Plugins menu click on Installed Plugins. You will find a list of installed plugins. The plugin that we uploaded is currently not activated. Click on Activate to start using it, as shown in the screenshot below.

Conclusion
Method 1 (Installing a plugin from the WordPress Repository) and method 2 (Installing a plugin by uploading it in the WordPress dashboard) are often preferred and used most of the time. However, sometimes, your webhost may have certain restrictions such as file upload size restrictions which can prevent you from using method 2. They may also have PHP execution time restrictions which may sometimes make method 1 not work. There may be other restrictions as well and in such a case you will have to resort to method 3 (Installing a plugin by uploading via FTP).
It is also recommended to be careful with the number of plugins you have on your website. Often too many plugins will slow down your website and this can be detrimental to your website’s user experience.
Sometimes plugins have compatibility issues with other plugins or themes, and it is recommended to always keep your website backed up, in case anything goes wrong when adding new plugins.
We hope you are now easily able to install a plugin on your WordPress website.