
The checkout page is a critical touchpoint in your WooCommerce store, and ensuring a smooth and efficient process is crucial for successful conversions. Here, we delve into managing billing fields within the Checkout Field Editor and Customizer plugin (Free Version) for WooCommerce, empowering you to refine the checkout experience for your customers.
Understanding Billing Fields
WooCommerce provides a set of default billing fields to collect customer information for order processing. These fields typically include;
- Billing First Name
- Billing Last Name
- Billing Company (optional)
- Billing Address (includes address lines)
- Billing City
- Billing State
- Billing Postcode/ZIP
- Billing Email
- Billing Phone (optional)
Customizing Billing Fields with the Plugin
The Checkout Field Editor and Customizer plugin empowers you to manage each of these billing fields.
Here’s how you can customize them
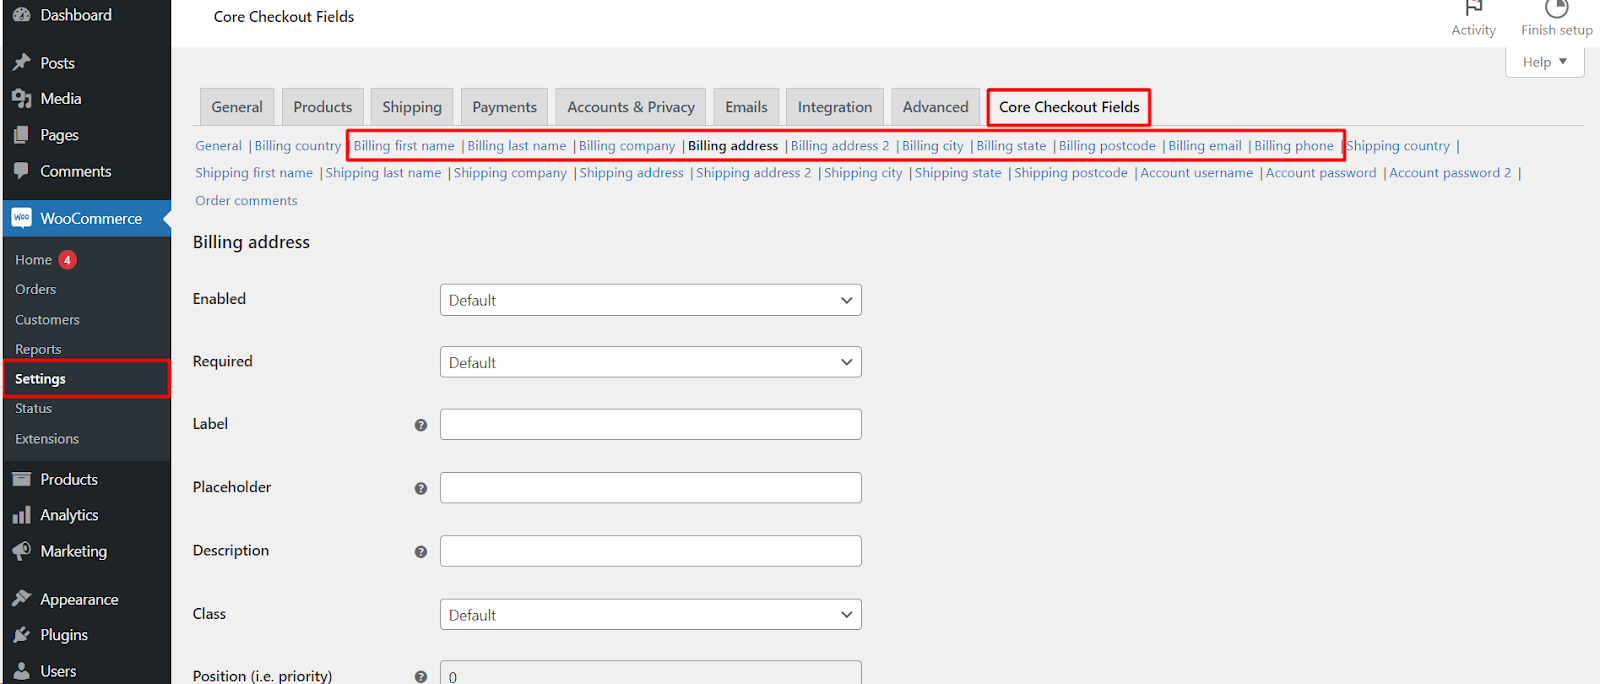
General Options (Applicable to All Fields)
- Enabled/Disabled: Control whether a specific field is displayed on the checkout page.
- Required/Not Required: Determine if customers must fill in the field to proceed with checkout.
- Label: Customize the text displayed next to the field for clarity (e.g., “Billing Address Line 1”).
- Placeholder: Add a hint within the field to guide the user (e.g., “Street address”).
- Description: Provide additional information or instructions below the field (optional).
- Class: Assign a CSS class for further styling customization using CSS code (advanced users).
- Align Left/Align Right/Full Row: Control the alignment of the field label within the checkout form.
Additional Considerations
- While the Free Version offers extensive customization options, some features might require the “Core Checkout Fields for WooCommerce Pro” plugin. These features could include;
- Position (i.e. priority): Define the order in which the field appears relative to other fields (Pro version).
- Remember to test any changes thoroughly to ensure a seamless checkout experience for your customers.
Accessing the Settings
- Navigate to your WordPress dashboard.
- Go to WooCommerce > Settings > Checkout Fields.
- Locate the specific billing field you want to customize (e.g., Billing First Name).
Saving Your Configuration
Once you’ve made your desired adjustments for a particular billing field, click the Save changes button to apply the configuration to your checkout page.
Benefits of Managing Billing Fields
By effectively managing billing fields, you can
- Enhance User Experience: Provide clear labels, placeholders, and descriptions for each field to guide customers.
- Streamline Checkout Process: Ensure only essential fields are required, reducing unnecessary steps.
- Maintain Data Accuracy: Make specific fields mandatory for accurate order processing.
- Optimize Checkout Layout: Control the alignment and presentation of fields for a clean and organized checkout form.
Conclusion
By leveraging the Checkout Field Editor and Customizer plugin, you can take control of your WooCommerce checkout page’s billing fields, creating a user-friendly and efficient checkout experience that boosts customer satisfaction and potentially increases conversions. Remember to explore the plugin’s documentation and consider the Pro version for advanced features to fully tailor your checkout process for optimal results