
This article delves into the various redirect and activation link settings available within the WooCommerce Email Verification plugin. These options empower you to control the user experience after successful or unsuccessful verification attempts, as well as manage activation link behavior.
Redirect Options
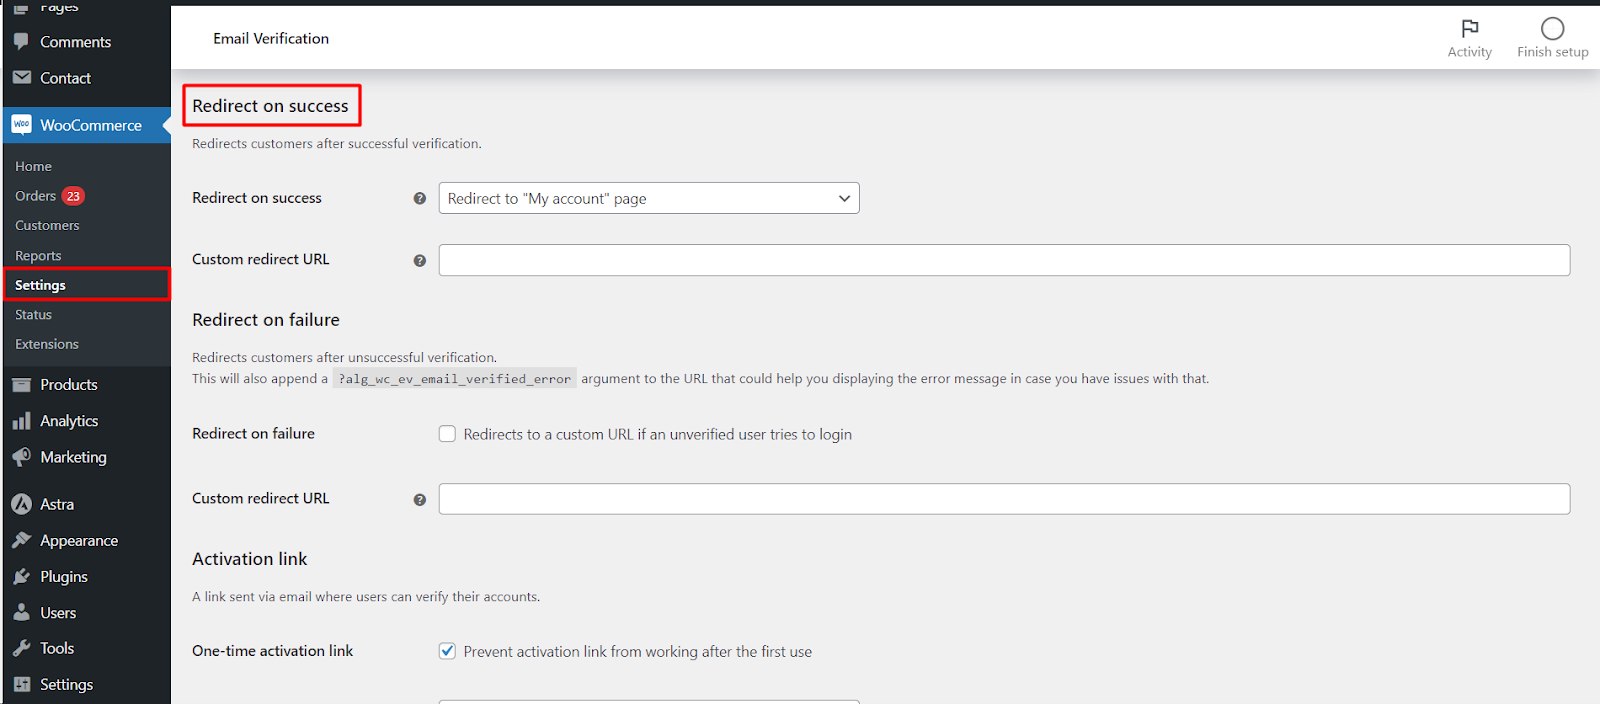
Redirect on Success
- Do not redirect: Users remain on the current page after successful verification.
- Redirect to “My account” page: Users are directed to their account page upon verification.
- Redirect to “Shop” page: Users are redirected to the shop page after successful verification.
- Redirect to home page: Users land on the homepage after verification.
- Redirect to custom URL: Specify a custom URL for post-verification redirection.
- Redirect to the previous URL before “My account” page: Users return to the page they were on before attempting to access their account.
Redirect on Failure
- Redirects to a custom URL: Define a custom URL for users who attempt to log in without verification. This URL often includes the ?alg_wc_ev_email_verified_error argument to facilitate error message display.
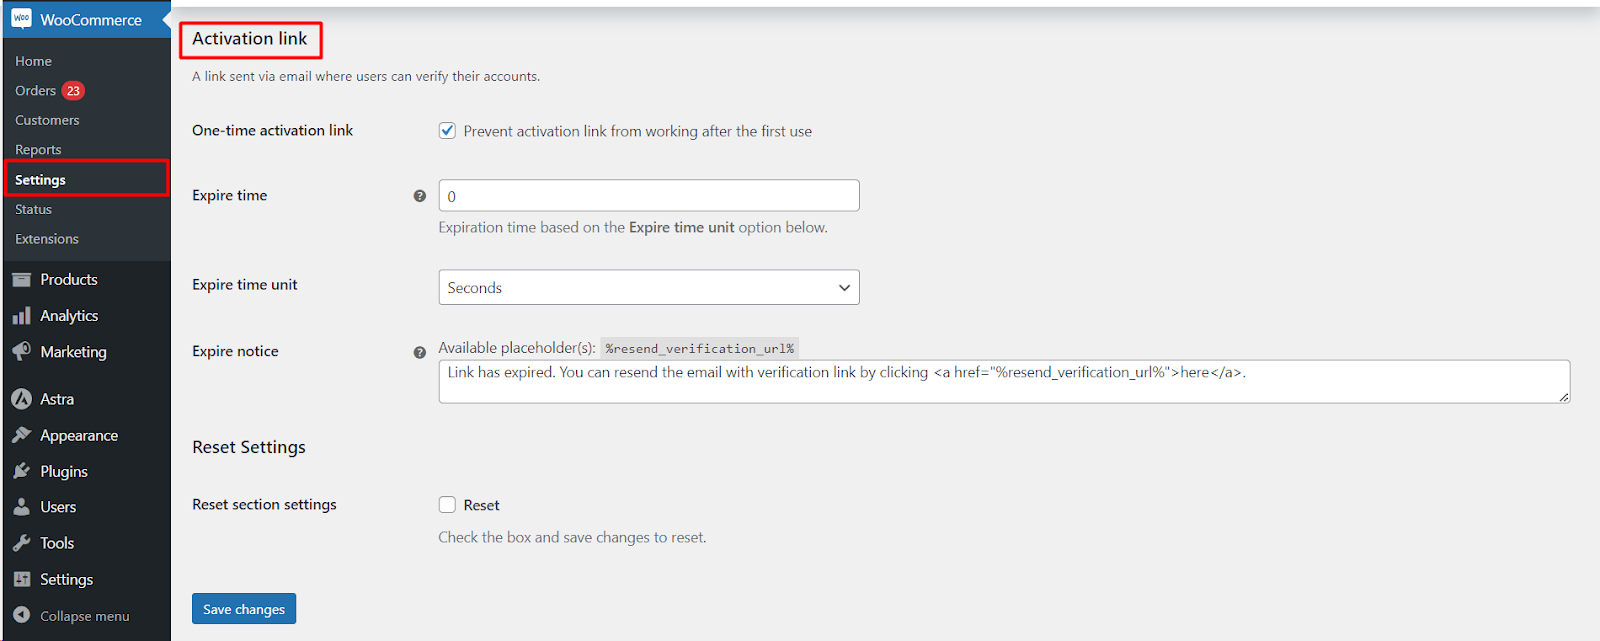
Activation Link Settings
One-time activation link
- Prevent activation link from working after the first use: Ensures the link can only be used once for verification.
- Expire time: Set the duration for which the activation link remains valid.
- Expire time unit: Choose between seconds or days for the expiration timeframe.
- Expire notice: Customize the message displayed when the activation link expires (includes %resend_verification_url% placeholder for the resend link).