
Creating a user-friendly and informative checkout process is crucial for boosting conversions in your WooCommerce store. The Custom Checkout Fields for WooCommerce plugin provides a powerful solution by allowing you to add custom fields to your checkout form, gathering valuable customer information and tailoring the checkout experience. This guide walks you through a smooth installation process, getting you up and running in no time.
Installation Methods
The Custom Checkout Fields for WooCommerce plugin offers two convenient installation methods.
Method 1: Using the WordPress Dashboard
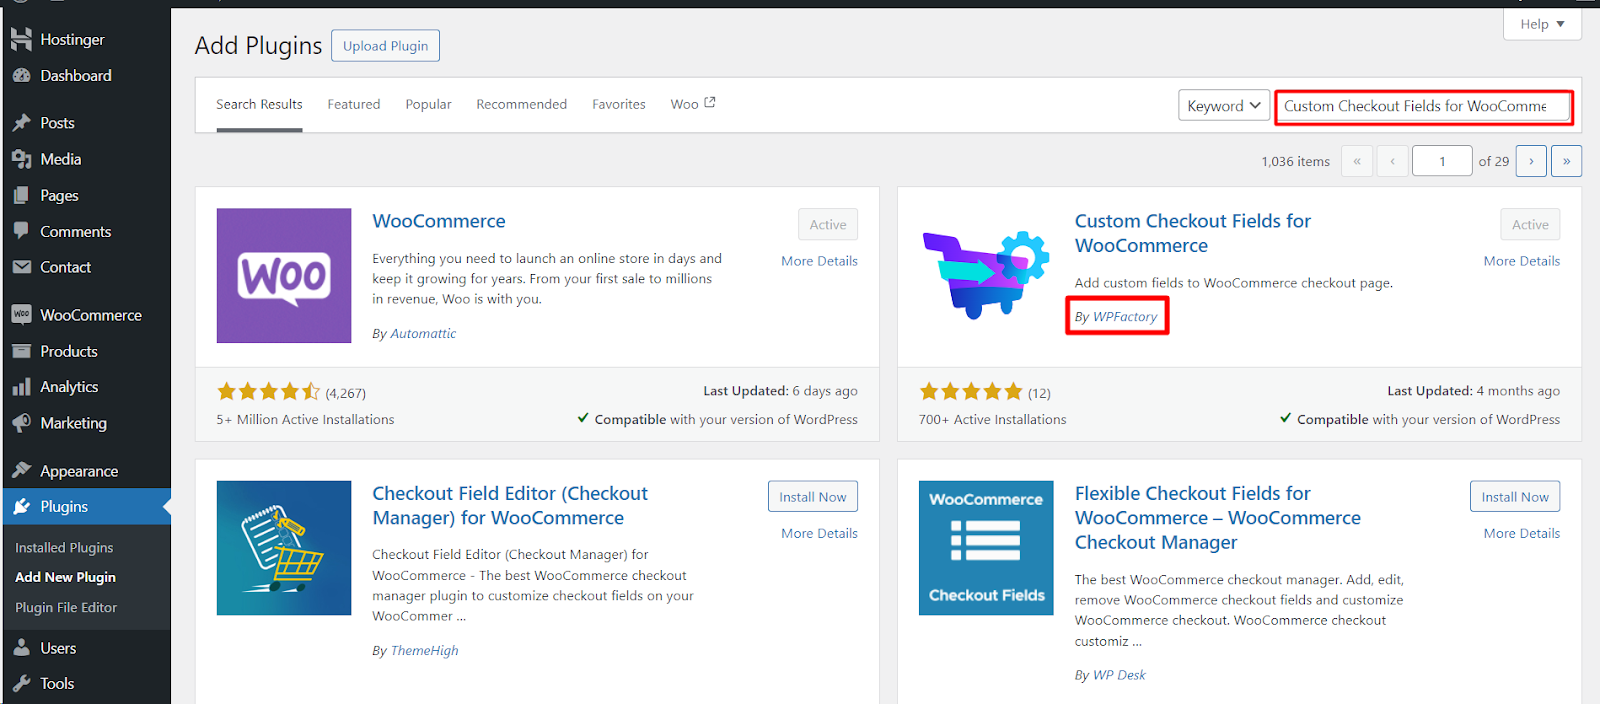
- Navigate to Plugins: Within your WordPress dashboard, locate the Plugins menu and click on Add New.
- Upload the Plugin: Click on the Upload Plugin button at the top.
- Choose the Plugin File: Select the downloaded plugin file (usually named something like “custom-checkout-fields-for-woocommerce.zip”).
- Install and Activate: Click on Install Now and then activate the plugin by clicking on Activate Plugin.
Method 2: Manual FTP Upload
- Download the Plugin File: Obtain the plugin file (usually a .zip file) from your download source.
- Access Your FTP Client: Connect to your website’s hosting server using an FTP client like FileZilla or your cPanel’s file manager.
- Upload the Plugin Folder: Locate the WordPress plugins directory, typically /wp-content/plugins/. Upload the downloaded plugin folder (unzipped) to this directory.
- Activate the Plugin: Log in to your WordPress dashboard, navigate to Plugins, and locate the newly uploaded plugin. Click on Activate to enable it.
Verifying the Installation
Once you’ve installed the plugin using either method, follow these steps to confirm successful activation.
- Navigate to WooCommerce: Within your WordPress dashboard, locate the WooCommerce menu and click on it.
- Access Settings: Click on Settings within the WooCommerce menu.
- Find Custom Checkout Fields: Look for a section labeled Custom Checkout Fields. This section will allow you to create and manage your custom checkout fields.
By leveraging the Custom Checkout Fields for WooCommerce plugin, you can enhance your checkout form, gather valuable user data, and create a more personalized shopping experience for your customers. The easy installation process ensures a seamless integration with your existing WooCommerce store.